
 Shop
Shop My
My Custom







FREE 5-Ingredient Recipe EBook
GET IT NOWMy Zucchini Pizza Crust Is Sturdy Enough To Pick Up (Without Squeezing!)

This zucchini pizza crust was yet another “how do I turn something good for me into pizza?” situation. I’ve done everything from cauliflower crust to chicken crust and even mushroom pizza over the years, but this one is my fave in the summer. I kept adjusting the moisture, thickness, and resting time until the slices held together the way I wanted. Here’s what makes this version different:
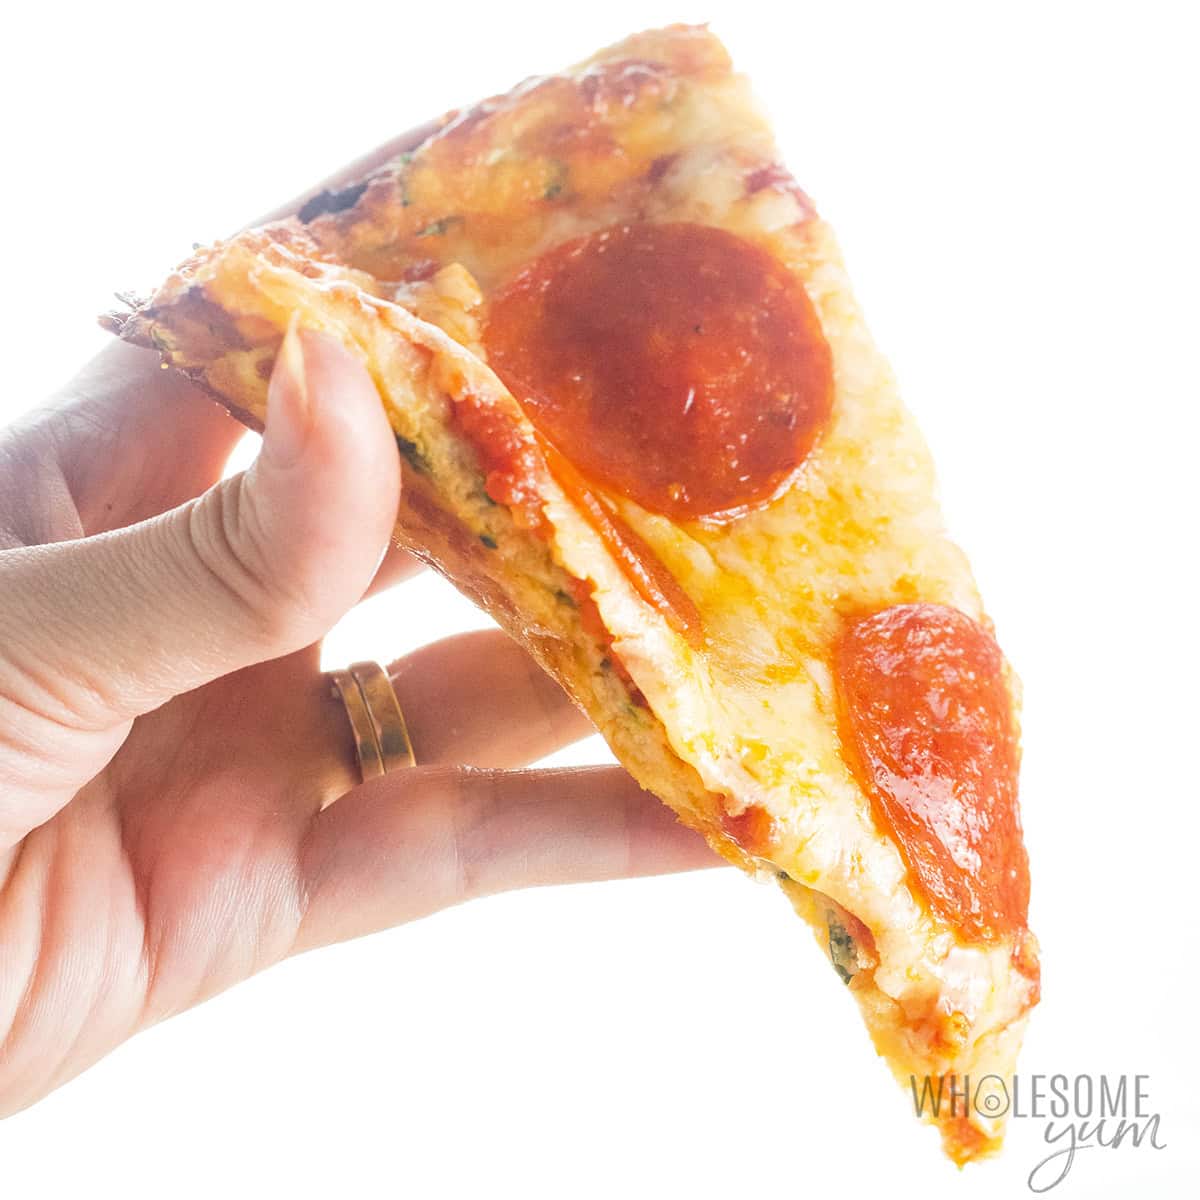
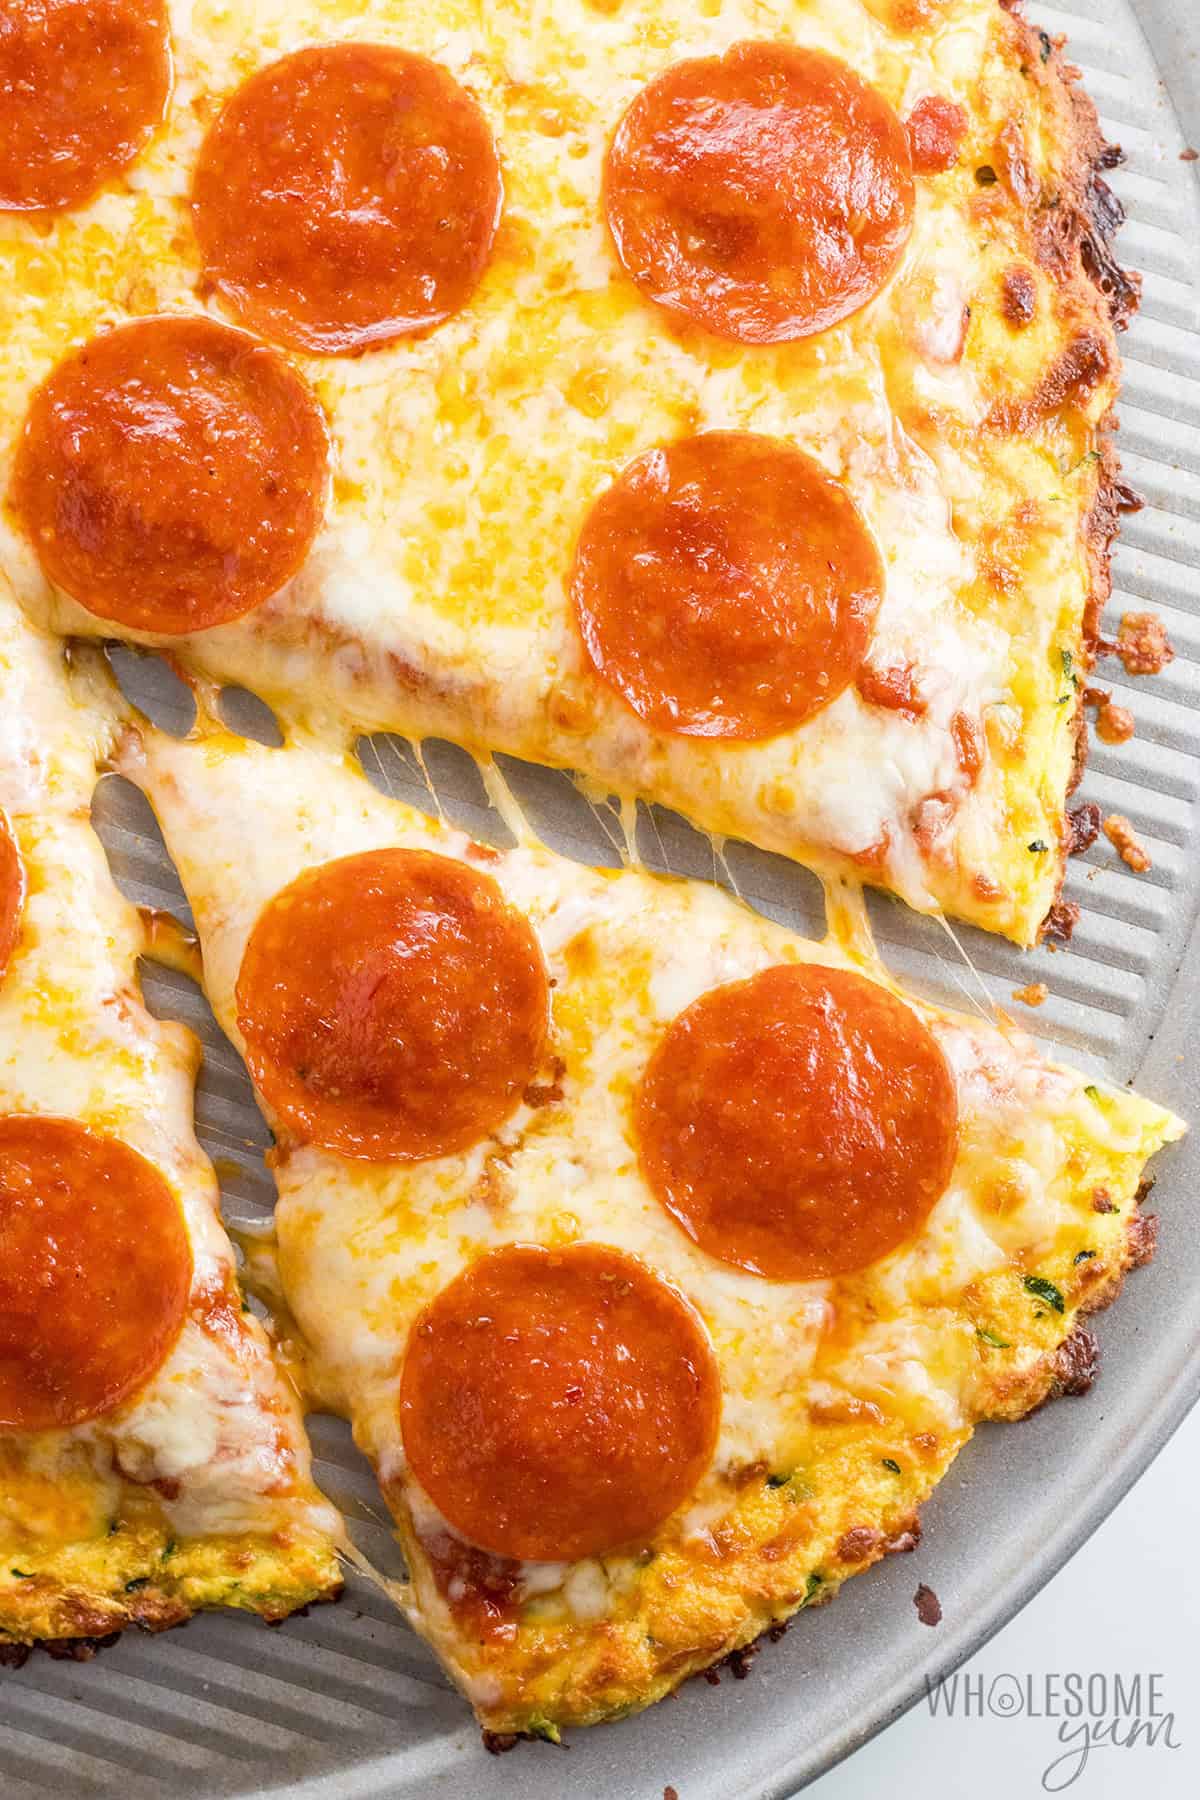
- Sturdy enough to pick up – The edges get golden and crisp, and while the center stays cheesy and a little soft, it’s actually sturdy enough to hold your toppings. No, it isn’t a bready wheat crust, but it’s cheesy, satisfying, and I love that I can eat a slice with my hands!
- No messy squeezing – Most zucchini crust pizza recipes make you wring out the shreds in a towel to remove excess liquid. I spread mine on the pan and let the oven remove most of the moisture instead. So much easier.
- Just 4 main ingredients – Plus salt. And they’re all common staples, naturally low carb, and gluten-free.
- Super light for summer – Each slice of crust has just 83 calories and 6 grams of protein, with veggies in every bite. Because, yes to summer veggies.
When my summer zucchini starts piling up, this zucchini pizza crust is one of the first recipes I turn to. Grab your favorite toppings and make it with me!

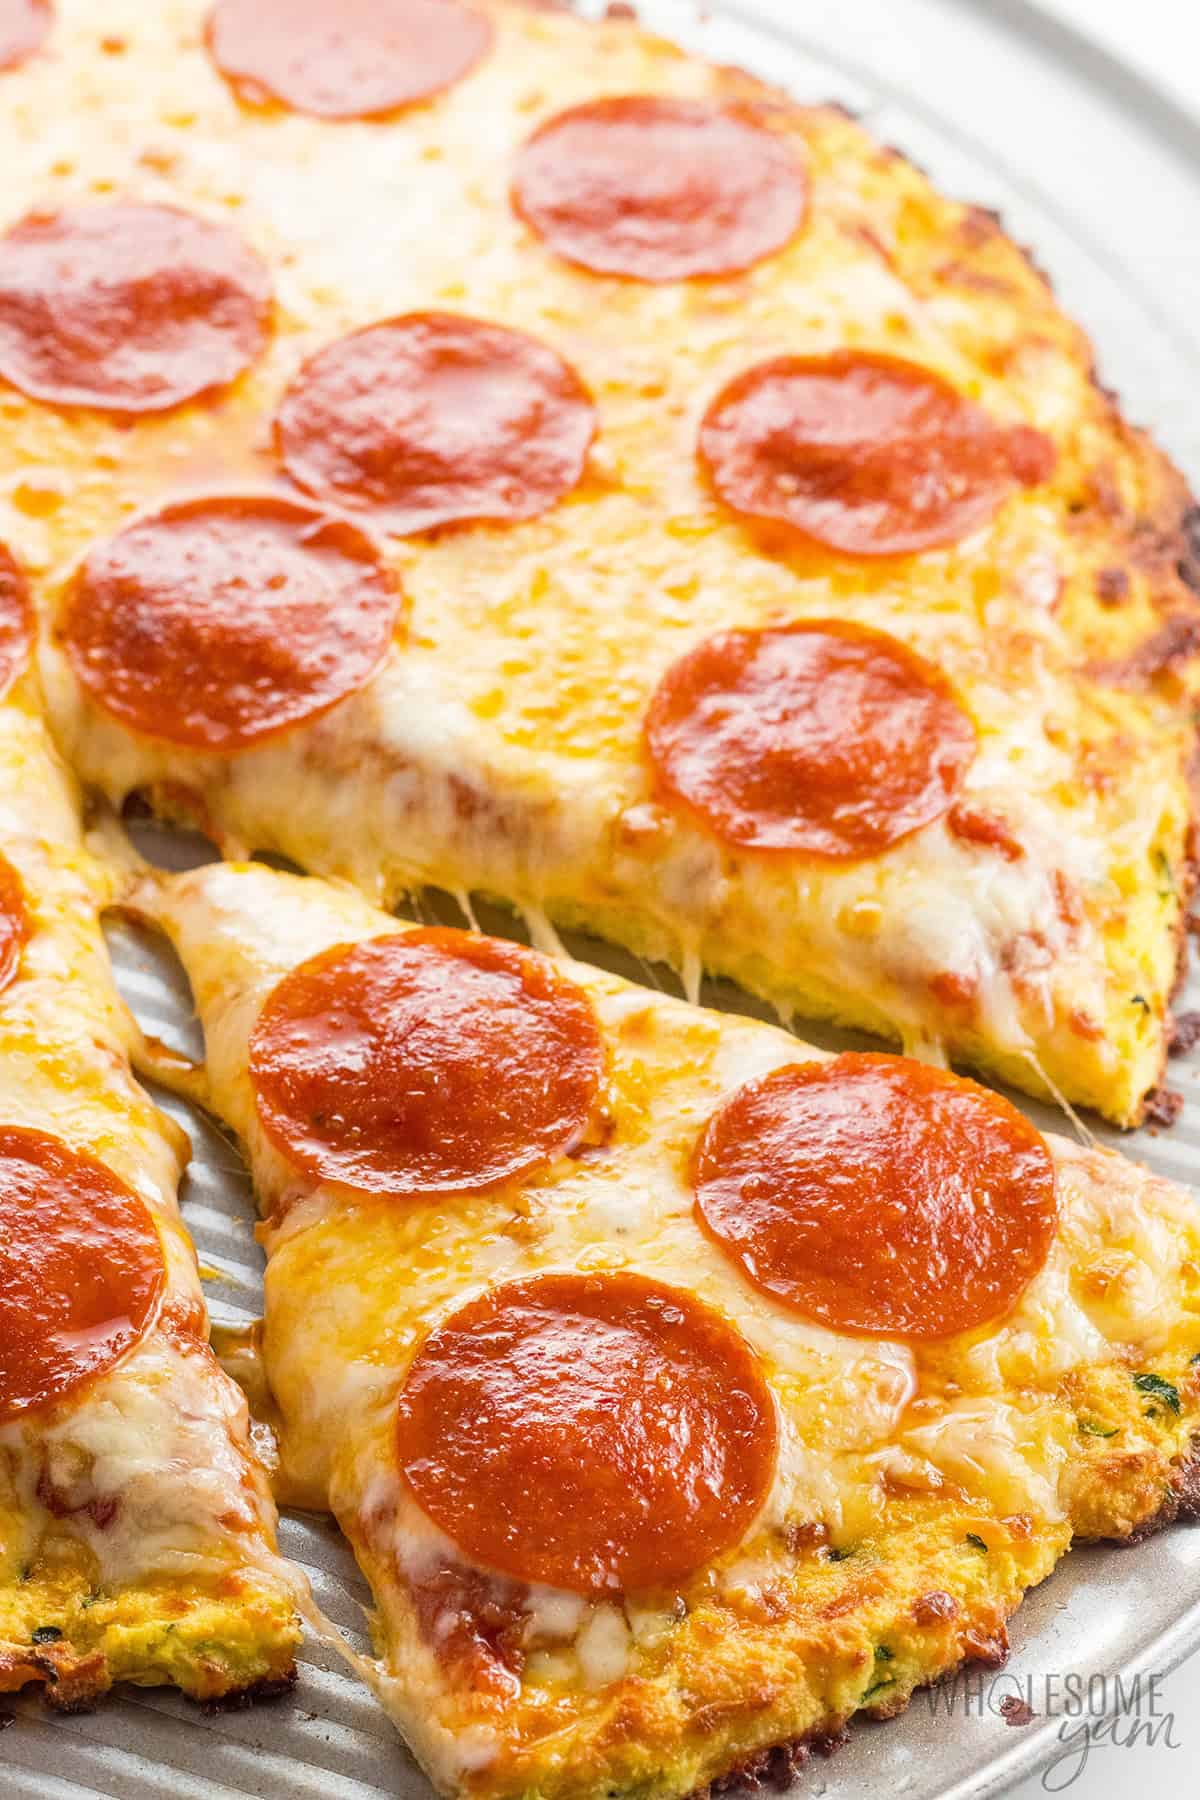
“I absolutely love this recipe. I just made it today for the third time. It can be picked up just like regular pizza. I will sauté vegetables tomorrow, add them to the crust, and heat it in the oven. What an easy Friday night dinner, healthy and delicious!”
-Patricia
Ingredients & Substitutions
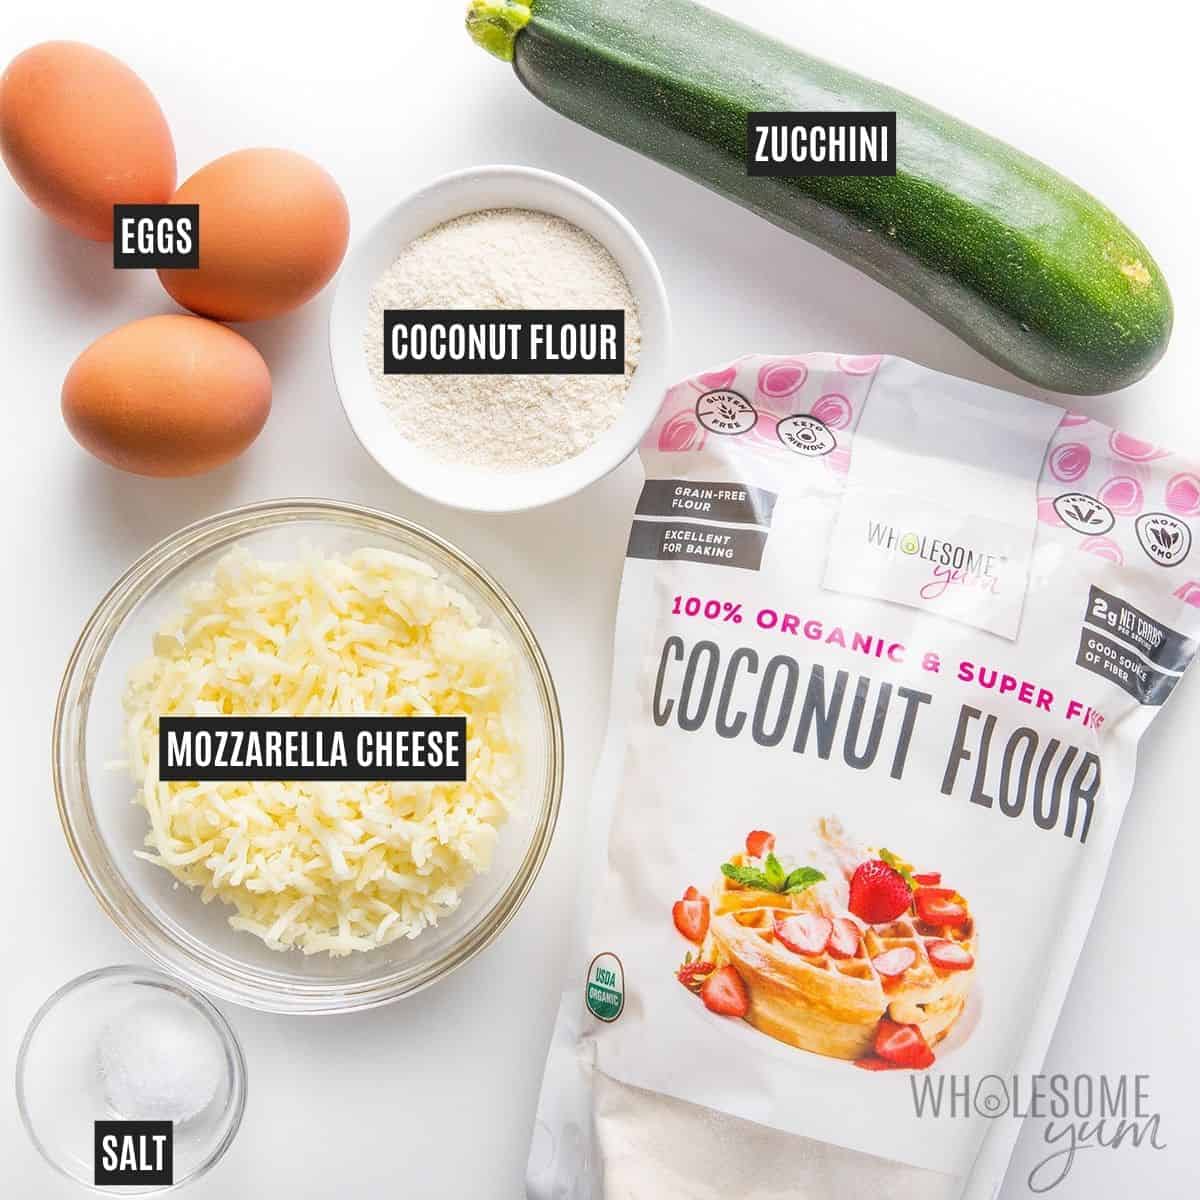
Here I explain the best ingredients for my zucchini pizza crust recipe, what each one does, and substitution options. For measurements, see the recipe card.
- Zucchini – I prefer small-to-medium zucchini here, because they have fewer seeds and less water. There’s no need to peel it, just grate it coarsely, but if yours is very large and seedy, I recommend scooping out the soft center first. Fresh zucchini (or yellow squash also works) gives you the most predictable texture. Frozen zucchini might work, but you’ll need to thaw it, squeeze out the water, and measure afterward.
- Wholesome Yum Organic Coconut Flour – This is key for absorbing the moisture left in the zucchini, which helps the crust hold together instead of turning soggy. I use mine because it has a fine texture, neutral flavor, and consistent absorbency. Other brands can vary quite a bit and some taste sweeter. Do not substitute any other flour, such as almond flour and all-purpose flour, because they can’t absorb as much liquid and your zucchini pizza crust will fall apart.
- Eggs – These bind the zucchini and cheese together, and give the crust enough structure to pick up. I don’t recommend egg alternatives here, because the crust will just be too fragile with them.
- Mozzarella Cheese – Use the firm, low-moisture mozzarella sold in a block or bag, not fresh mozzarella packed in liquid, which is too watery. I recommend low-moisture mozzarella for the topping as well, if you want the crust to stay as firm as possible. Dairy-free cheeses should work as well, as long as they have similar moisture content to regular mozzarella.
- Sea Salt – A little salt seasons the crust and helps the zucchini release moisture as it bakes.
How To Make Zucchini Crust Pizza
I have step-by-step photos here to help you visualize the recipe. For full instructions with amounts and temperatures, see the recipe card.
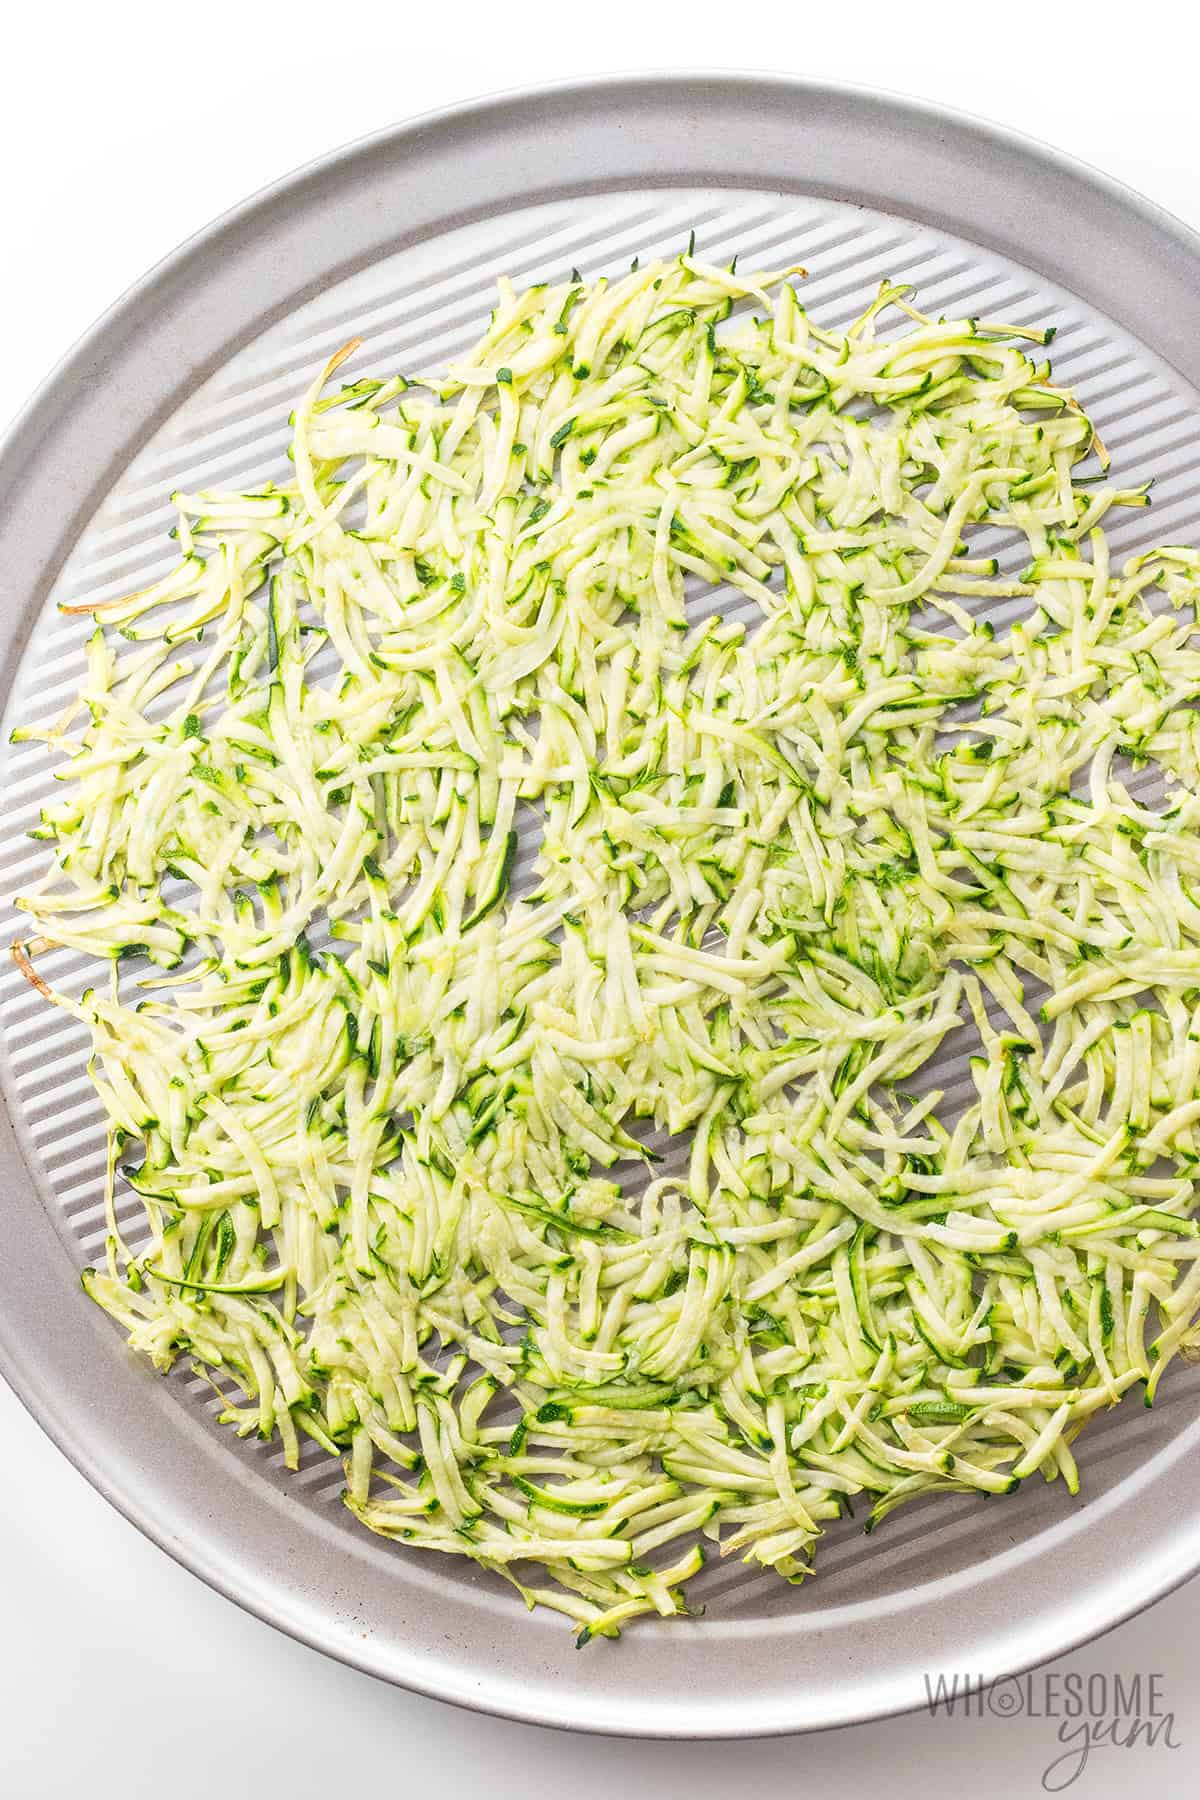
- Dry the zucchini. Spread the grated zucchini into a thin, even layer on a pizza pan and sprinkle it lightly with salt. Bake until the shreds look soft, less opaque, and slightly shrunken.
- Mix the crust. Meanwhile, stir together the eggs, mozzarella, coconut flour, and sea salt in a large bowl. Blot the baked zucchini with paper towels until it feels pretty dry, just a little damp, then mix it into the bowl. This won’t look stretchy like a typical dough or runny like batter, but closer to a thin dough.
- Shape and bake the crust. Wipe the pan clean, then lightly grease it or line it with parchment if it isn’t reliably nonstick. Spread the zucchini mixture into a thin circle, about 1/4 inch thick. Bake until the top has golden brown spots and the center looks set.
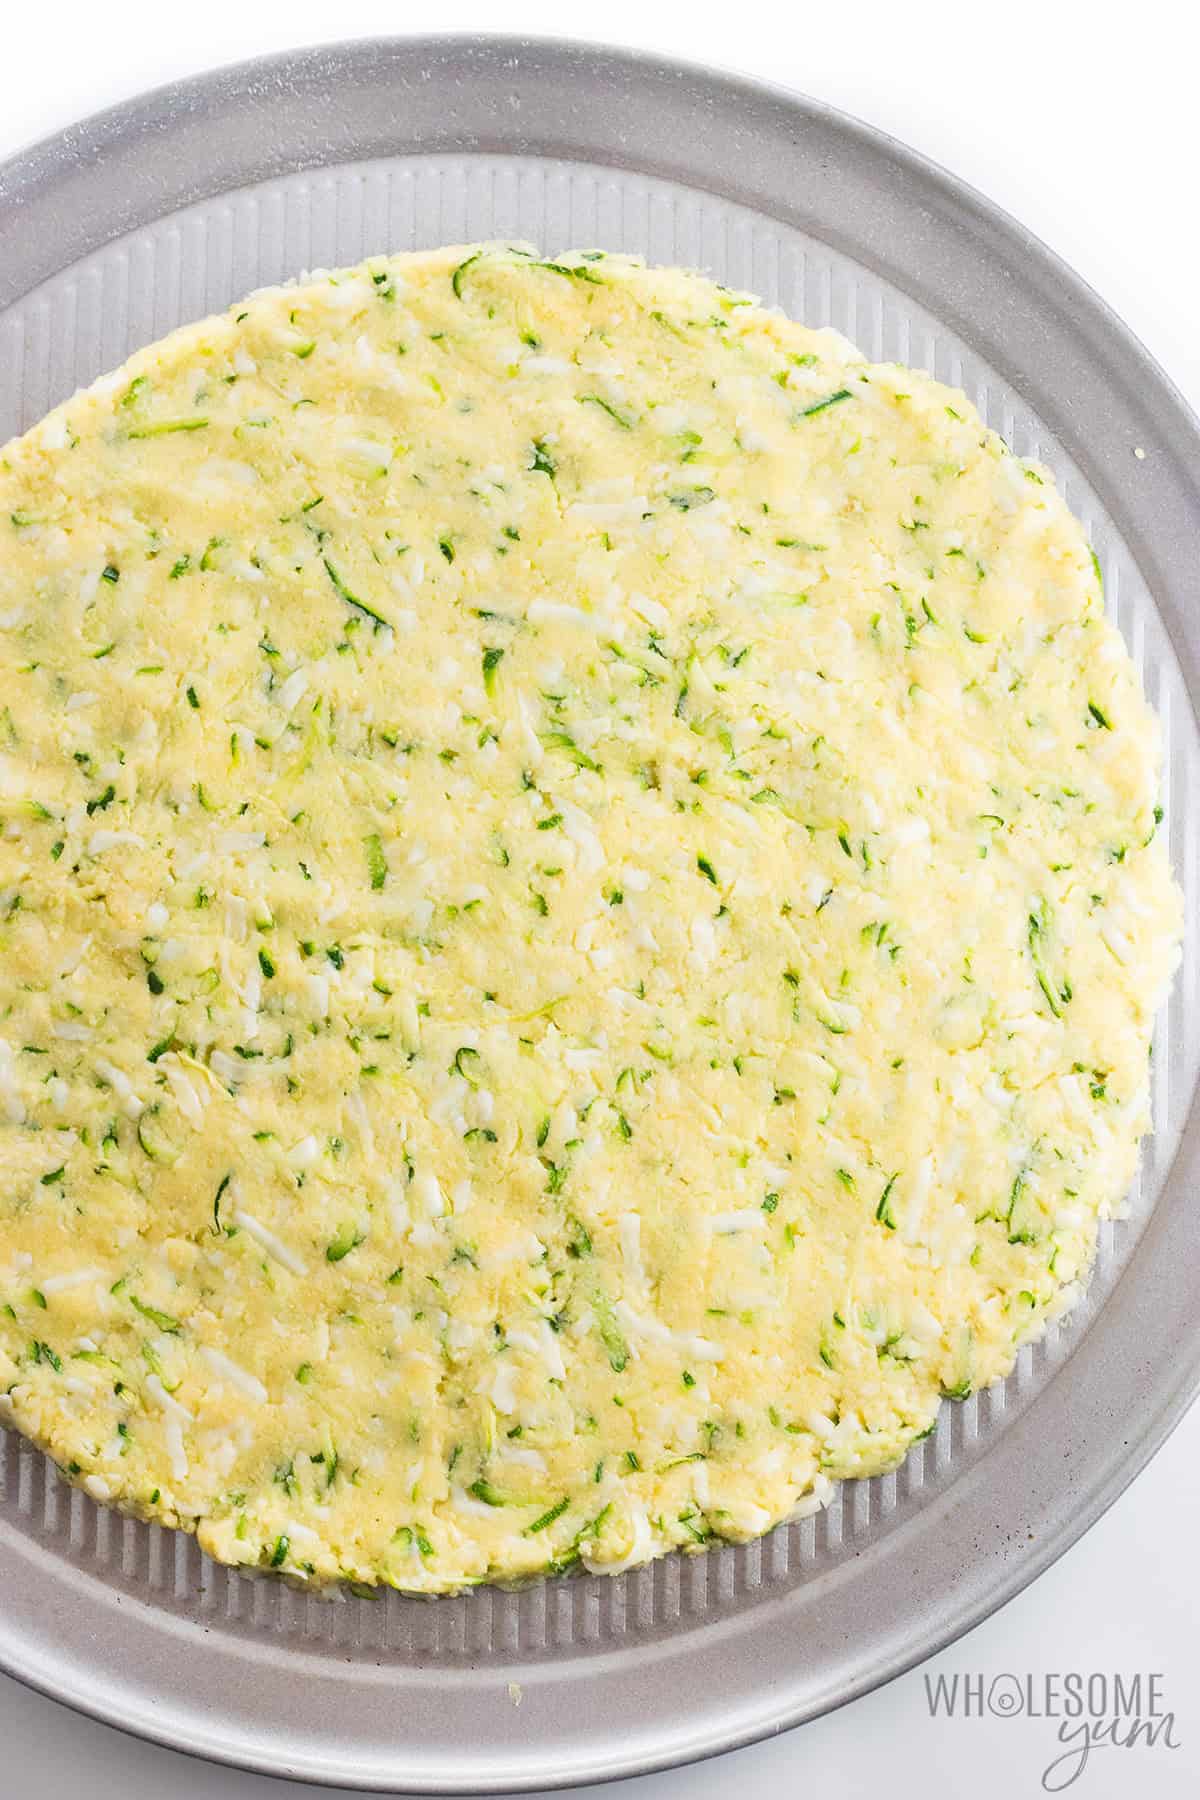
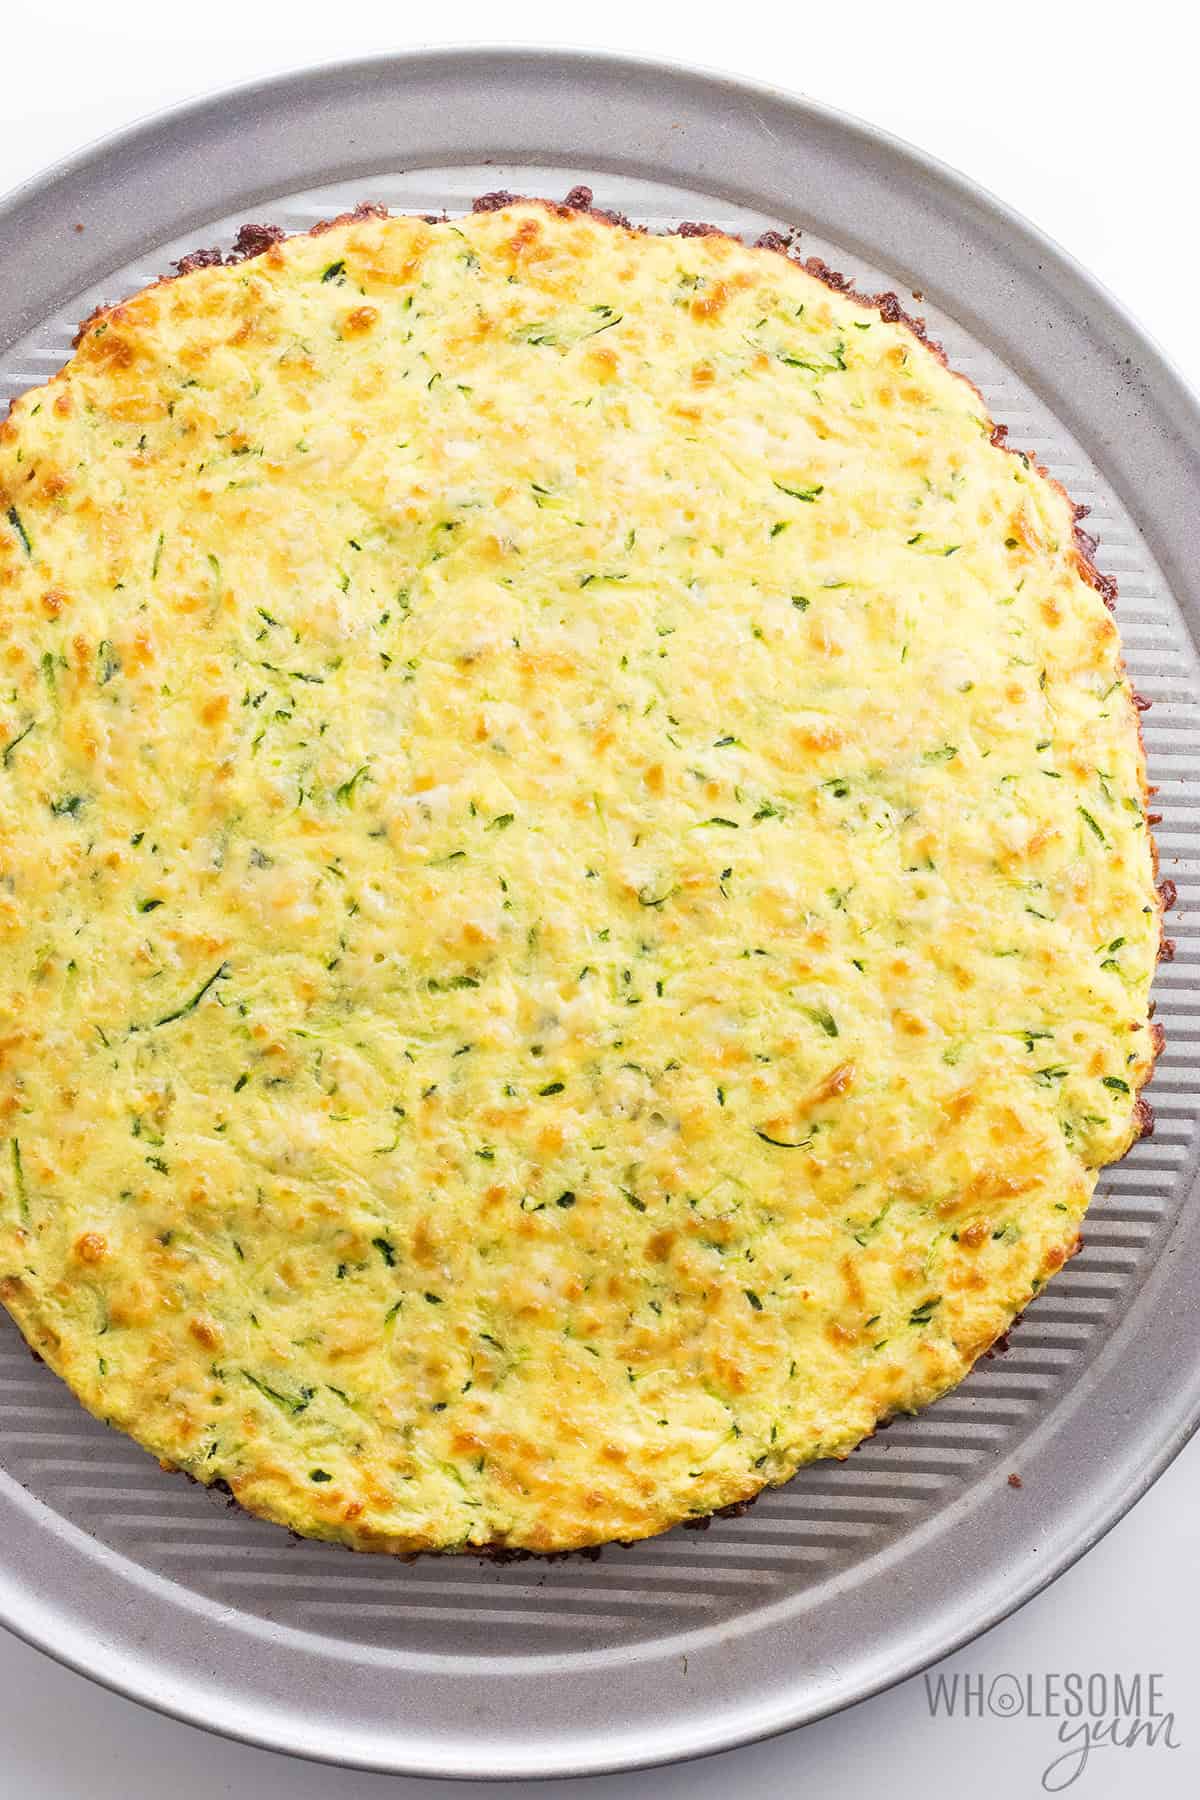
- Let it rest and add the toppings. Cool the plain crust for 10 minutes. Spread on a thin layer of thick pizza sauce, then add more cheese and your favorite toppings.
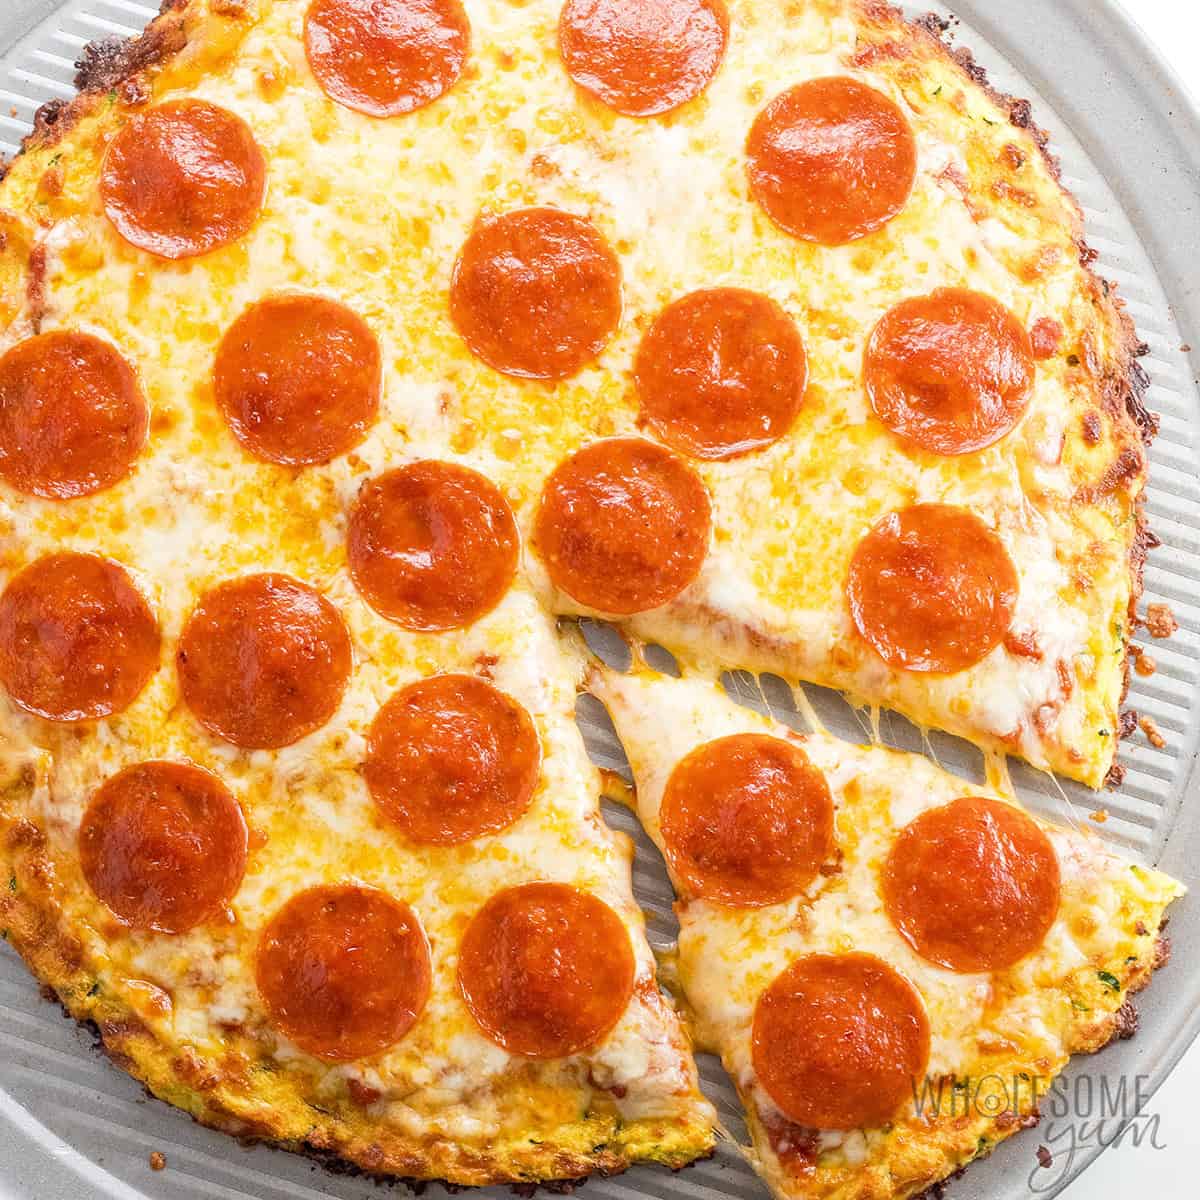
- Bake again. Return the zucchini crust pizza to the oven and bake until the cheese is melted and bubbly. For extra browning, broil it for the last minute or two. Let it rest for a few minutes before slicing, so it stays together when you pick it up!

My Tips For A Sturdy Crust
- Make sure the zucchini is dry enough. Zucchini can hold very different amounts of water, so go by appearance, not just baking time. The shreds should look soft, mostly dry, and no longer bright white. If you remove from the oven too soon, your squash will release more moisture into the crust later.
- Blot well with paper towels. I was so pleased to eliminate the squeezing here because that’s a lot of work! It’s much easier to dry well with paper towels instead, but I do usually need a few layers.
- Spread the crust thinly and evenly. I aim for about 1/4 inch thick, as thicker ones turn out less sturdy with this “dough”. Make sure the edges are not thinner than the center, or they can burn.
- Let the crust get golden and cool slightly before adding toppings. Parbaking the crust lets the cheese melt and form golden spots, then letting it cool a bit makes that cheese “seal” the crust from the wet sauce you’ll be adding. I watch for the cheese on top to solidify and the crust to feel firmer to the touch, which tells me it won’t immediately absorb the sauce and toppings.
- Use light toppings without too much moisture. I use a thin layer of thick pizza sauce, low-moisture mozzarella, and toppings that are already cooked and well drained. Raw mushrooms, fresh mozzarella, watery tomatoes, greasy meats, or too much sauce can soften the center and weigh down this zucchini pizza crust.
- Use parchment if your pan tends to stick. The one I used (pictured above) is fine without, but if you’re unsure, better to line it. And after baking, let the crust rest briefly and loosen it gently with a thin spatula instead of pulling it up while it’s piping hot.
- Use a pizza stone for a crisper bottom. With this option, I do recommend shaping the wet mixture on parchment paper, because it’s too sticky at first. Use a pizza peel to slide the parchment and crust onto a preheated pizza stone to bake. After baking the crust, you can slide it off the paper directly onto the stone to finish with toppings.

Zucchini Pizza Crust (That You Can Pick Up!)
My zucchini pizza crust is cheesy and sturdy enough to pick up — no squeezing required! Just 4 ingredients, low carb, and gluten-free.


Instructions
Tap on the times in the instructions to start a kitchen timer.
-
Preheat the oven to 350 degrees F (177 degrees C). Grease a 12- or 14-inch non-stick pizza pan. (30 or 36 cm) (Use parchment paper if it's not excellent non-stick.)
-
Spread out the grated zucchini onto the pan in a thin layer. Sprinkle very lightly with a little sea salt (not 1/2 tsp, this is just a light sprinkle). Bake for about 10-15 minutes, until zucchini is semi-soft and fairly dry.
-
Meanwhile, combine the eggs, mozzarella, coconut flour and 1/2 tsp sea salt in a large bowl.
-
When the zucchini is done, pat the dry as well as possible with paper towels. Mix into the bowl.
-
Lightly wipe down the pizza pan to remove any stuck-on zucchini. If your pan isn’t non-stick, line it with parchment paper, then lightly grease the pan or parchment before adding the crust.
-
Spread the zucchini pizza dough into a thin circle, about 11-12 in (28-30 cm) in diameter. Bake for 20-30 minutes, until there are brown spots on the top. (The time will depend on the thickness of the zucchini pizza crust.)
-
Remove the zucchini pizza crust from the oven. Increase the oven temperature to 400 degrees F (204 degrees C) and let it preheat.
-
Let the crust rest for 10 minutes at room temperature, then top with thick sauce and toppings.
-
Return the zucchini crust pizza to the oven for about 10 minutes, until the cheese on top melts. If desired, place under broiler for a couple minutes to brown the cheese.
LAST STEP: Leave a rating to help other readers, or tag me @wholesomeyum on Instagram. I’d love to hear from you!
Maya’s Recipe Notes
Serving size: 1 slice, or 1/8 of the entire large pizza
- Tips: Check out my recipe tips above to help you get the best texture, keep the crust from getting soggy, and make it sturdy enough for toppings.
- Meal prep: You can make the crust or the entire pizza in advance. See my meal prep options below for storage, freezing, and reheating instructions.
- Note on nutrition info: Toppings are not included, since the nutrition will vary depending on what you add. I calculated the nutrition per slice for convenience, but I can easily eat 2-3 slices for a meal.
I provide nutrition facts as a courtesy. Have questions about calculations or why you got a different result? Please see my nutrition policy.
Add Your Notes Your Notes
Try More Of My Recipes

© Copyright Maya Krampf for Wholesome Yum. Please DO NOT SCREENSHOT OR COPY/PASTE recipes to social media or websites. We’d LOVE for you to share a link with photo instead.
Zucchini Pizza Crust
Meal Prep Options
- Storage: Keep leftover zucchini pizza in an airtight container in the fridge for 3-4 days. I recommend reheating the pizza on a pizza stone in the oven again for the best texture.
- Bake the crust ahead: You can prebake the zucchini pizza crust and refrigerate it for up to 5 days. I don’t recommend storing the raw dough, as the zucchini may release more moisture and make it too wet. I wouldn’t add toppings until you’re ready to bake either, or the crust can get soggy.
- Freeze the crust without toppings: This is my favorite meal prep option and I make a few at a time! Wrap it tightly in plastic wrap followed by foil, and freeze for up to 3 months. When ready to use, add the sauce and toppings directly to the frozen crust and bake at 400 degrees F for 10-15 minutes, until hot and the cheese is golden.
- Freeze the crust with toppings: You can also freeze the fully topped pizza. I recommend letting it cool completely before placing it in the freezer to keep the crust as sturdy as possible. Bake straight from frozen at 400 degrees F for 15-20 minutes, until melty.
Topping Ideas
I usually keep my zucchini pizza crust simple, but you can use many of the same toppings you’d add to regular pizza:
- Classic Pepperoni – Spread on a thin layer of pizza sauce, then add shredded mozzarella and pepperoni. This is the version I make most often for my kids.
- Veggie – Add sautéed mushrooms, cooked bell peppers and onions, black olives, and a sprinkle of Italian seasoning.
- Caprese-Inspired – Use roasted cherry tomatoes and mozzarella. Add fresh basil after baking for a fresh finish. I like this version with pesto sauce instead of red sauce.
- Meat Lover’s – Top with pepperoni, cooked sausage, and crisp bacon.














188 Comments
Tere
0Does this taste eggy? 3 eggs seems a lot. …?
Connie Reading
0Nope it’s just yummy. Even my picky picky husband loves it
Maya | Wholesome Yum
0Hi Tere, No, I don’t think it tastes eggy. The eggs bind it together.
Deb-Alaska
0Hi, thanks so much for all of the awesome healthy recipes.
Maya | Wholesome Yum
0You’re welcome, Deb! Hope you like the pizza!
Connie Reading
0Wow this is really a great tasting crust. Finally get to have pizza again… I have missed my pizza haha thank you!
Maya | Wholesome Yum
0I am so happy you liked the pizza crust, Connie! Please come back soon!
Connie Reading
0Making it for the first time. Can’t wait!
Maya | Wholesome Yum
0Hope you love it, Connie!
Ziggy Vincent
0It was fab, thanks. It didn’t fall apart and we ate it using our hands. Thumbs up here x
Maya | Wholesome Yum
0Thank you, Ziggy! Yay for veggie pizza that doesn’t fall apart, right?! 🙂
Marcelle
0OMG I HAVE PIZZA!!!! I finally made this and it is DEEEElicious! I added a 1/4 tsp of garlic powder and 1/4 tsp Italian seasoning to the dough mixture. Topped it with Rao’s pizza sauce, a four cheese pizza blend and pepperoni and I am IN HEAVEN!!! The only thing I will do differently next time is not use the parchment paper. I have a Calphalon pizza pan that has holes in it and I thought the crust might be too moist to place directly on the pan, but it wound up a little too moist on the bottom. Next time (and there WILL be a next time!) I will forego the parchment paper and just put a cookie sheet on the shelf below the pizza an in case there is any leakage. Thank you sooo much for a fantastic recipe!
Maya | Wholesome Yum
0I’m so glad you liked it, Marcelle! I use the parchment paper on a pizza stone and it doesn’t end up moist on the bottom that way, but I can see how there would be a higher risk of that on a regular pizza pan with parchment paper. You can try spreading the crust on the pan directly, but there’s a chance it might stick, and you’re right that it might leak also. I’d grease it well first if you do that.
Marcelle
0Oh! I completely forgot that I have a pizza stone! Lol!
Jen
0Could you do this same recipe using yellow squash? My garden is prolific with yellow squash this year and I am running out of ideas on how to use it!
Maya | Wholesome Yum
0Hi Jen, Yes, absolutely! You can follow the same recipe and use yellow squash instead.
Marcelle
0Planning on making this today. Can I refrigerate the leftovers?
Maya | Wholesome Yum
0Hi Marcelle, Yes, definitely! Hope you like it.
Juliette Cagnolatti
0I am in love with this recipe, you are a genius! I added sliced mushrooms, sliced tomatoes and basil to ours and at first my husband was turning up his nose….until I served it to him ..AND, He said honey this is delicious!!! It was so dang good I am making it again tonight!
Maya | Wholesome Yum
0I am so happy you liked it, Juliette! Thanks for stopping by!
Kirsty
0Hi Maya,
I’m relatively new to Keto and, although I was fine for a while surviving on eggs, chicken, avocado and bacon, I’m now finding I need the substitutes for my old favourites to stay on course (I can’t imagine life with no more pizza, blueberry muffins, and ice cream!) and I just wanted to say how much I love your site! Particularly appreciate the nut and dairy free options, as I’m trying to bring some other diet-restricted members of the family on the journey with me. I’m in Australia by the way . Thank you from all of us!
Maya | Wholesome Yum
0I am happy to hear that, Kirsty! Thanks for stopping by!
Marcelle
0Our Labor Day Weekend is looking dicey weather wise. I’ll be making pizza! Can’t wait to try this!
Maya | Wholesome Yum
0I hope you like it, Marcelle! Thanks for stopping by!
Lois
0I read this very carefully, then see I can’t make this as I’m allergic to coconut.
Maya | Wholesome Yum
0Sorry to hear that, Lois! You might like this cauliflower pizza crust instead.