
 Shop
 My
 Custom






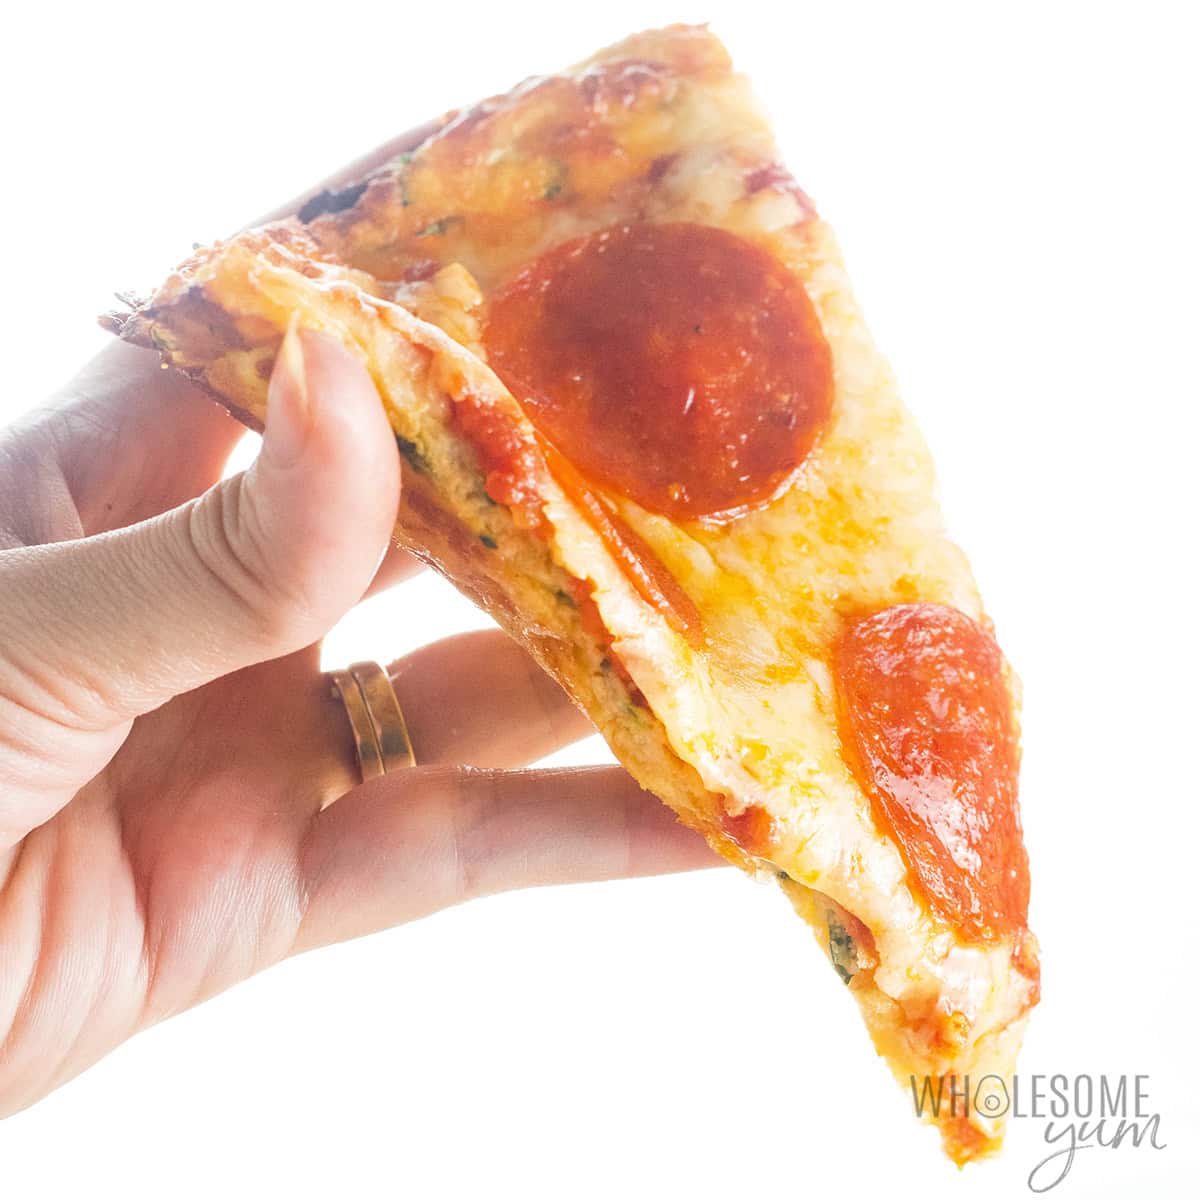
My Zucchini Pizza Crust Is Sturdy Enough To Pick Up (Without Squeezing!)

This zucchini pizza crust was yet another “how do I turn something good for me into pizza?” situation. I’ve done everything from cauliflower crust to chicken crust and even mushroom pizza over the years, but this one is my fave in the summer. I kept adjusting the moisture, thickness, and resting time until the slices held together the way I wanted. Here’s what makes this version different:
- Sturdy enough to pick up – The edges get golden and crisp, and while the center stays cheesy and a little soft, it’s actually sturdy enough to hold your toppings. No, it isn’t a bready wheat crust, but it’s cheesy, satisfying, and I love that I can eat a slice with my hands!
- No messy squeezing – Most zucchini crust pizza recipes make you wring out the shreds in a towel to remove excess liquid. I spread mine on the pan and let the oven remove most of the moisture instead. So much easier.
- Just 4 main ingredients – Plus salt. And they’re all common staples, naturally low carb, and gluten-free.
- Super light for summer – Each slice of crust has just 83 calories and 6 grams of protein, with veggies in every bite. Because, yes to summer veggies.
When my summer zucchini starts piling up, this zucchini pizza crust is one of the first recipes I turn to. Grab your favorite toppings and make it with me!

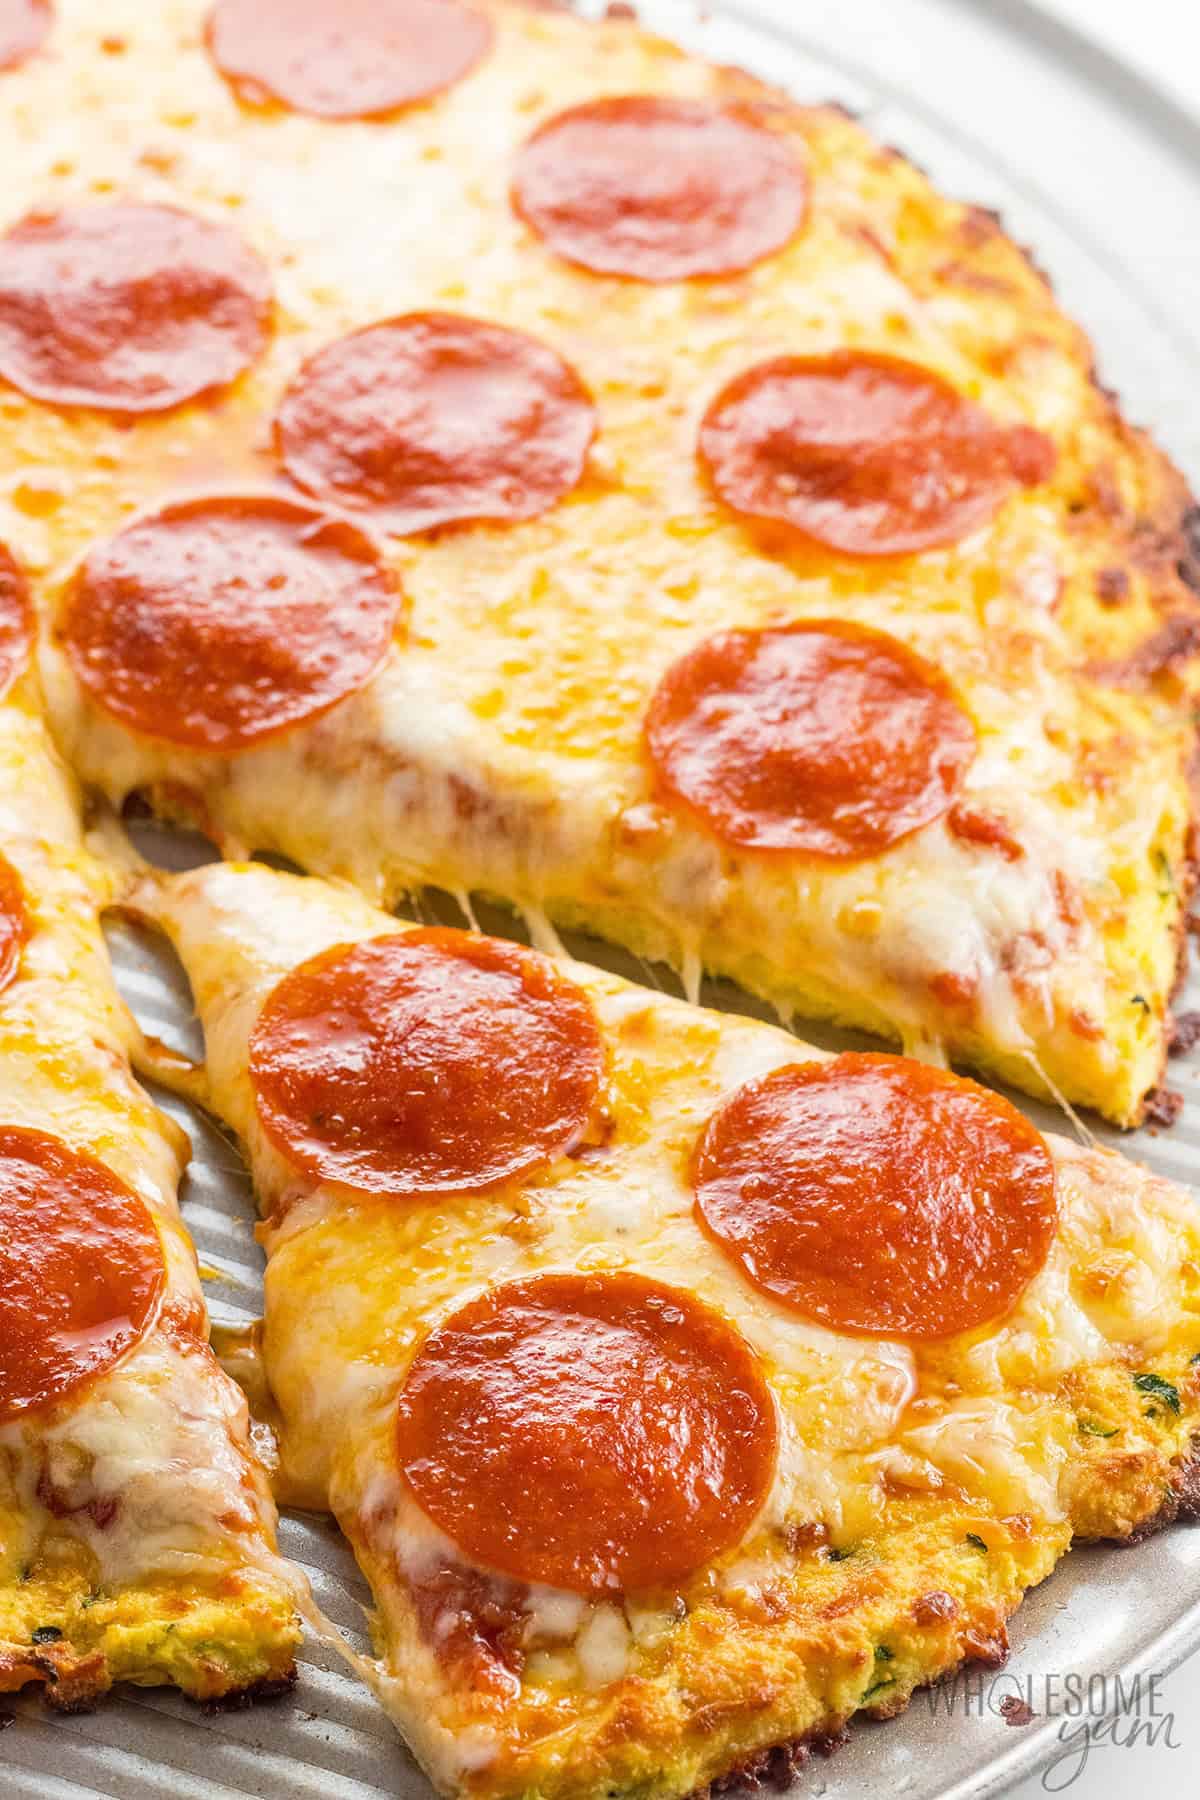
“I absolutely love this recipe. I just made it today for the third time. It can be picked up just like regular pizza. I will sauté vegetables tomorrow, add them to the crust, and heat it in the oven. What an easy Friday night dinner, healthy and delicious!”
-Patricia
Ingredients & Substitutions
Here I explain the best ingredients for my zucchini pizza crust recipe, what each one does, and substitution options. For measurements, see the recipe card.
- Zucchini – I prefer small-to-medium zucchini here, because they have fewer seeds and less water. There’s no need to peel it, just grate it coarsely, but if yours is very large and seedy, I recommend scooping out the soft center first. Fresh zucchini (or yellow squash also works) gives you the most predictable texture. Frozen zucchini might work, but you’ll need to thaw it, squeeze out the water, and measure afterward.
- Wholesome Yum Organic Coconut Flour – This is key for absorbing the moisture left in the zucchini, which helps the crust hold together instead of turning soggy. I use mine because it has a fine texture, neutral flavor, and consistent absorbency. Other brands can vary quite a bit and some taste sweeter. Do not substitute any other flour, such as almond flour and all-purpose flour, because they can’t absorb as much liquid and your zucchini pizza crust will fall apart.
- Eggs – These bind the zucchini and cheese together, and give the crust enough structure to pick up. I don’t recommend egg alternatives here, because the crust will just be too fragile with them.
- Mozzarella Cheese – Use the firm, low-moisture mozzarella sold in a block or bag, not fresh mozzarella packed in liquid, which is too watery. I recommend low-moisture mozzarella for the topping as well, if you want the crust to stay as firm as possible. Dairy-free cheeses should work as well, as long as they have similar moisture content to regular mozzarella.
- Sea Salt – A little salt seasons the crust and helps the zucchini release moisture as it bakes.

FREE 5-Ingredient Recipe EBook
GET IT NOW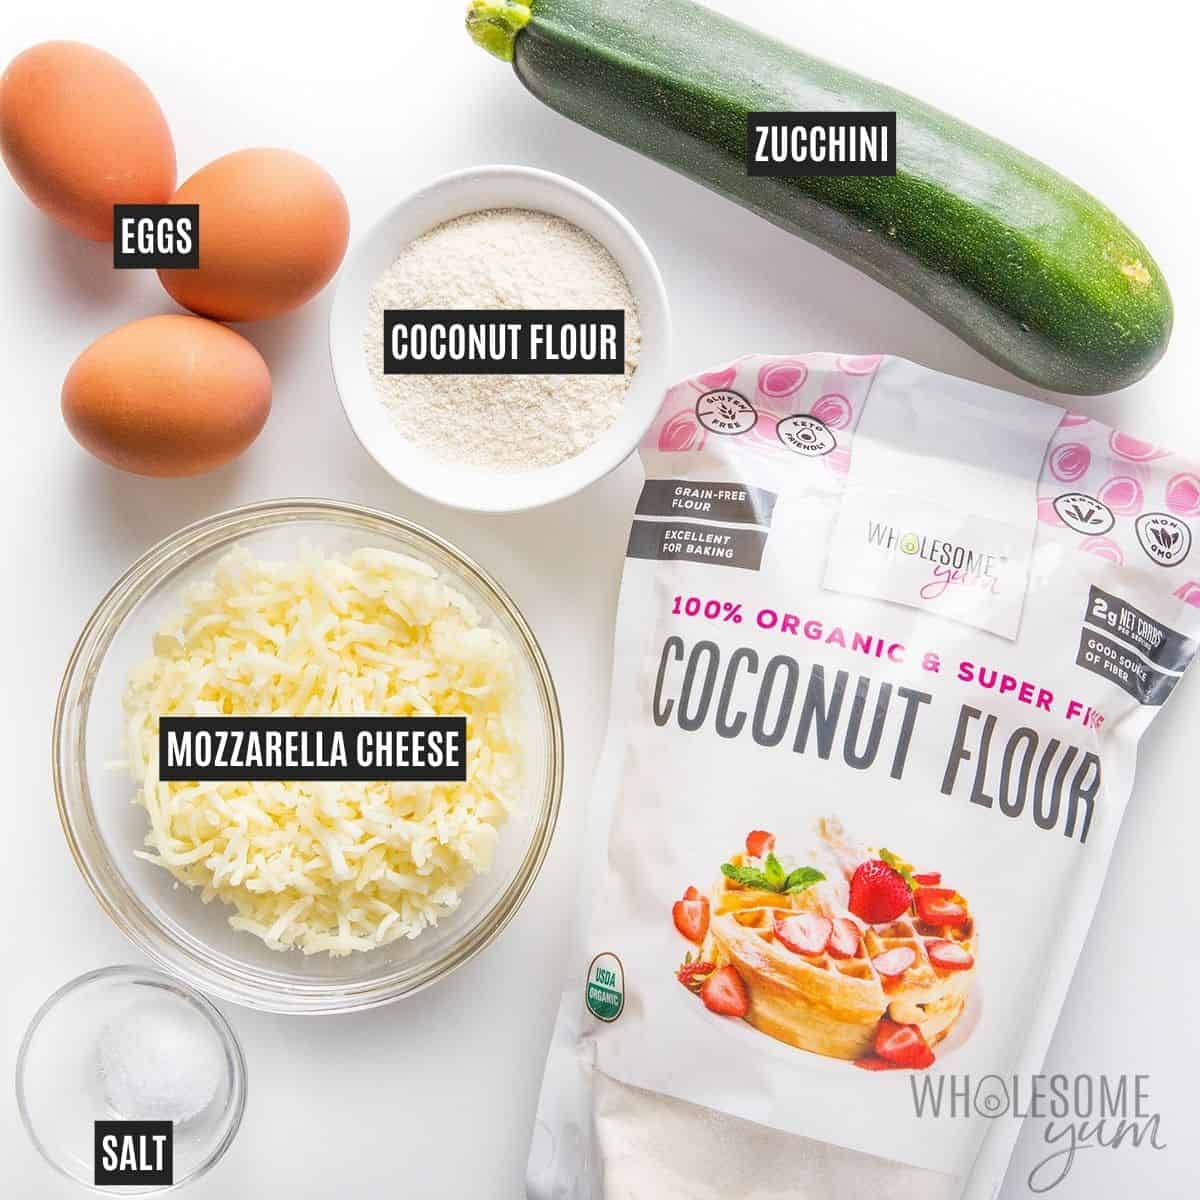
How To Make Zucchini Crust Pizza
I have step-by-step photos here to help you visualize the recipe. For full instructions with amounts and temperatures, see the recipe card.
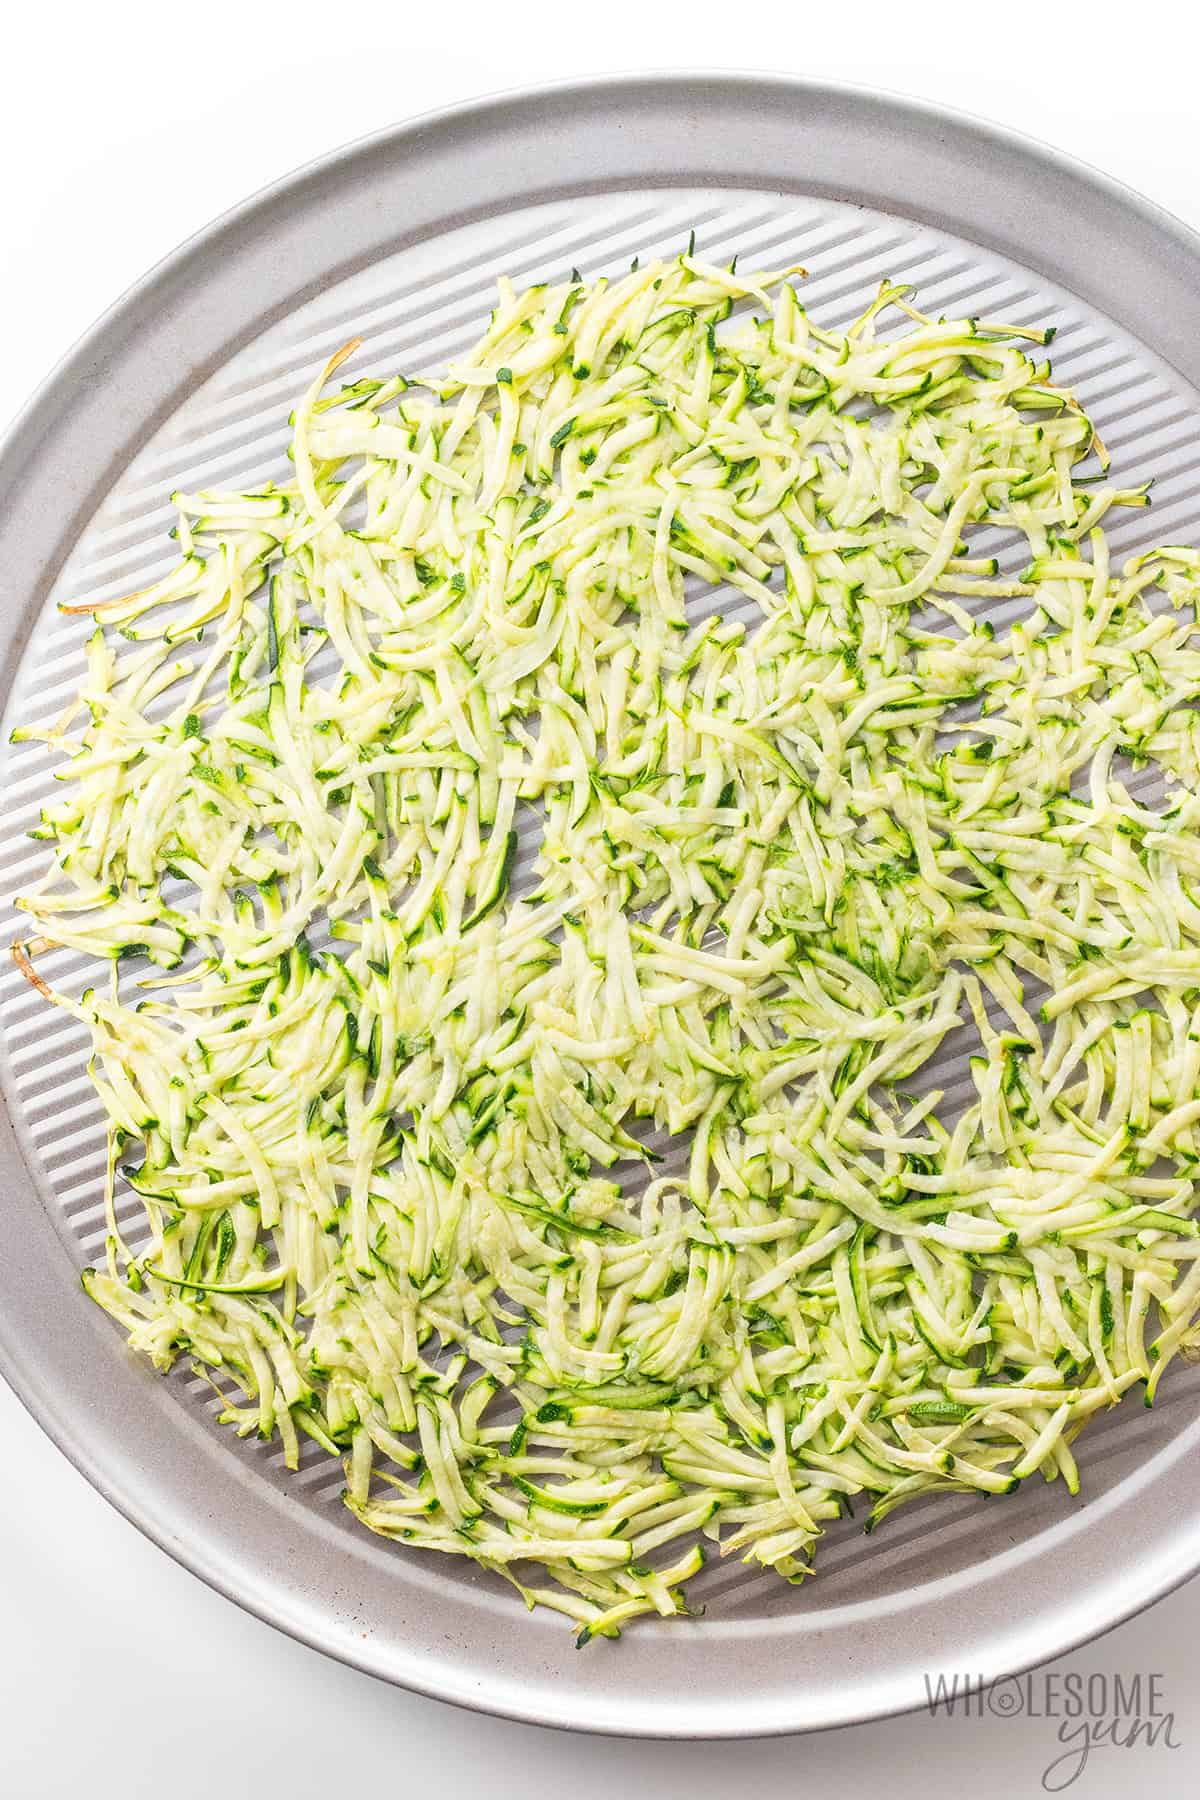
- Dry the zucchini. Spread the grated zucchini into a thin, even layer on a pizza pan and sprinkle it lightly with salt. Bake until the shreds look soft, less opaque, and slightly shrunken.
- Mix the crust. Meanwhile, stir together the eggs, mozzarella, coconut flour, and sea salt in a large bowl. Blot the baked zucchini with paper towels until it feels pretty dry, just a little damp, then mix it into the bowl. This won’t look stretchy like a typical dough or runny like batter, but closer to a thin dough.
- Shape and bake the crust. Wipe the pan clean, then lightly grease it or line it with parchment if it isn’t reliably nonstick. Spread the zucchini mixture into a thin circle, about 1/4 inch thick. Bake until the top has golden brown spots and the center looks set.
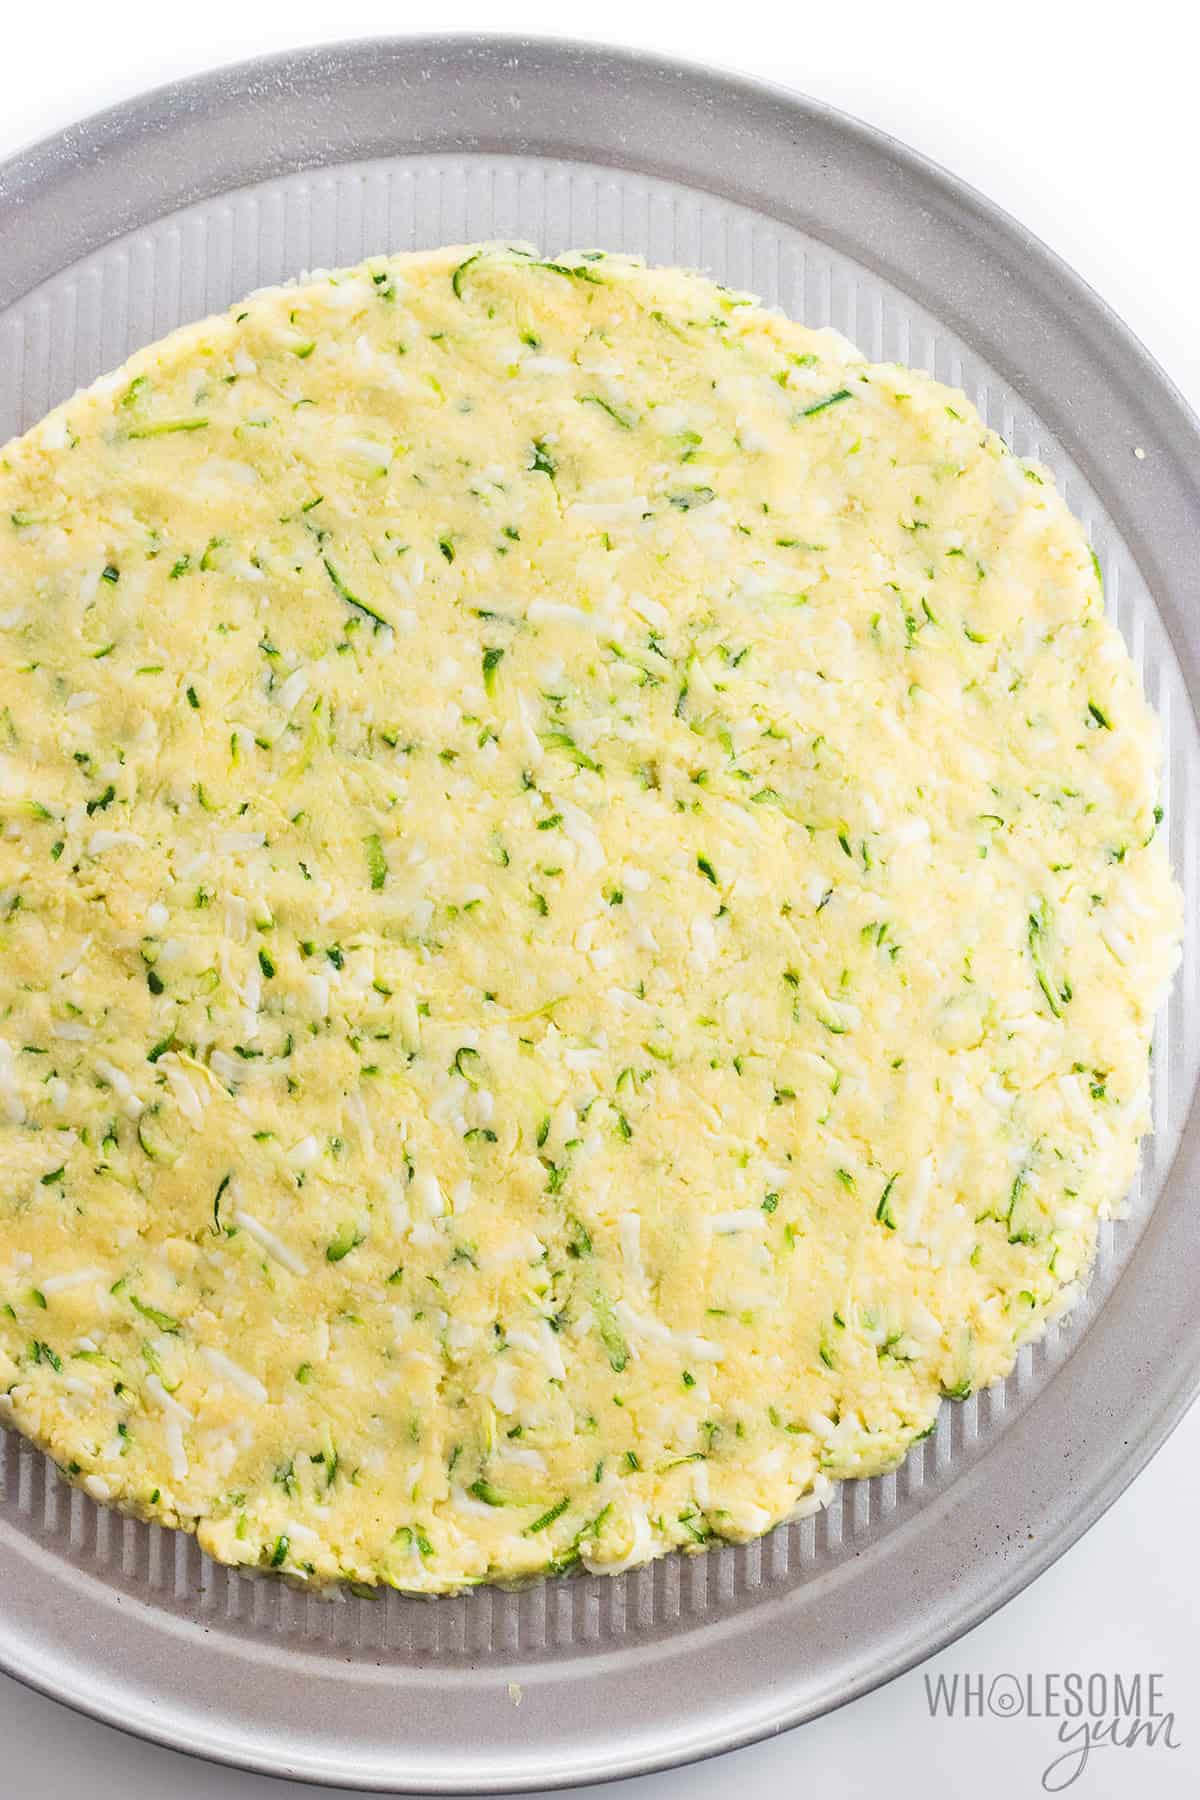
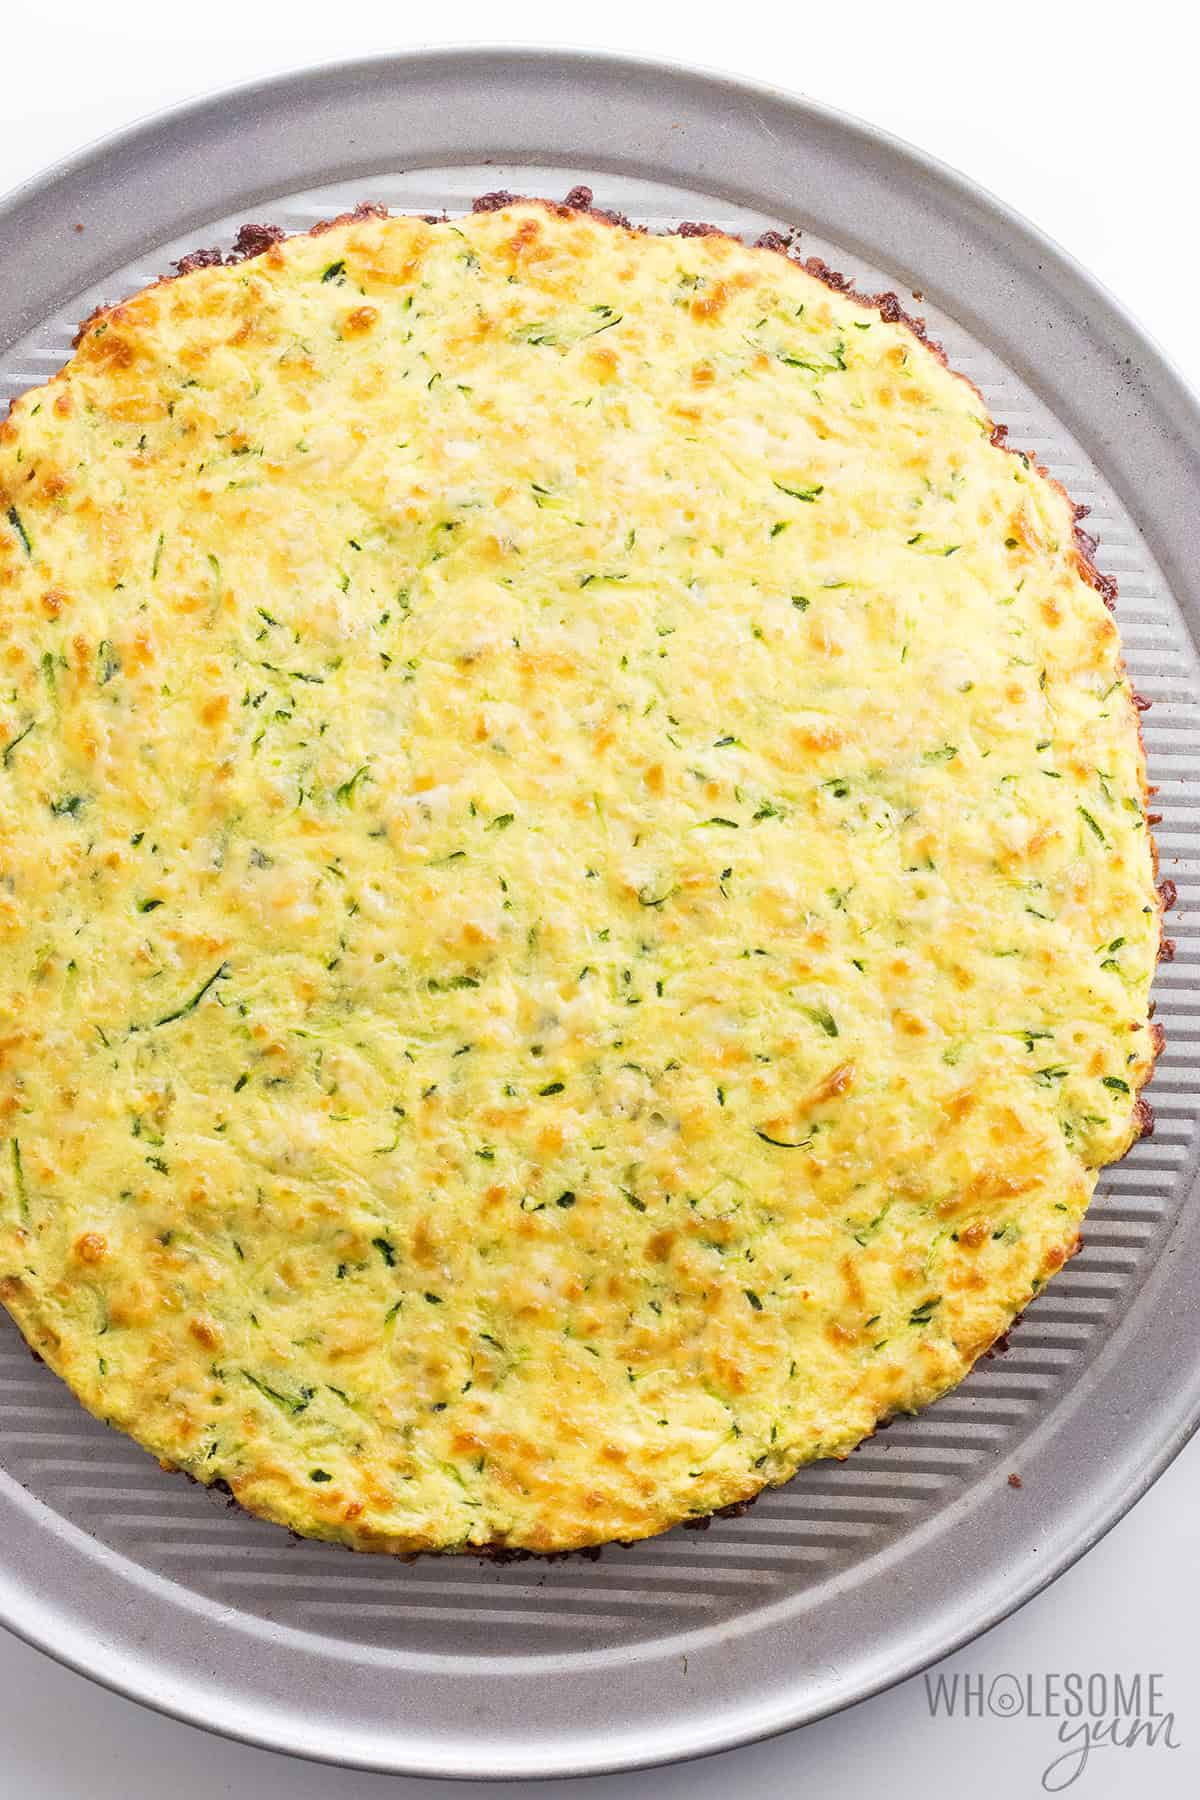
- Let it rest and add the toppings. Cool the plain crust for 10 minutes. Spread on a thin layer of thick pizza sauce, then add more cheese and your favorite toppings.
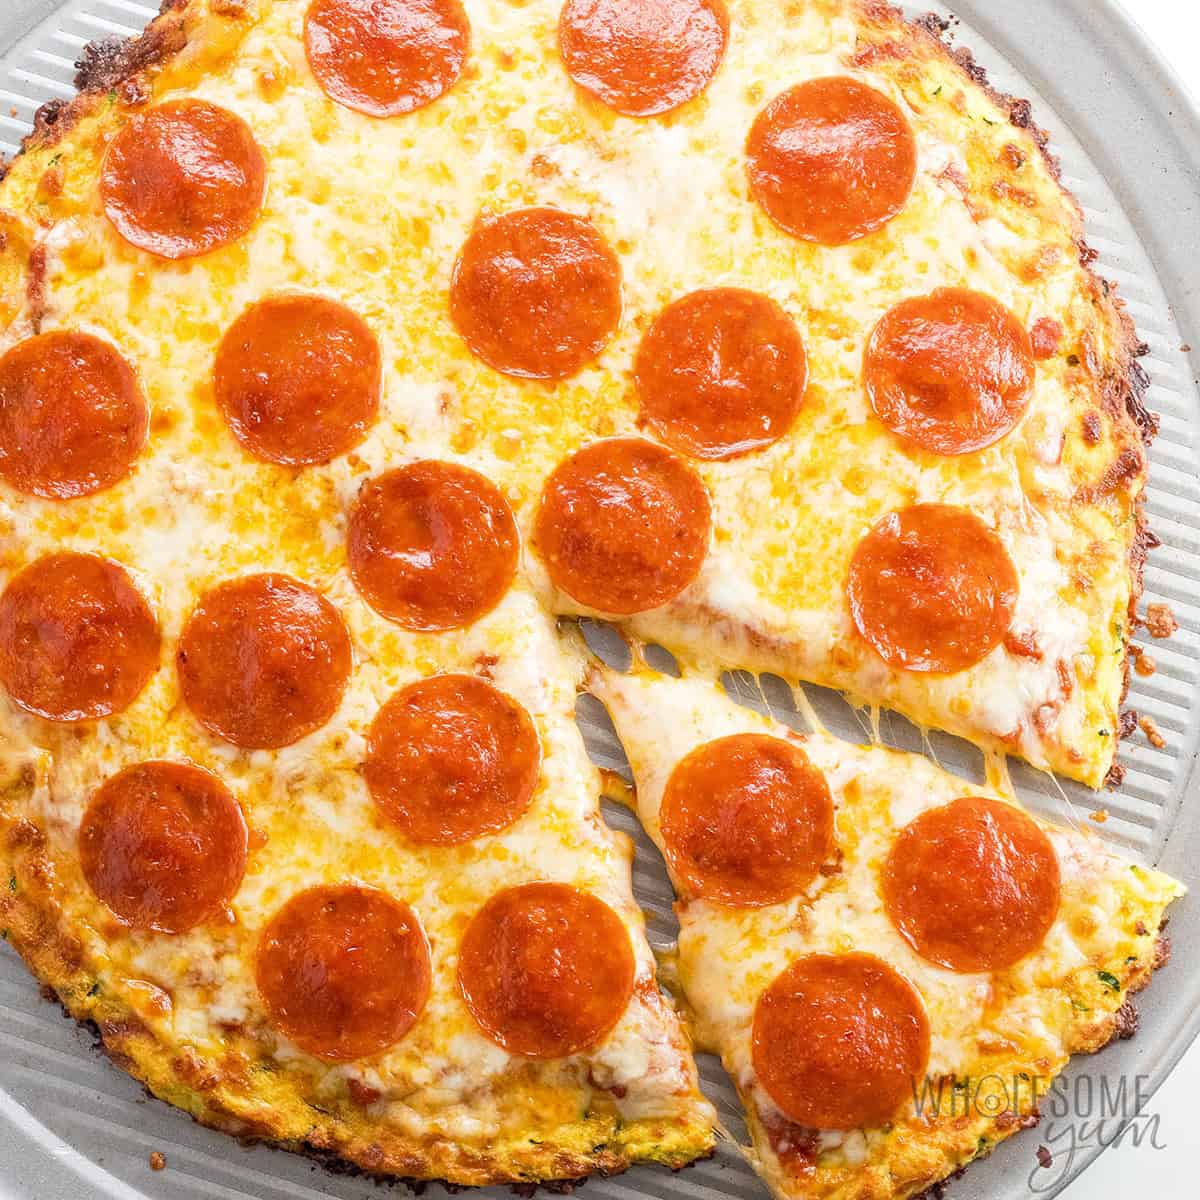
- Bake again. Return the zucchini crust pizza to the oven and bake until the cheese is melted and bubbly. For extra browning, broil it for the last minute or two. Let it rest for a few minutes before slicing, so it stays together when you pick it up!

My Tips For A Sturdy Crust
- Make sure the zucchini is dry enough. Zucchini can hold very different amounts of water, so go by appearance, not just baking time. The shreds should look soft, mostly dry, and no longer bright white. If you remove from the oven too soon, your squash will release more moisture into the crust later.
- Blot well with paper towels. I was so pleased to eliminate the squeezing here because that’s a lot of work! It’s much easier to dry well with paper towels instead, but I do usually need a few layers.
- Spread the crust thinly and evenly. I aim for about 1/4 inch thick, as thicker ones turn out less sturdy with this “dough”. Make sure the edges are not thinner than the center, or they can burn.
- Let the crust get golden and cool slightly before adding toppings. Parbaking the crust lets the cheese melt and form golden spots, then letting it cool a bit makes that cheese “seal” the crust from the wet sauce you’ll be adding. I watch for the cheese on top to solidify and the crust to feel firmer to the touch, which tells me it won’t immediately absorb the sauce and toppings.
- Use light toppings without too much moisture. I use a thin layer of thick pizza sauce, low-moisture mozzarella, and toppings that are already cooked and well drained. Raw mushrooms, fresh mozzarella, watery tomatoes, greasy meats, or too much sauce can soften the center and weigh down this zucchini pizza crust.
- Use parchment if your pan tends to stick. The one I used (pictured above) is fine without, but if you’re unsure, better to line it. And after baking, let the crust rest briefly and loosen it gently with a thin spatula instead of pulling it up while it’s piping hot.
- Use a pizza stone for a crisper bottom. With this option, I do recommend shaping the wet mixture on parchment paper, because it’s too sticky at first. Use a pizza peel to slide the parchment and crust onto a preheated pizza stone to bake. After baking the crust, you can slide it off the paper directly onto the stone to finish with toppings.

Zucchini Pizza Crust (That You Can Pick Up!)
 By
My zucchini pizza crust is cheesy and sturdy enough to pick up — no squeezing required! Just 4 ingredients, low carb, and gluten-free.


Instructions
[ See step photos See my tips ]Tap on the times in the instructions to start a kitchen timer.
-
Preheat the oven to 350 degrees F (177 degrees C). Grease a 12- or 14-inch non-stick pizza pan. (30 or 36 cm) (Use parchment paper if it's not excellent non-stick.)
-
Spread out the grated zucchini onto the pan in a thin layer. Sprinkle very lightly with a little sea salt (not 1/2 tsp, this is just a light sprinkle). Bake for about 10-15 minutes, until zucchini is semi-soft and fairly dry.
-
Meanwhile, combine the eggs, mozzarella, coconut flour and 1/2 tsp sea salt in a large bowl.
-
When the zucchini is done, pat the dry as well as possible with paper towels. Mix into the bowl.
-
Lightly wipe down the pizza pan to remove any stuck-on zucchini. If your pan isn’t non-stick, line it with parchment paper, then lightly grease the pan or parchment before adding the crust.
-
Spread the zucchini pizza dough into a thin circle, about 11-12 in (28-30 cm) in diameter. Bake for 20-30 minutes, until there are brown spots on the top. (The time will depend on the thickness of the zucchini pizza crust.)
-
Remove the zucchini pizza crust from the oven. Increase the oven temperature to 400 degrees F (204 degrees C) and let it preheat.
-
Let the crust rest for 10 minutes at room temperature, then top with thick sauce and toppings.
-
Return the zucchini crust pizza to the oven for about 10 minutes, until the cheese on top melts. If desired, place under broiler for a couple minutes to brown the cheese.
Did you make it? Leave a review or tag me @wholesomeyum on Instagram!
Maya’s Recipe Notes
Serving size: 1 slice, or 1/8 of the entire large pizza
- Tips: Check out my recipe tips above to help you get the best texture, keep the crust from getting soggy, and make it sturdy enough for toppings.
- Meal prep: You can make the crust or the entire pizza in advance. See my meal prep options below for storage, freezing, and reheating instructions.
- Note on nutrition info: Toppings are not included, since the nutrition will vary depending on what you add. I calculated the nutrition per slice for convenience, but I can easily eat 2-3 slices for a meal.
I provide nutrition facts as a courtesy. Have questions about calculations or why you got a different result? Please see my nutrition policy.
Add Your Notes Your Notes
Try More Of My Recipes

© Copyright Maya Krampf for Wholesome Yum. Please DO NOT SCREENSHOT OR COPY/PASTE recipes to social media or websites. We’d LOVE for you to share a link with photo instead.
Zucchini Pizza Crust
Meal Prep Options
- Storage: Keep leftover zucchini pizza in an airtight container in the fridge for 3-4 days. I recommend reheating the pizza on a pizza stone in the oven again for the best texture.
- Bake the crust ahead: You can prebake the zucchini pizza crust and refrigerate it for up to 5 days. I don’t recommend storing the raw dough, as the zucchini may release more moisture and make it too wet. I wouldn’t add toppings until you’re ready to bake either, or the crust can get soggy.
- Freeze the crust without toppings: This is my favorite meal prep option and I make a few at a time! Wrap it tightly in plastic wrap followed by foil, and freeze for up to 3 months. When ready to use, add the sauce and toppings directly to the frozen crust and bake at 400 degrees F for 10-15 minutes, until hot and the cheese is golden.
- Freeze the crust with toppings: You can also freeze the fully topped pizza. I recommend letting it cool completely before placing it in the freezer to keep the crust as sturdy as possible. Bake straight from frozen at 400 degrees F for 15-20 minutes, until melty.
Topping Ideas
I usually keep my zucchini pizza crust simple, but you can use many of the same toppings you’d add to regular pizza:
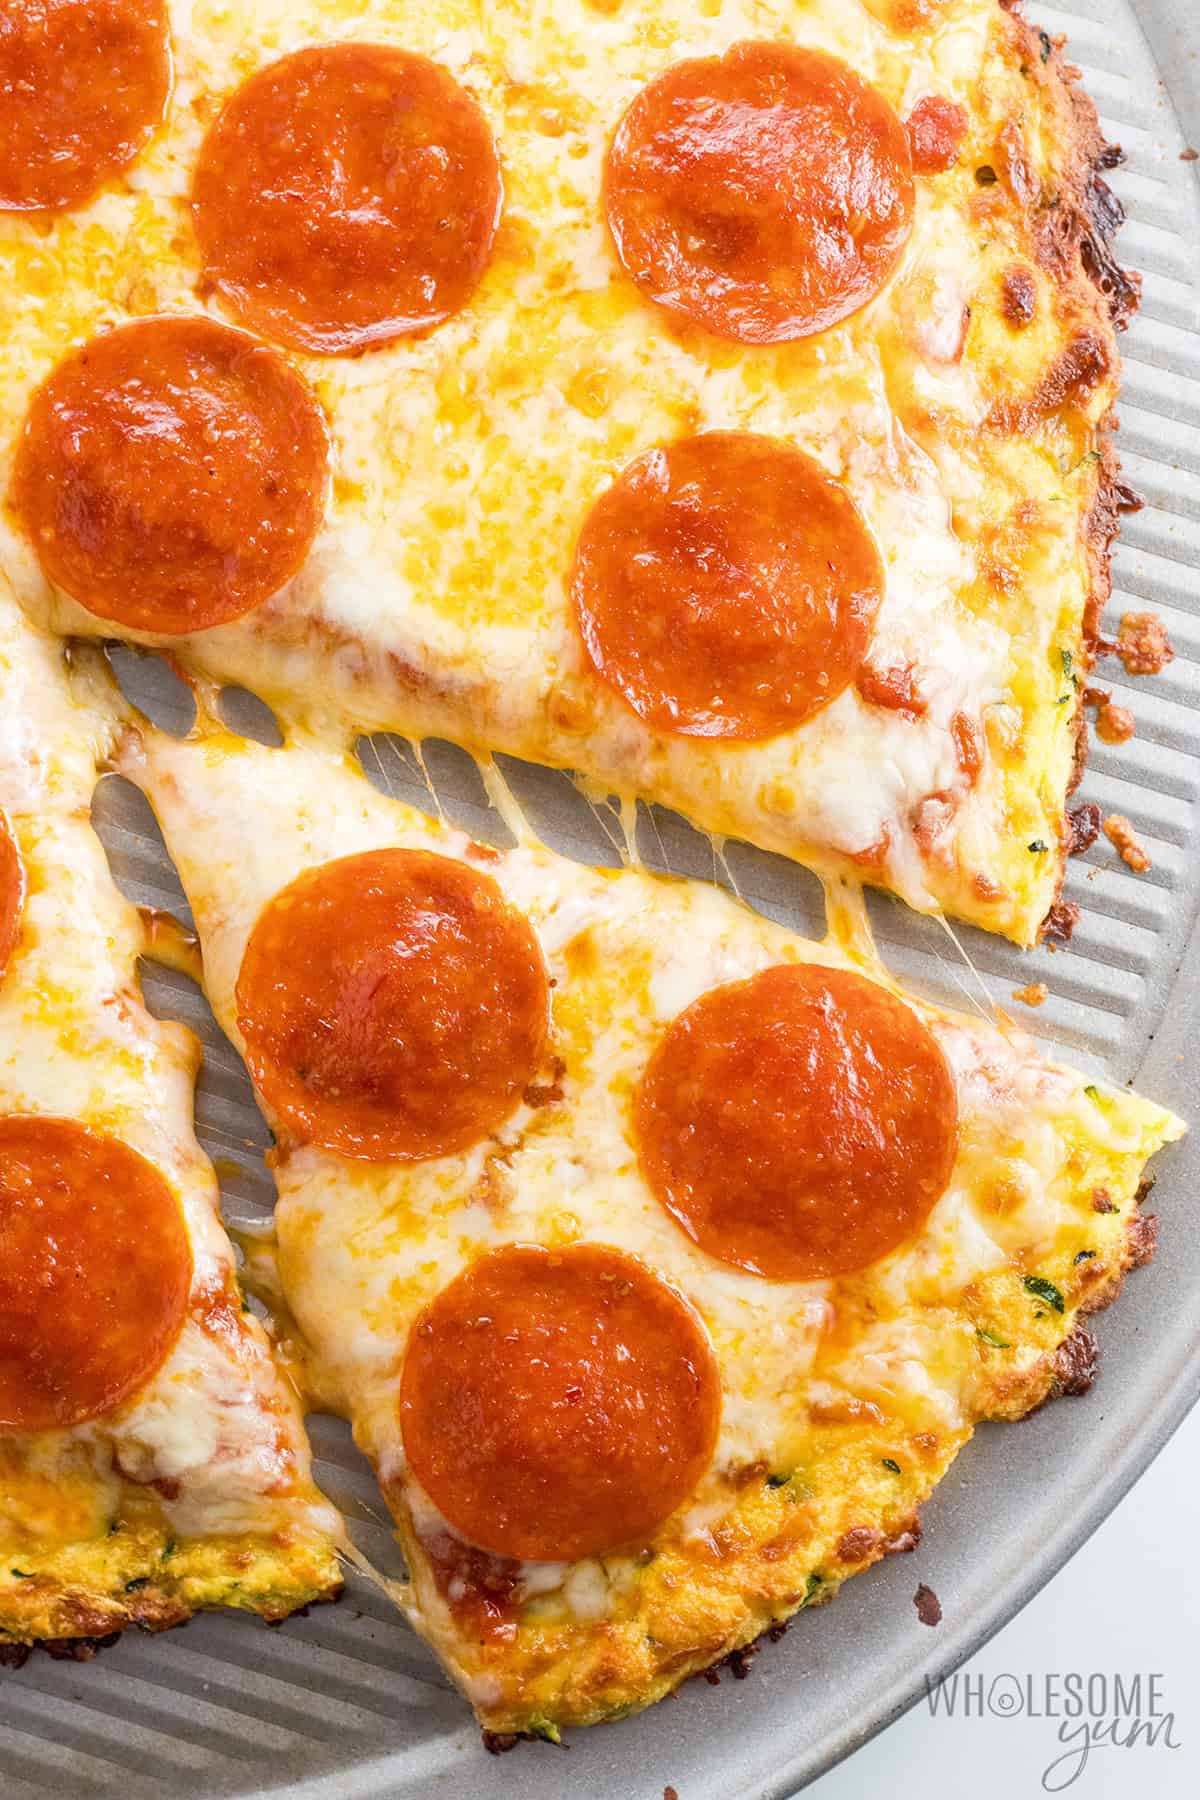
- Classic Pepperoni – Spread on a thin layer of pizza sauce, then add shredded mozzarella and pepperoni. This is the version I make most often for my kids.
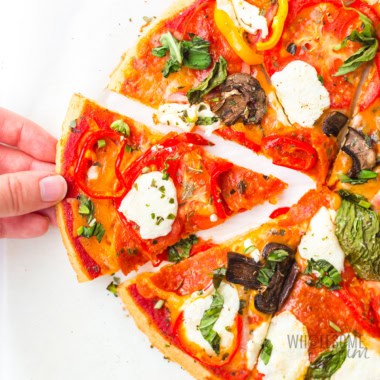
- Veggie – Add sautéed mushrooms, cooked bell peppers and onions, black olives, and a sprinkle of Italian seasoning.
- Caprese-Inspired – Use roasted cherry tomatoes and mozzarella. Add fresh basil after baking for a fresh finish. I like this version with pesto sauce instead of red sauce.
- Meat Lover’s – Top with pepperoni, cooked sausage, and crisp bacon.












188 Comments
Nan
1I love this recipe and have made it several times. The last time I made this recipe, I didn’t have a zucchini, so I substituted it for shredded/chopped cabbage. The advantage of cabbage is that it does not require drying. In fact, it is a little dry, so I added one additional egg, which also upped the protein. That is a win!
Maya | Wholesome Yum
0Thank you for sharing, Nan! I’m so glad you liked the zucchini crust, and what a great idea with the cabbage, I’ll need to try that sometime.
Susan Fekety
1OH MY GOODNESS!!!! This was SOOOO good!! And easy. I do crave pizza from time to time and always feel like the ingredients in the pre-made crusts are creepy. Made this with mushrooms, onions, cheese, and pepperoni. Thank you for this!!!??
Teresa
1Our family could not get over how good this is! I have a strong sensitivity to coconut products, so I subbed with almond flour and used 1 less egg. I also missed in the instructions where it said to dry the shredded zucchini in the oven first, so my final mixture was very watery. I just squeezed out the solids with my hands and made 4 small rounds directly on my baking sheet. I thought it would end in disaster, but the edges were so crispy, and while the center was not crispy, it was not soggy either, and we felt like we were eating a regular dough thin crust pizza! We could not detect the zucchini at all!
Kara
0This turned out really great! I did have to squeeze out quite a bit of water even after drying in the oven, but still it helped a lot. I had run out of mozzarella so I used spicy Mexican shredded cheese instead. It was delicious! Thanks for sharing this tasty recipe.
Wholesome Yum D
0I’m so glad it turned out so well, Kara! Spicy Mexican cheese sounds like a delicious twist. Thanks for sharing what worked for you, and I’m so happy you enjoyed it!
Nancy Crompton
0I have made this pizza crust many times. I started by using zucchini. But one evening, I did not want to go through the hassle of drying it in the oven. So I decided to chop up cabbage instead. It is just as good as zucchini, and no drying is involved. Two cups of zucchini or cabbage are not enough for the diameter of the pizza that I want. So I generally use 3 cups. If I need another egg, I will add it. And sometimes I have leftover egg whites from making pies, frozen in the freezer. One egg white is usually enough to make it all cohesive. Great recipe, and I love the aroma of the coconut flour.
Wholesome Yum D
0Nancy, so glad this has become a repeat recipe for you! It’s always fun hearing how people adapt recipes to fit exactly what they need. 🙂
Jules
0I’m not sure what I did wrong but my crust turned out kind of soggy even tho I patted it dry. Maybe I did need to squeeze it and maybe I needed to cook it longer (I was afraid of burning it). I don’t know that I’d make this again but I have lots of other recipes here that I love and I also made the keto pizza crust this week and that was amazing! This was much lower in calories tho which is a really nice thing – pizza for less “guilt”! Thank you Maya for all your recipes!!!
Maya | Wholesome Yum
1Sorry to hear that, Jules! It sounds like the zucchini had more moisture and needed to cook for longer. It should look very dry after baking and patting dry, before mixing with the other ingredients. Hope this helps if you decide to make it again.
Jules
0Yes that def helps! Thank you!!!
Cindy
0Hello! I’m wondering how it would be to use dried zucchini slices. I dehydrated lots of our harvest and would like to use it in various ways other than zucchini lasagna. What would you suggest? Thanks for your suggestions!
Maya | Wholesome Yum
0Hi Cindy, I’m sorry, I’ve never tried that. If I dry zucchini, I usually eat it as zucchini chips. If you’ve had success using them for zucchini lasagna, I would think they’d work here if you chop them super fine and partially rehydrate them, but I’m not sure if the ingredient ratio would need adjustments. If you try it, please let me know how it goes!
AM
0Love this
Michele
0I am loving your recipes unfortunately. Curious I’m allergic to coconut and almond so what substitute flour do you suggest? For baking and cooking breaded vegetables. Like your breaded baked zucchini.
Maya | Wholesome Yum
0Hi Michele, It really depends on your dietary restrictions. If you’re low carb, pork rinds would make a good substitute for breading. Otherwise, regular or gluten-free breadcrumbs would work. Sometimes I also just use parmesan cheese by itself, though it’s not as crispy by itself.
Clare
0Hi, I am wondering if we were to squeeze out some of the moisture from the zucchini before baking it, if it would work, then add all rest of ingredients.
Maya | Wholesome Yum
0Hi Clare, I haven’t tried it that way, because you’d have to salt the zucchini and let it sit to be able to get enough moisture out. It’s much faster and easier to just salt and bake, instead of waiting for it to drain and then squeezing.
Beth
0Looks wonderful 😊
Patricia Clark
0I absolutely love this recipe. I just made it today for the 3rd time for tomorrow’s dinner. It can be picked up just like regular pizza. I will sauté vegetables tomorrow, add them to the crust and heat in the oven. What an easy Friday night dinner, healthy and delicious!
Robin
0What can I use to substitute for the coconut flour?
Maya | Wholesome Yum
0Hi Robin, Coconut flour is pretty unique in that it absorbs a ton of moisture (perfect for zucchini that contains a lot of it), so it doesn’t really have a great substitute in this recipe. Sorry! You can try my cauliflower pizza that doesn’t require coconut flour.
beachappy
0Perfect pizza for gluten free people! I have made the pizza crust many times now but the last one was the best. I added pesto to the crust mix and I use GF flour for to coconut allergies. I bake my crust on a preheated pizza stone. After the initial bake, I flip the crust over and then add my sauce and other ingredients. This seems to make the crust a bit crisper.
Pamela
0This is the perfect way to use up zucchini. It tastes amazing!
D Freshour
0Delicious and so easy to make! I didn’t have mozzarella, so I used shredded sharp cheddar. I also shredded & salted the zucchini, let it sit for 15 mins then placed it in a towel to wring it dry before adding it to the eggs & coconut flour & sprinkled in a little Mediterranean spice mix. the crust was beautiful and easily hand-held after cooling just a bit. Defenatly a keeper! Thank you for sharing!!
Mellanie
0This pizza crust is awesome! ….and so simple to make! Since the crust is so healthy I have no problem topping it with a white sauce, bacon, tomatoes and cheese! I’ve even added crab meat – yummmm.
Julie
0LOVE this recipe. Pizza for one: a batch recipe makes three 5.5” square crusts. Let them cool and then freeze them individually in Foodsaver bags or separate them with waxed paper in freezer bags.
Prep & cook a frozen crust:
– preheat oven to 375F
– dust a sheet pan with corn meal
– put your frozen crust with toppings on the pan and get it into the oven
– reduce heat to 350F
– bake 8-10 min
Chris
0First, lol at myself. I love cooking but I’ve never tried keto chanything recipes as I’ve never tried a keto diet, and though I know it takes a ton of skill when trying to make a food taste right without the traditional ingredients, I was curious and eager to try immediately and so plowed ahead with shredded cheddar cheese and wheat flour, using slightly more flour as I saw in the comments. So after adding the probably not dry enough zucchini to the mix, I spread the wet mass of “dough” onto my well-greased aluminum pan… in hindsight it clearly was way too wet and I should have corrected. Within minutes of baking it smelled amazing and looked quite gorgeous coming out, but stuck horribly. I painstakingly scraped the top 2/3 in one piece, lamenting the delicious looking mass left behind on the pan before tossing it in the sink to soak. To salvage, I added toppings to the ruined side: pesto, marinara, and fresh mozzarella, using restraint attempting to minimize fluid as there were many holes. At this point I got the bright idea to just chuck it on the well heated pizza stone in my oven that I considered using originally. After a minute or two I smelled burning, sighed, tried dislodging it unsuccessfully before placing it under the broiler to at least melt the cheese before it was inedibly burned. And you know what? It turned out incredibly tasty, if very ugly. Even the blackened edges tasted great and I usually hate blackened crust. I look forward to trying this again incorporating all the lessons learned!
Robin
0Wow! My favorite Zucchini crust recipe ever! Easy, pick-upable! delish! Thanks for sharing!
ZenMasterChip
0My wife and I loved this Pizza Crust; we had a great Pizza last night. I’m a diabetic T2 and an experimenter. Always looking for a faster, easier way to make low-carb items I or we can eat, I bought dehydrated Zucchini. The pieces were a little bigger than I expected, and some people had said they were tough, but most didn’t. So, I used my spice mill and gave the Zucchini a few quick pulses.
Knowing they should be partially rehydrated, I put them in with the egg mixture for moisture, mixed them, covered them with plastic wrap and placed it in the fridge to rehydrate for about half hour or so, added the remaining ingredients and baked according to instructions. It took 20 minutes and was golden brown. My wife covered the crust with fresh vegetables, homemade sauce and a shredded cheese mix. We could hold the slices in our hands, and it was a delicious, wholesome yum!
I wished it had just a little extra chew, and as I said, I’m an experimenter. Due to moisture loss rehydrating using the eggs, I suggest reducing the coconut flour by a tablespoon or adding a few dribbles of water before mixing if using dehydrated zucchini. I will also try replacing a couple of teaspoons of the coconut flour with Vital Wheat Gluten (mixing with the flour before adding) for slightly lower carbs, a little chew, protein, and with hope, slightly better binding. I’ll let you all know if it works! However, in truth, the recipe worked great as it is! Disclaimer: warning celiacs, don’t use Vital Wheat Gluten! 🙂