
 Shop
 My
 Custom




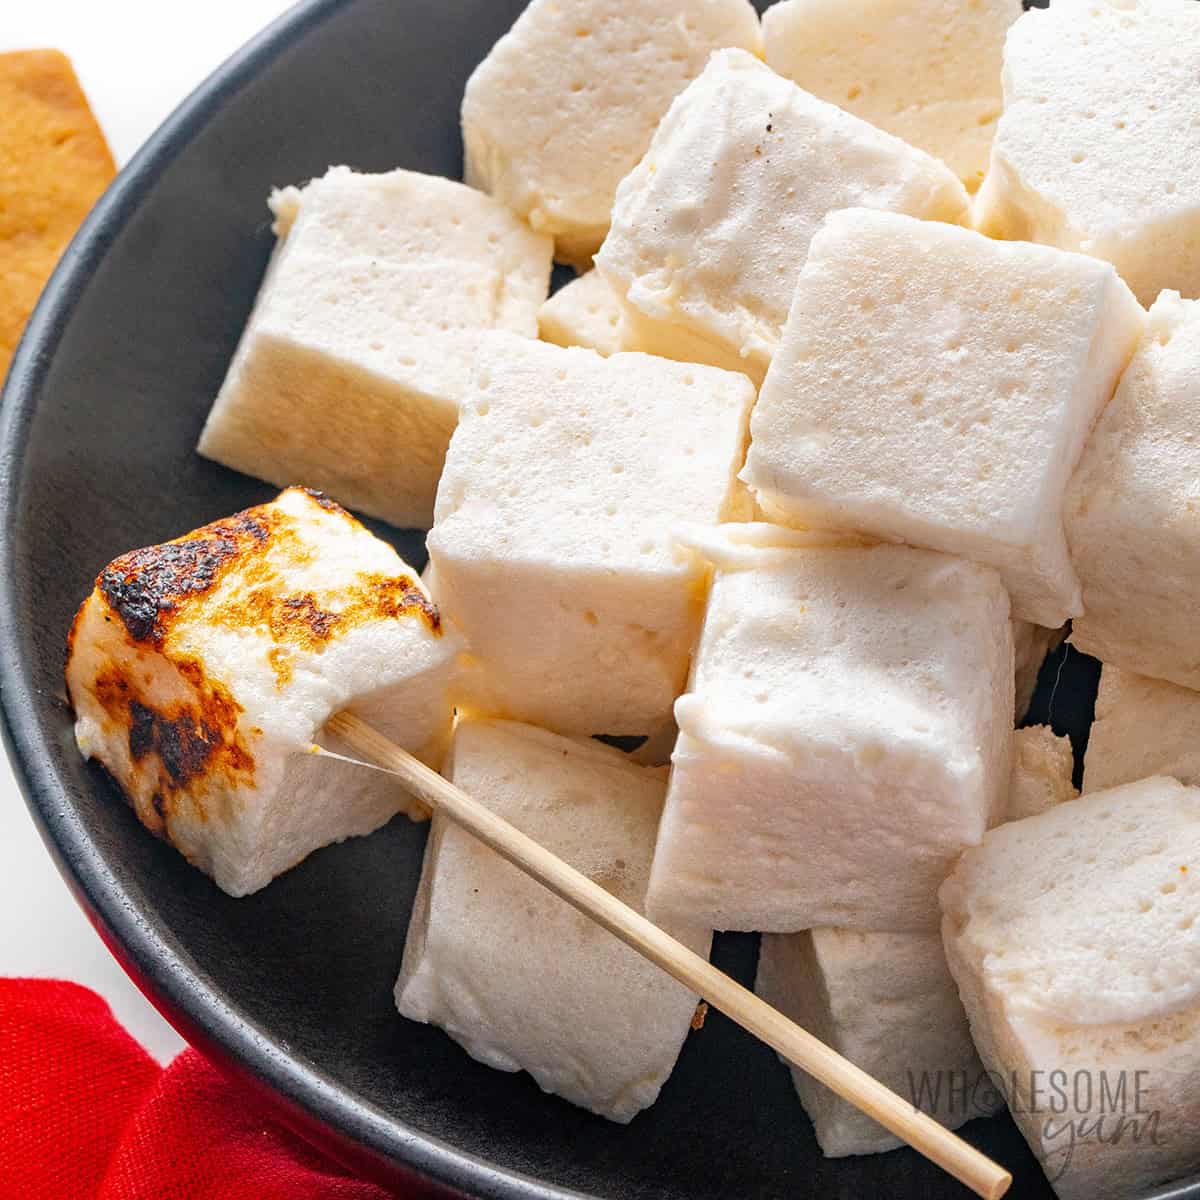
Yes, You Can Actually Roast My Healthy, Sugar Free Marshmallows
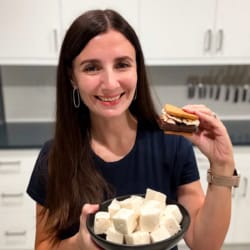
To say I love these sugar free marshmallows is an understatement! Even though I make them without corn syrup or sugar, the taste and texture is so similar to the sugar ones we all like. I even put these into little gift boxes with sugar free hot cocoa mix for my team one year.
Over the (many) years I’ve been making these healthy marshmallows, the only thing missing was the ability to roast them over a fire without melting away. This year, I set out to change that! After several (surprising) tests, here’s why they’re even better now:
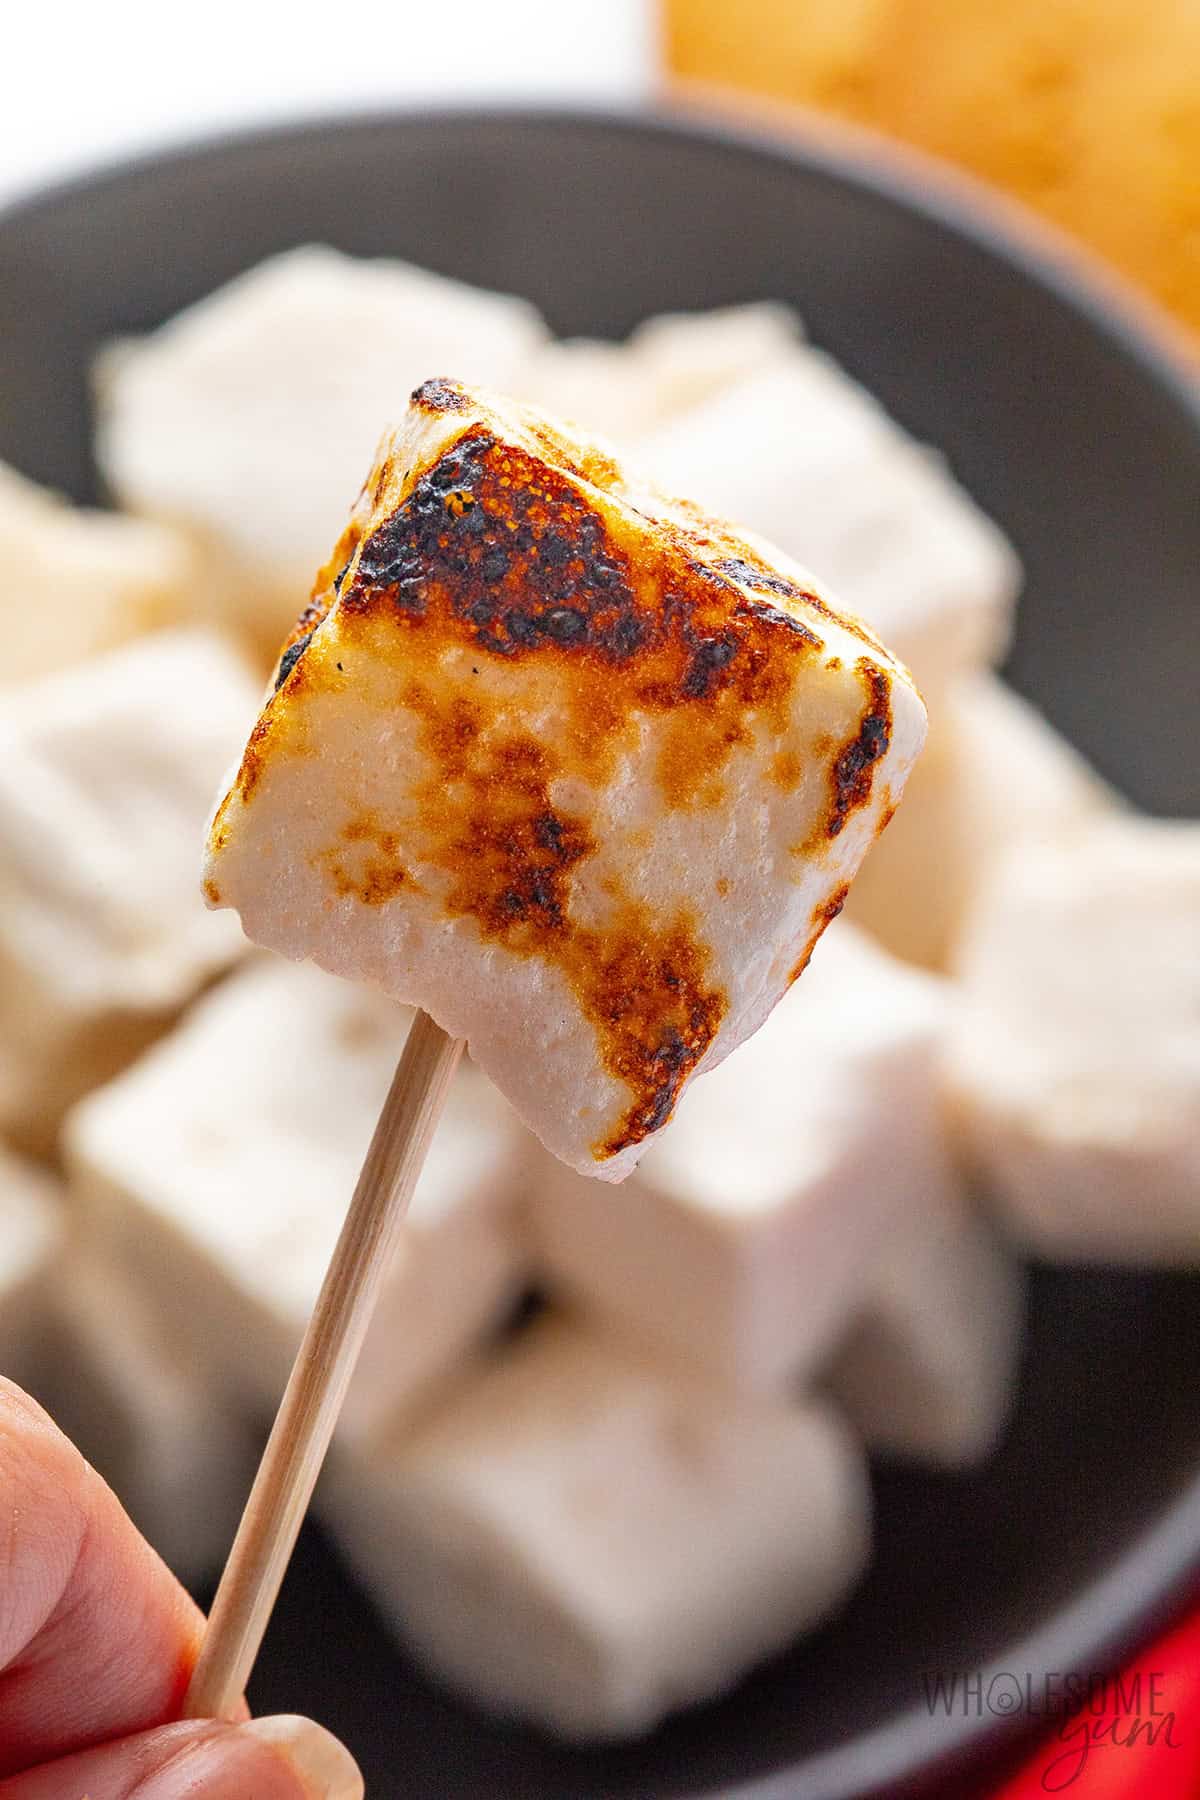
- They brown like regular marshmallows – Yes, these are actually roastable, and I’ve added a few new pictures to show you! Thanks to a couple extra secret ingredients, I’m thrilled with the beautiful char these can get now, and unlike my previous version, they no longer melt into a puddle the second they hit some heat.
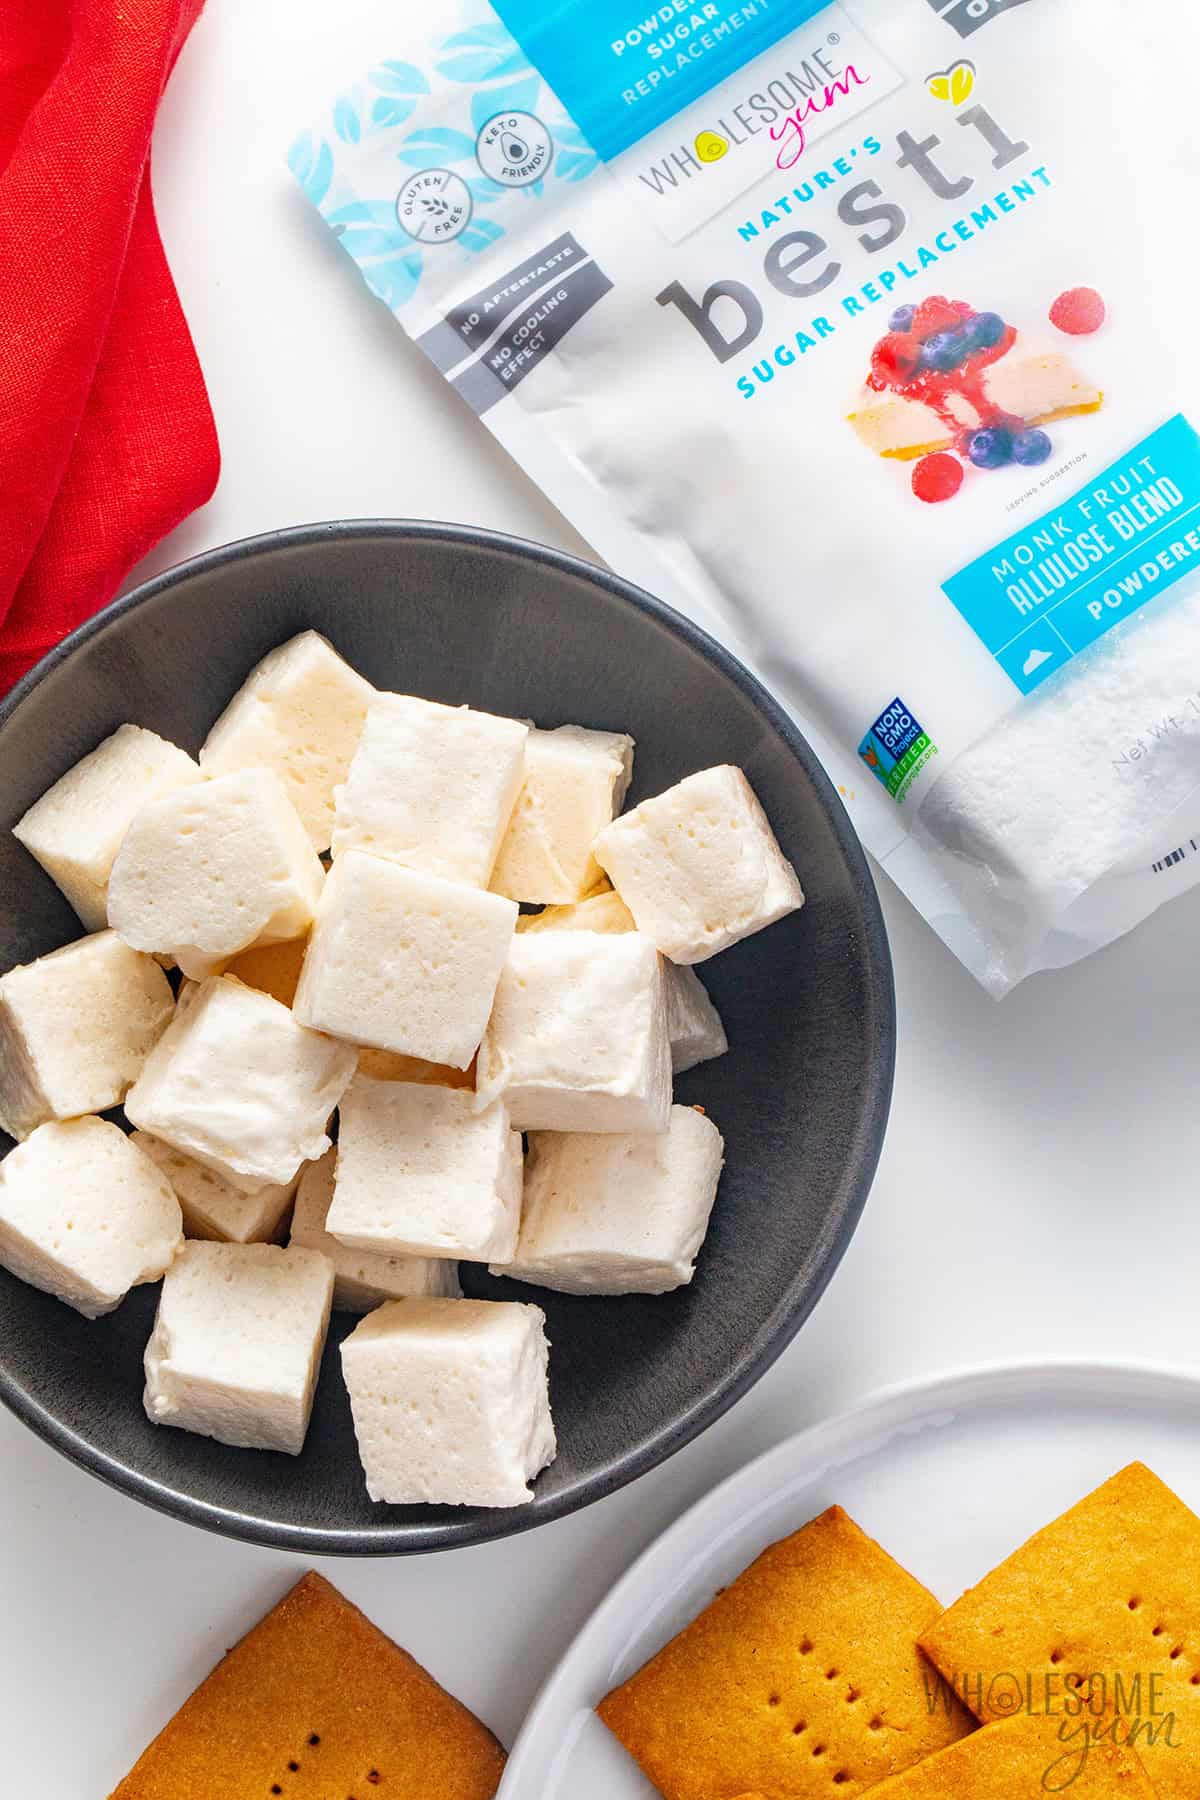
- Soft, smooth, and fluffy – I’ve been making this recipe since 2017, but when I switched to powdered Besti sweetener, that majorly improved its texture. They’re more fluffy, with no gritty texture, and they last longer.
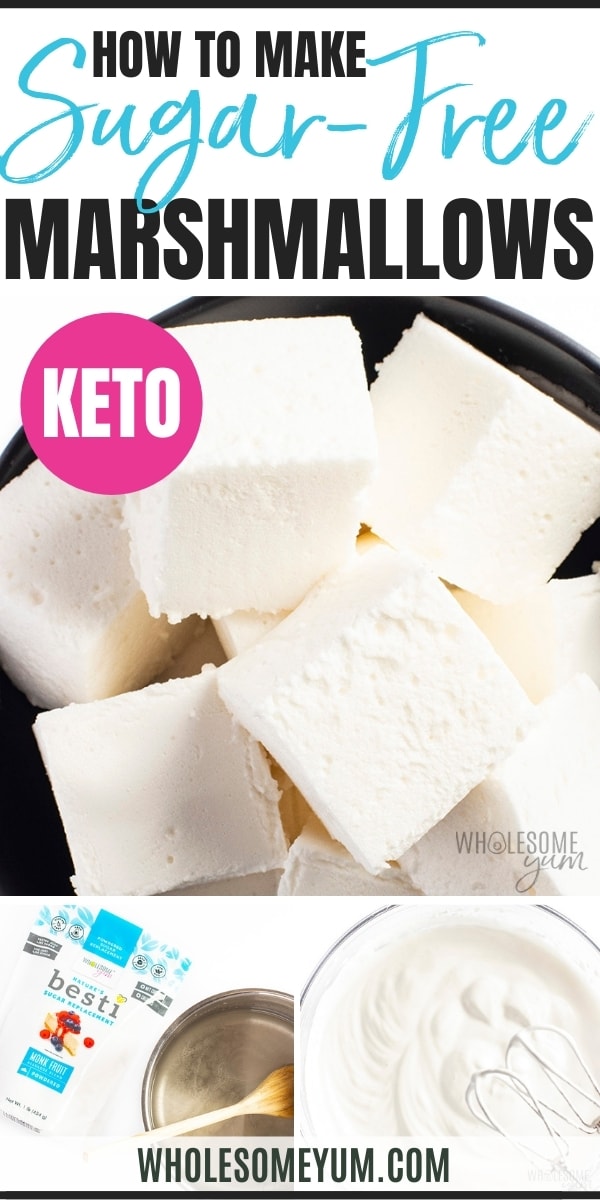
- Just 5 ingredients – Plus water and salt. And you can have a batch of these light, airy, sugar free marshmallows ready in about 20 minutes.
- All natural, no refined sugar – These are low carb, sugar free, gluten free, super low calorie, and made without artificial sweeteners. They’ve got almost zero net carbs per serving and even a boost of collagen (from the gelatin in them).
Now that you can roast healthy homemade marshmallows over the fire, there are so many ways to use them! Make s’mores with sugar free graham crackers, toss them in low carb hot chocolate, whip up a batch of healthy rice krispie treats, or even enjoy them plain (um, like my kids do). Make them with me and I promise they’ll be gone so fast!

“As most things I make, I made these for my husband. He wanted marshmallows in his hot cocoa. They came out the perfect, flavor, the texture is excellent. I’ll definitely be making these again.”
-Cheryl
Ingredients & Substitutions
Here, I explain the best ingredients for my sugar free marshmallow recipe, what each one does, and substitution options. For measurements, see the recipe card.
- Gelatin Powder – The main ingredient (no substitutes, sorry!). Any unflavored gelatin should work, but their gelling power can vary, so it can affect the texture of your healthy marshmallows a bit. I always use and tested this recipe with this brand.
- Besti Powdered Monk Fruit Allulose Blend – When I first made these as keto marshmallows, I used a combination of powdered erythritol and vanilla stevia. Powdered erythritol is a finer consistency, so it worked okay, but they still crystallized and got gritty over time. After I re-tested these keto marshmallows with Besti, they turned out so much better — more fluffy and no gritty texture even days later! This is why I only recommend Powdered Besti for this recipe now. You can try different sweeteners, but this is the only sugar substitute I’ve found to get the same texture as regular marshmallows.
- Whey Protein Isolate & Baking Soda – My 2 new secret ingredients to slow down melting and support browning! I don’t recommend most other types of protein powder here, because they don’t make browning work the same way. If you need a dairy-free option, you can leave out the protein altogether, but the marshmallows just won’t brown well and will be better eaten at room temperature. (The baking soda alone is not enough, and adding more changes the taste.) Or you can use pea protein, but you might need to heat for longer to get it to dissolve.
- Warm Water – To bloom the gelatin.
- Vanilla Extract & Sea Salt – For flavor.
FREE 5-Ingredient Recipe EBook
GET IT NOW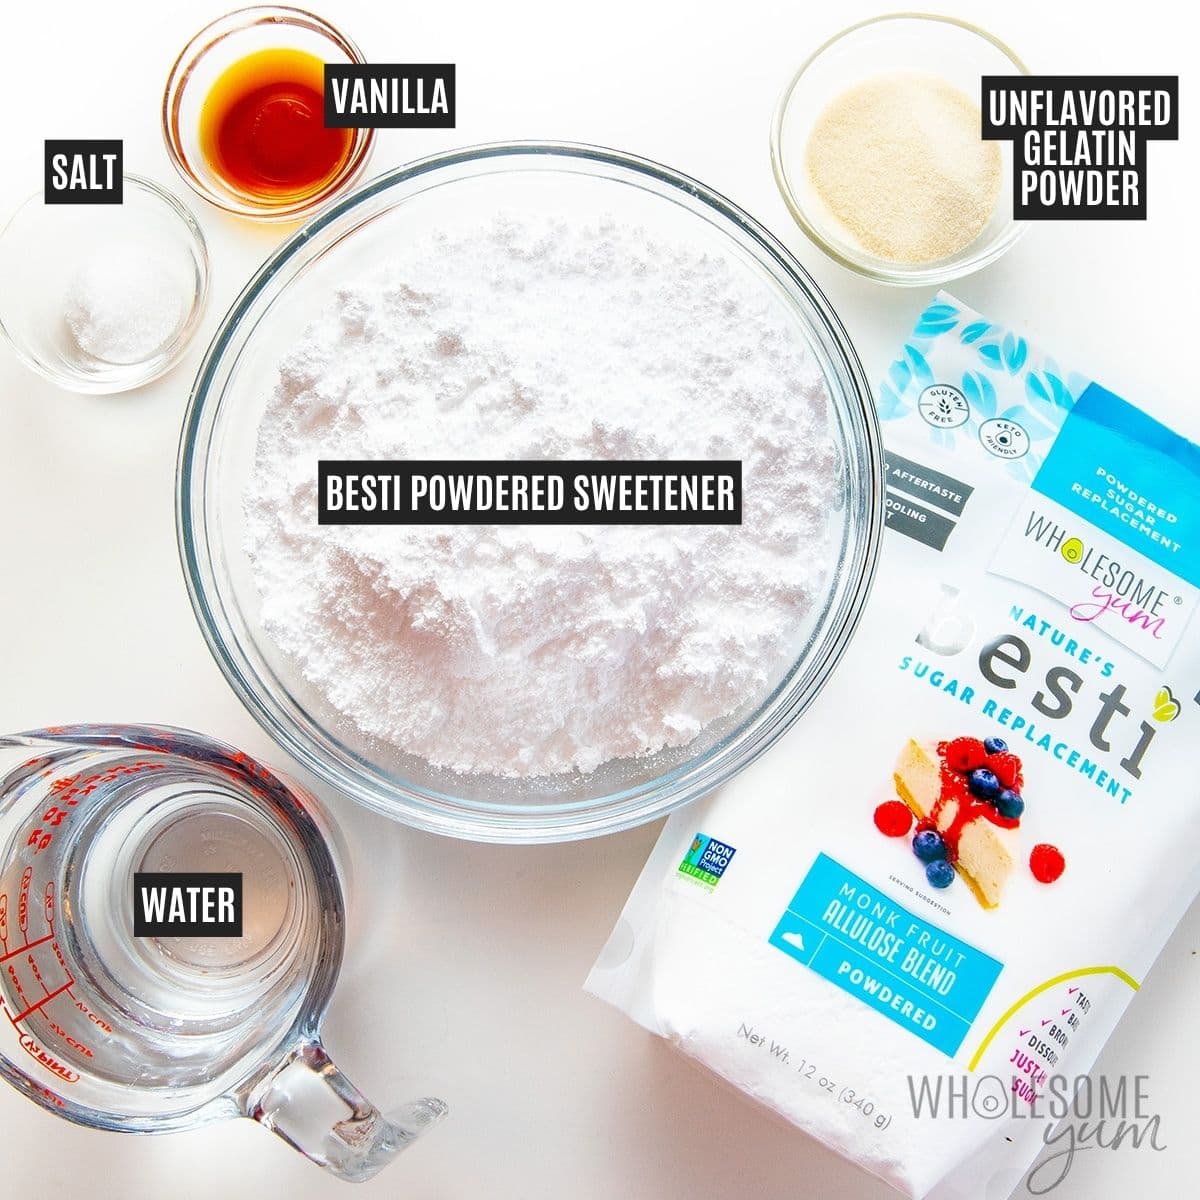
How To Make Sugar Free Marshmallows
I have step-by-step photos here to help you visualize the recipe. For full instructions with amounts and temperatures, see the recipe card.
- Bloom the gelatin. Pour warm water into a large bowl, sprinkle the gelatin over it, and whisk immediately. Set aside to bloom.
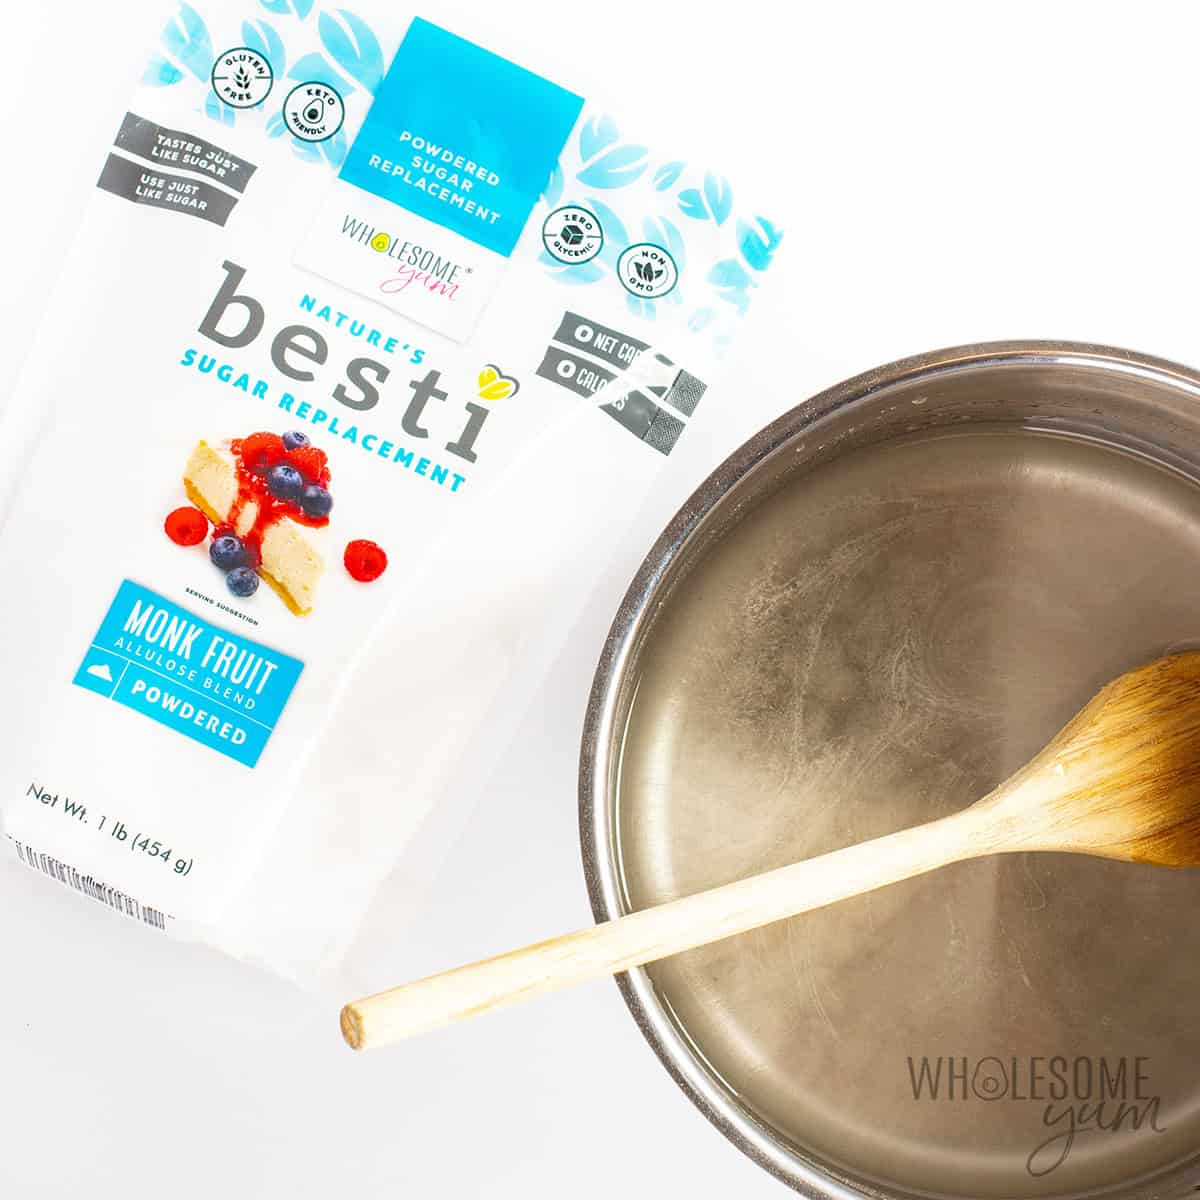
- Dissolve Besti and add-ins in water. In a medium saucepan, whisk together Powdered Besti, whey protein powder, baking soda, and salt. Add water and mix again. Heat gently, stirring frequently, until the mixture is hot but not boiling and the sweetener has dissolved. (The color will change from opaque to slightly translucent. I remove it immediately once bubbles starting to form at the edges!) Remove from heat and stir in the vanilla.
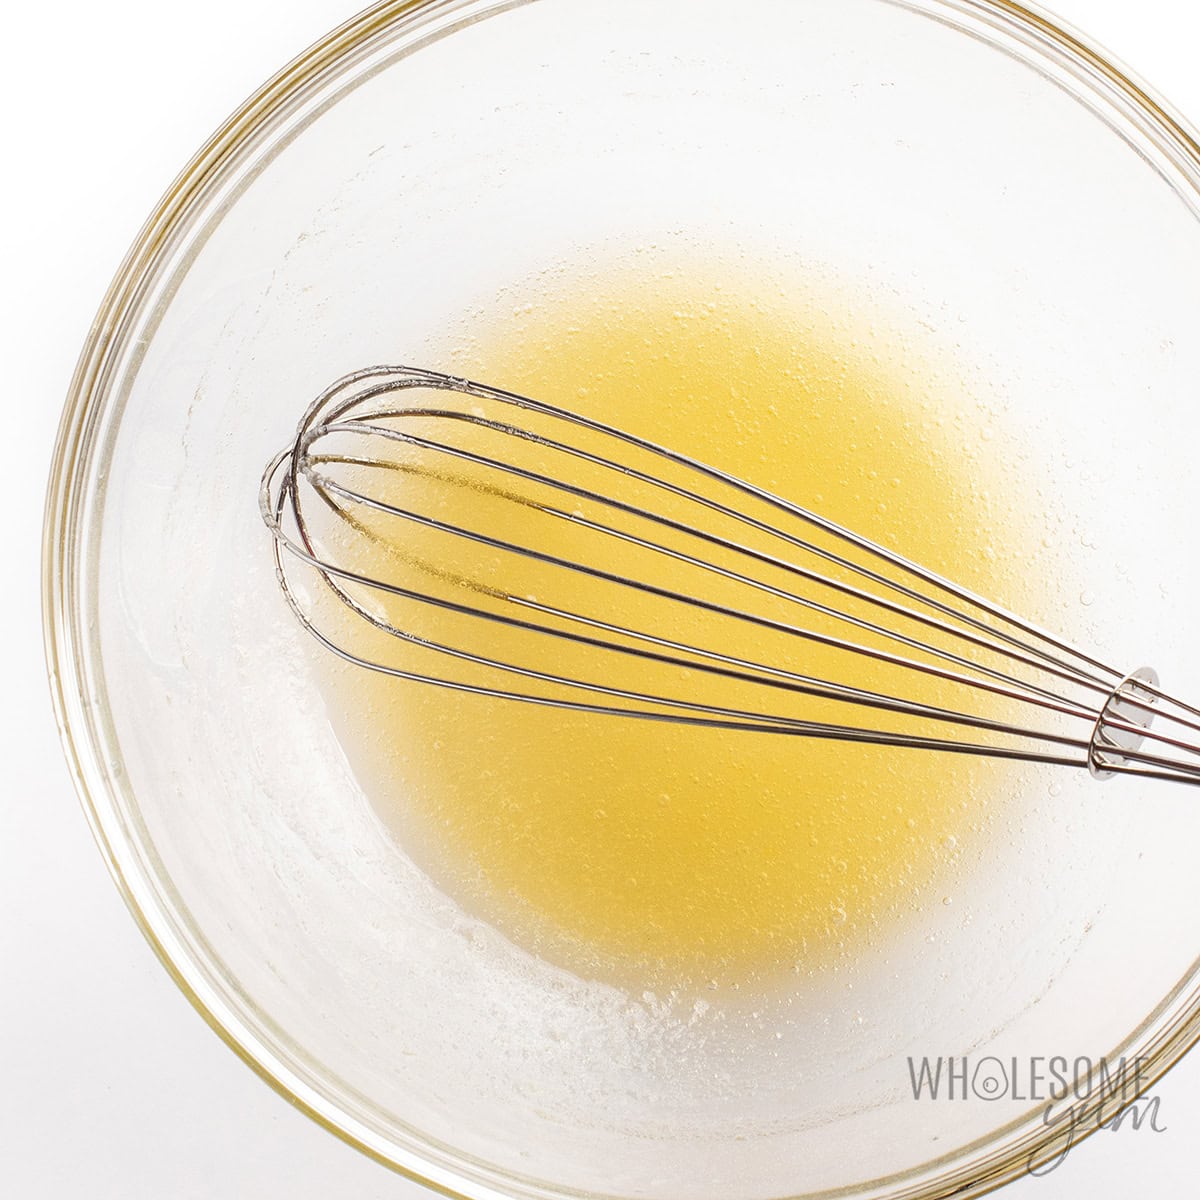
- Combine. Pour the mixture from the saucepan into the bloomed gelatin while whisking constantly. The gelatin will thin out with the hot liquid.
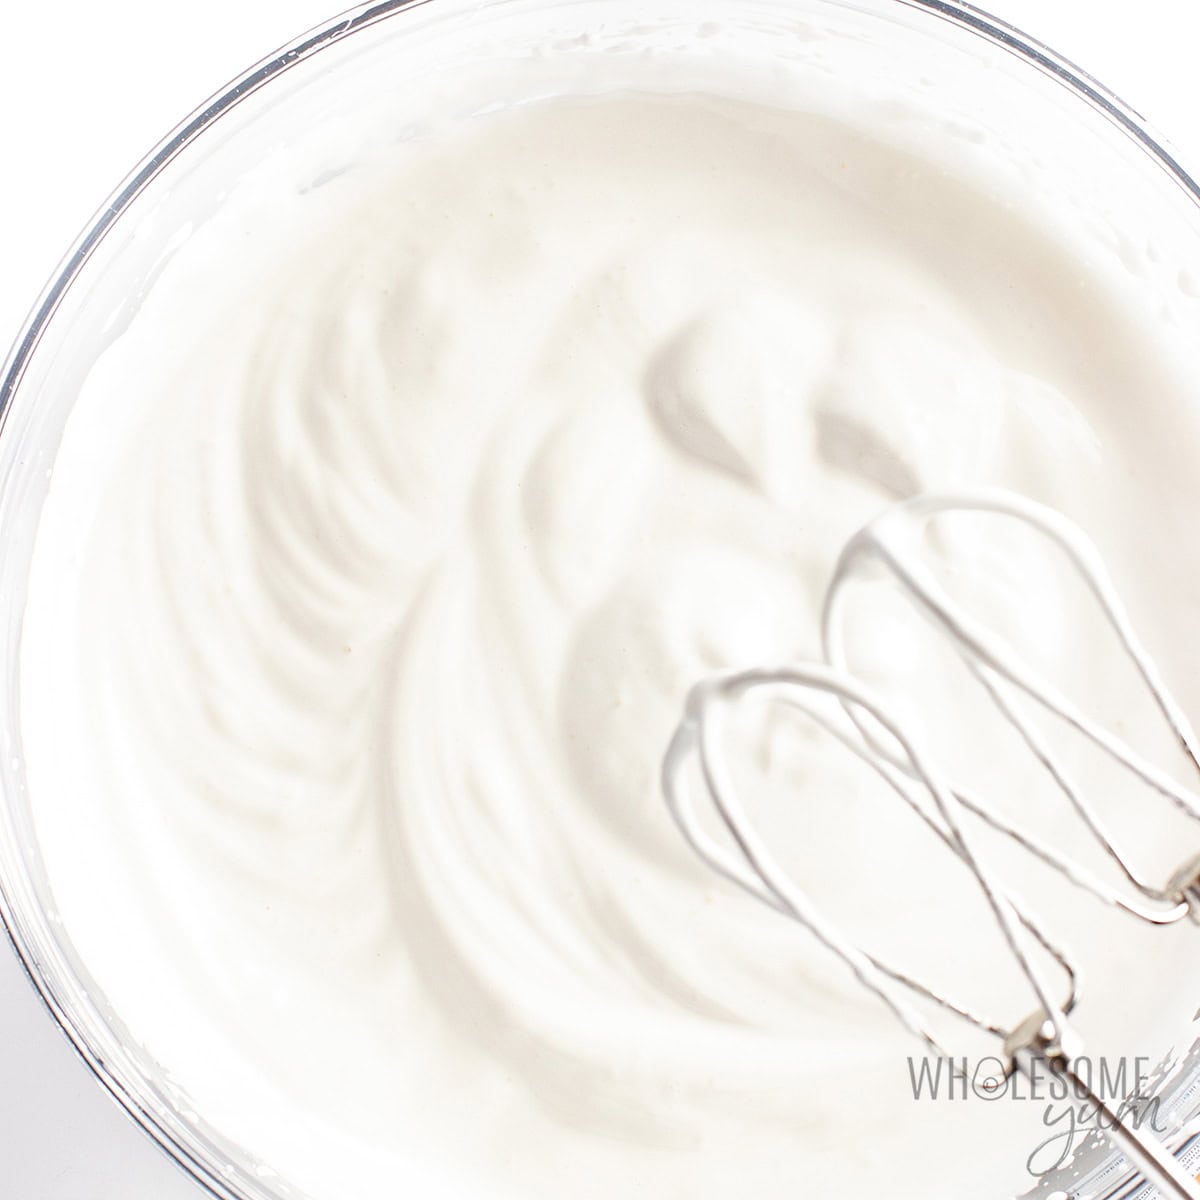
- Whip to stiff peaks. Using a hand mixer, beat the mixture until it doubles in volume, and becomes thick and airy. The sugar free marshmallow fluff should hold stiff peaks when ready.
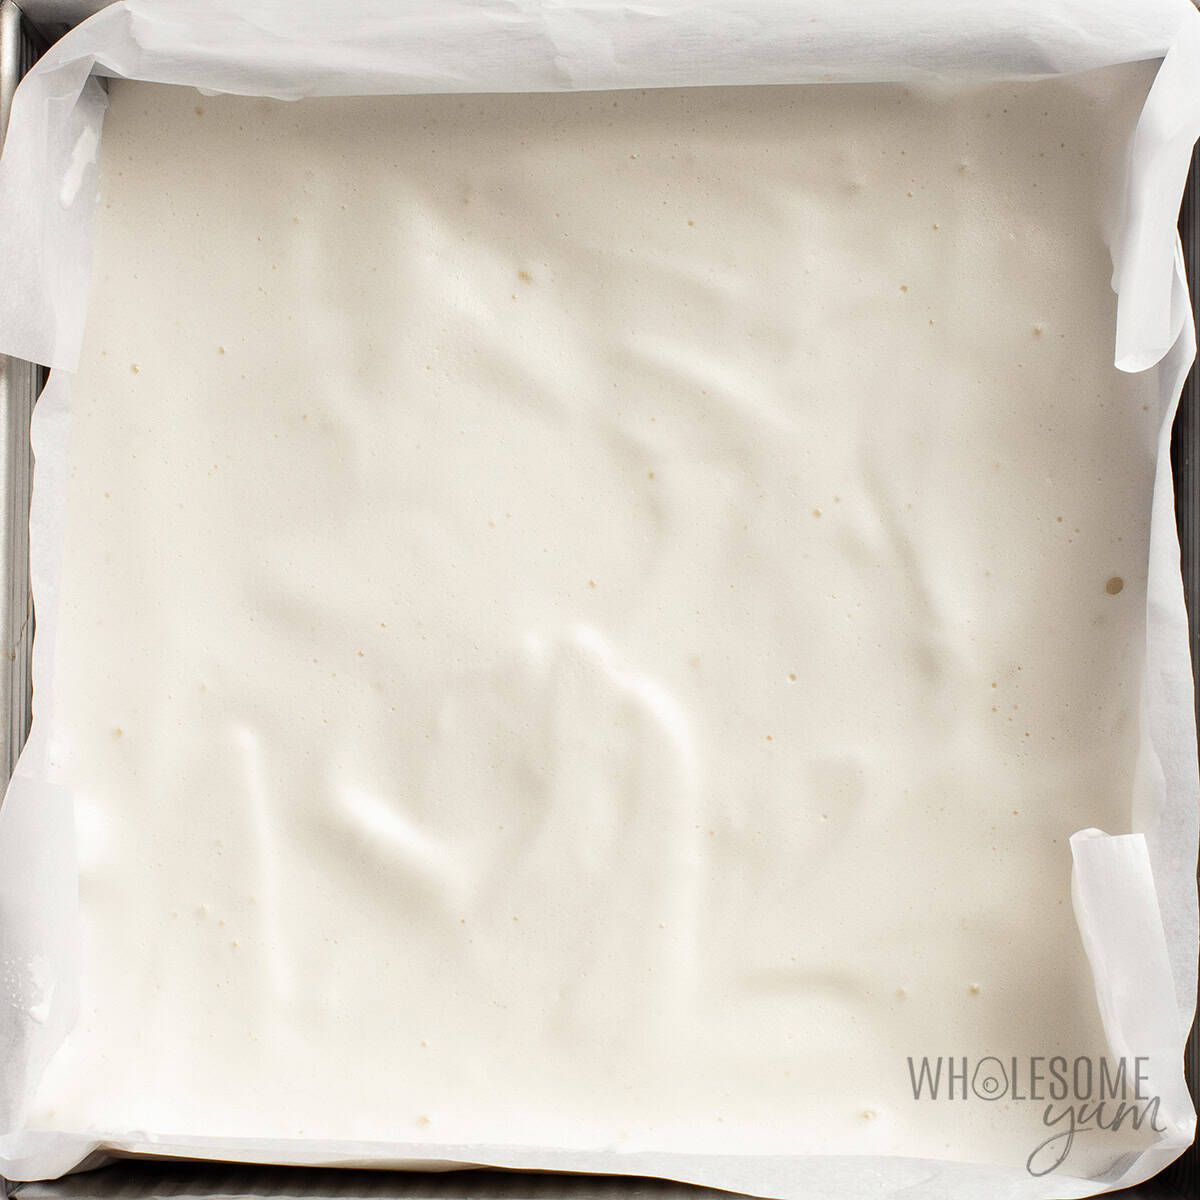
- Pipe or spread. I usually just spread the fluff into a parchment-lined square baking pan, as shown below. You can also transfer to a piping bag and pipe shapes onto a parchment-lined baking sheet.
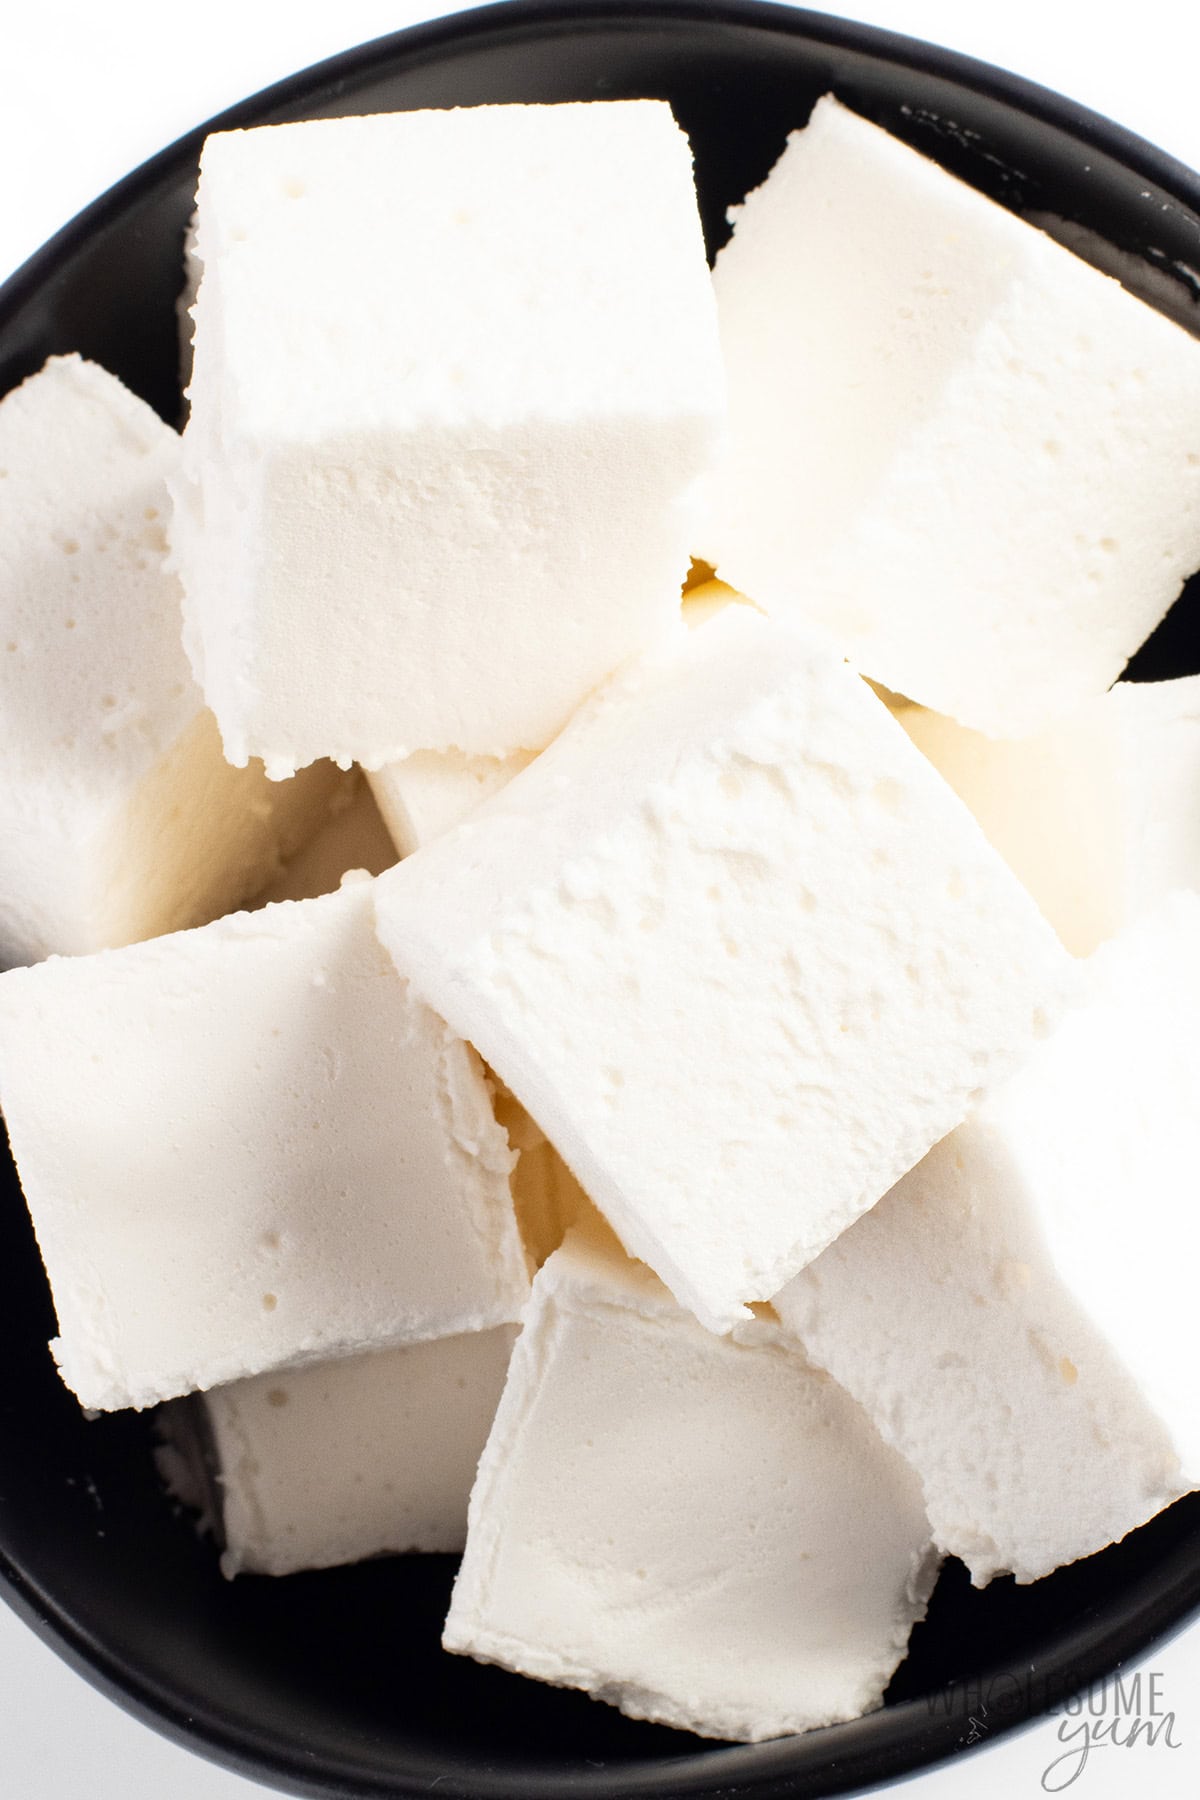
- Refrigerate until firm. If you used a baking dish like I did here, cut into cubes. For the best texture, let the sugar free marshmallows dry out uncovered on a rack over a baking sheet.

My Recipe Tips
- To avoid splattering, grab the deepest bowl you’ve got and start slow with the hand mixer. I prefer these stainless steel bowls these days (love how deep they are and don’t slide around my counter!), But I still have to start with the mixer on low and do a few minutes on medium-low before increasing the speed. I’ve gone high too soon before, and it’s a huge pain to clean the dried marshmallow fluff droplets off everything – they are sticky!
- Don’t let your mixer speed get too high. I usually keep it around medium. Very high speed can leave air bubbles in your homemade marshmallows.
- PSA: Whipping the healthy marshmallow fluff takes a really long time. It might seem like it’s not working, but keep going. It takes 12-15 minutes with my powerful hand mixer. If you have a stand mixer, this is a great time to use it, so you don’t get tired while using the hand mixer!
- You want to beat the marshmallows until stiff peaks form, but don’t overmix. Otherwise, it will be very difficult to spread the marshmallow creme into the pan, and the texture won’t turn out right.
- I added the drying step recently, and it helps with texture, so the marshmallows don’t feel as tacky on the outside. Browning is also nearly impossible without this. The drying time can vary depending on how humid your kitchen is — at least 24 hours, but it can take multiple days for the surface to no longer feel tacky.
- Even with these adjustments, these sugar free marshmallows are a little sticky on the outside and tend to stick together. If you want to avoid this, I recommend one extra step: toss the dried marshmallows in micellar casein (a type of milk protein powder). This not only helps keep the surface dry but also promotes browning. Otherwise, you can just keep them from touching each other while storing (I just put pieces of parchment paper between them).
- Avoid a see-saw motion when slicing. I recommend a gentle downward or rocking motion instead, to avoid frayed edges.
Sugar Free Marshmallows
 By
Make my healthy, sugar free marshmallows with just 5 ingredients — you can actually roast them! They're soft, fluffy, and easy to make.


Instructions
[ See step photos See my tips ]Tap on the times in the instructions to start a kitchen timer.
-
Line an 8×8 in (20×20 cm) pan with parchment paper. Set aside.
-
Pour 1/2 cup (118 mL) warm water into a large bowl (it will barely cover the bottom of the bowl). Sprinkle gelatin over the water and whisk immediately. Set aside.
-
Meanwhile, in a large saucepan, whisk together the powdered Besti, whey protein isolate, baking soda, and sea salt. Add the remaining 1/2 cup (118 mL) of water and whisk to combine. Heat over low to medium heat for a few minutes, stirring frequently, until the mixture is hot but not boiling and the sweetener has dissolved. (The color will change from opaque to slightly translucent, and remove immediately as soon as you see bubbles starting to form at the edges.)
-
Remove from heat. Stir in vanilla extract. Pour the hot liquid into the large bowl with gelatin, while whisking constantly.
-
Using a hand mixer on high speed, beat the mixture for about 12-15 minutes, until the volume doubles and the mixture looks very fluffy, like stiff egg-white peaks. (The time could take longer depending on the size of your bowl and how powerful your mixer is.)
-
Transfer the marshmallow mixture into the prepared pan.
-
Refrigerate for at least 8 hours, or overnight, until firm. Use a sharp chef's knife to cut into 1-inch cubes.
-
Optional step for better texture: Arrange the sugar free marshmallows on a rack over a baking sheet. Leave uncovered at room temperature for at least 24 hours to dry out the surface.
Did you make it? Leave a review or tag me @wholesomeyum on Instagram!
Maya’s Recipe Notes
Serving size: 4 1-inch marshmallows each
- Tips: Check out my recipe tips above to help you get the perfect fluffy texture, prevent sticking, and make these sugar free marshmallows roast beautifully.
- Storage & meal prep: These healthy marshmallows store really well, so I often make them ahead. They’ll keep in an airtight container on the counter for a couple of days, or in the fridge for up to 1-2 weeks. They can stick, so I line parchment paper at the bottom as well as between layers.
- Freeze: Yes, you can freeze these. Spread them out on a parchment-lined baking sheet first and pop in the freezer until solid, then keep in a zip lock bag for up to 6 months. Thaw on the counter or in the fridge.
📖 Want more recipes like this? Find this one and many more in my Keto Ebook Bundle!
I provide nutrition facts as a courtesy. Have questions about calculations or why you got a different result? Please see my nutrition policy.
Add Your Notes Your Notes
Try More Of My Recipes


© Copyright Maya Krampf for Wholesome Yum. Please DO NOT SCREENSHOT OR COPY/PASTE recipes to social media or websites. We’d LOVE for you to share a link with photo instead.
Sugar Free Marshmallows
Common Q&A
- Can you roast these healthy marshmallows? Finally, yes! But only if you follow the recipe exactly as written, including the whey protein isolate, baking soda, and drying step. If you don’t do these things, you can still get a gooey texture by heating very briefly before they melt, but you won’t get that charred outside.
- Can you use them in recipes? Usually yes. You can absolutely use the sugar free marshmallow fluff in any recipes that call for fluff, use the finished marshmallows in recipes that don’t require heating, or even incorporate them into recipes that heat or char them for a short time. I don’t recommend them for recipes that require melting them completely (like my keto s’mores bars, which use a store-bought version I like), because they’ll melt to more of a liquid rather than a gooey texture.












202 Comments
Carla
0I would like to try this recipe but I only have allulose sweetener and not monk fruit. As I live in the UK, I don’t have easy access to it and shipping is very high so I’m wondering if it’s possible for me to use just allulose in place of the Besti? Will it still work? Thanks
Wholesome Yum M
0Hi Carla, Yes, the recipe will still work with pure allulose. Please check the sweetener calculator here to figure out how much allulose you will need for the recipe.
Teri Miller
0This is a game changer!! I love hot cocoa with marshmallows now I can enjoy with the cold weather coming. Just getting ready to cut them and store in an air tight container …. Wish me luck
Jennifer
0Question about these sugar free marshmallows. Can they be used to create a marshmallow based sugar free fondant? I plan to try these, they sound fantastic, and was curious about fondant.
Wholesome Yum M
0Hi Jennifer, Unfortunately, this recipe can’t work as a base for marshmallow fondant.
Carol Kingsolver
0Hi, I was wondering if the marshmallow recipe coukd be made with stevia?
Maya | Wholesome Yum
0Hi Carol, I haven’t tried it with stevia, as I don’t like the taste. Most brands of stevia include fillers, which are either erythritol (will not dissolve well and not recommended for this recipe) or maltodextrin/dextrose (these are other names for sugar and not recommended for keto). If you use a pure stevia powder, that may work, but it would be very concentrated so you’d need much less. Let me know how it goes if you decide to try it. Otherwise, you can get the Besti sweetener recommended for this recipe here – it’s all natural, contains no sugar alcohols, and gives the best texture for marshmallows.
alice lungociu
0Thank you for making it possible to access the recipe without wading through al extraneous material
Lizet Bowen
0I’m so glad I found your recipe! I’ve made or tried to make sugar free mashmallos before, and it was a disaster!
I have monk sweetner, but it’s the Walmart brand, I wonder if that would work.
Does the sweetner syrup actually looks like syrup? or is the texture more like water?
Thanks!
Mahy
0It’s been so long since when I last enjoyed marshmallows at home. Your recipe got me so excited to get back to one of my old traditions. Thank you!
Pam Greer
0I can’t wait to try these!! I bought some monk fruit sweetener and have been collection recipes to give it a try!
Luci
0These marshmallows are so yummy! I haven’t made marshmallows till now and it was a blast! My son even had fun whipping them up with me! I will definitely be making these again soon! I might try even making Rice Krispies with them too!
Kayla
0Hi there! Would like to say that these were AWESOME, had tried a different recipe before this one and it flopped awfully. Yours came out beautifully and almost perfect: Except I somehow messed it up. The mallows are great in density, flavor and texture, except very gritty? Used powdered monkfruit sweetner, so I’m not sure why they’re gritty… Also the sweetner dissolved in the water, so I’m at a loss. We’re going to make it again regardless, but any tips would be appreciated!
Wholesome Yum M
0Hi Kayla, If you used powdered monk fruit erythritol sweetener, then your marshmallows may be gritty. Erythritol does best in baked goods and not as well in candy confectionary uses because it can crystallize and create a grittiness or crunchy texture. For this recipe, Besti Monk Fruit Allulose is the best sweetener for the job. Allulose not only dissolves better, but it does not re-crystallize. I hope this helps!
Renee
0Hello, can these marshmallows be used in rice crispy treats?
Wholesome Yum M
0Hi Renee, I have not personally tested using the marshmallows this way, but I think it should work. Please let us know if you decide to give it a try!
Shana
0Hi, I can’t buy any powdered monk fruit allulose blend. What can I use to substitute this? Are there different options? Thanks
Maya | Wholesome Yum
0Hi Shana, I have made these with a combination of powdered erythritol and stevia in the past, however the texture was not nearly as good. Erythritol crystallizes with storage, and also does not work for roasting. You can try it out, but for best results you can get powdered monk fruit allulose blend here.
Betsy
0Just made these. They are huge! Omg! So big and fluffy. I had no issues with the hot part, and used my KitchenAid mixer for about 8 min and did this ever double! My question is can I use a bigger pan to get them a bit smaller in height? Also, will they firm up more as they sit in the frig? These are monsters. I’m not worried about the macros as I can figure that out.
Also, I used lakanto powdered and they came out very well. I miss the stickiness of a “real” marshmallow but this will def help. I also used 2 envelopes of Knox gelatin in this recipe.
Marsha
0Thank you for posting that you used your KitchenAid mixer. I was wondering if I could do that too. My arm got tired with the hand mixer! Ha! My first batch is in the fridge and from the taste of the spatula, I think they are going to be great!
Wholesome Yum M
0Hi Betsy, Yes, you can put them in a bigger dish to make them smaller. They do get sticky like a real marshmallow if you use Besti Powdered as stated in the recipe.
Betsy
0Next time I make them can I used flavored gelatin? There will be a next time!
Wholesome Yum M
0Hi Betsy, Oh interesting! I think that would work as long as you keep the amount of gelatin the same. Make sure to use sugar-free!
Betsy
0Squeal I will def use sugar free! And I can’t wait to make them. Rasp marshmellows here I come! (And in a larger pan, lol).
Jenny
0Hi, I just bought Allulose and will buy Besti next now that I know it exists! Should I use the Allulose and add a bit of monkfruit extract? I appreciate your advice as I love marshmallows!
Wholesome Yum M
0Hi Jenny, Pure allulose on its own is 70% as sweet as sugar, and the blend listed in the recipe card is 1:1 with sugar. So you can increase the amount of allulose to a scant 2 cups.
Katie
0Hello! I’m new to keto and This looked like a delicious way to bend to my sweet tooth. I had an issue with the “fluffing” of the gelatin mix though, after combining everything in my stand mixer and letting it run for about 25 minutes, I didn’t get any rise in volume. It was still the consistency it had been in the pan, only opaque once more. The mix did sit for about a minute and a half in between heating and mixing. What could I do differently at my next attempt?
Wholesome Yum M
0Hi Katie, Did your hot mixture come to a boil? If it reaches the boiling point, the hot sweetener mixture changes the consistency and will prevent it from fluffing up like it should.
Ida
0Mine never got fluffy, it just kept being like water… What did I do wrong?
Wholesome Yum M
0Hi Ida, Did you whip your mixture long enough? It does take about 15 minutes to get them to turn opaque and start fluffing up.
Joy Paul
0These are simply amazing! Thank you so much for this recipe! I thought I should give up on getting to eat marshmallows again, but thanks to you these are perfect!
Jessica K Precht
0I followed the recipe and they came out perfectly
Danielle Newton
0How long do these last? In the fridge or out at room temp. Which is better?
Wholesome Yum A
0Hi Danielle, see my tips in the post above. Line an airtight container with parchment paper and arrange them in a single layer, and they will be fine at room temperature. If you need multiple layers, line with more paper between them. They should last for at least a few days.
Amy
0Could you sub powdered stevia for the erythritol?
Wholesome Yum
0Hi Amy, I don’t think that would work but I haven’t tried myself. Let me know if you give it a try!
Diana
0I only had stevia. So, yes it’s works thanks for the recipe 🙂