 Shop
Shop My
My Custom


FREE 5-Ingredient Recipe EBook
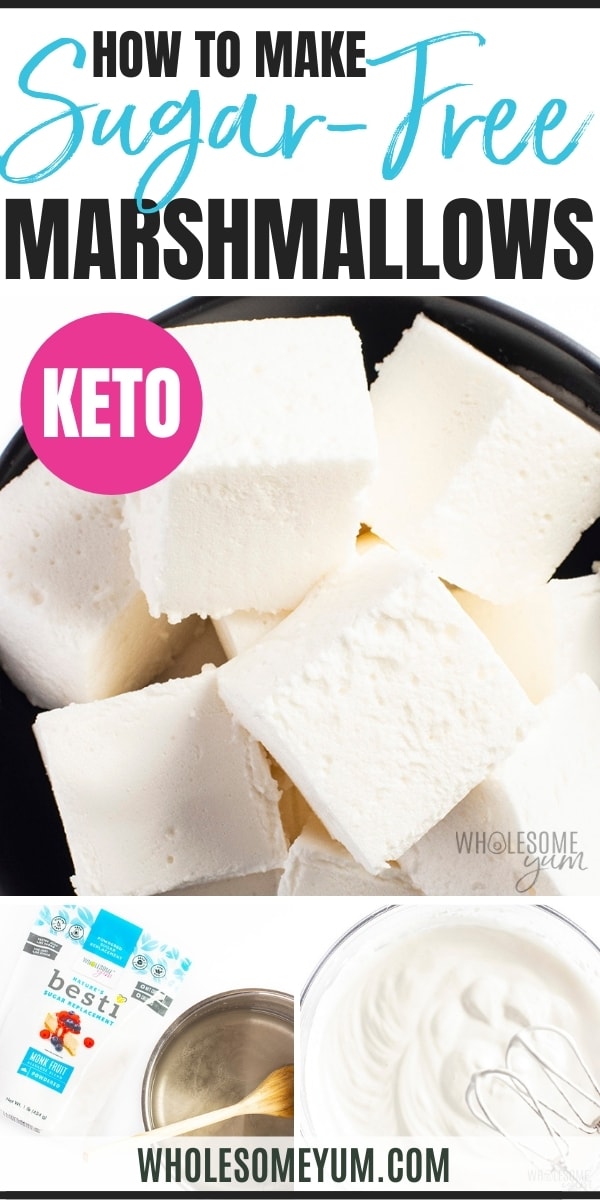
GET IT NOWYes, You Can Actually Roast My Healthy, Sugar Free Marshmallows

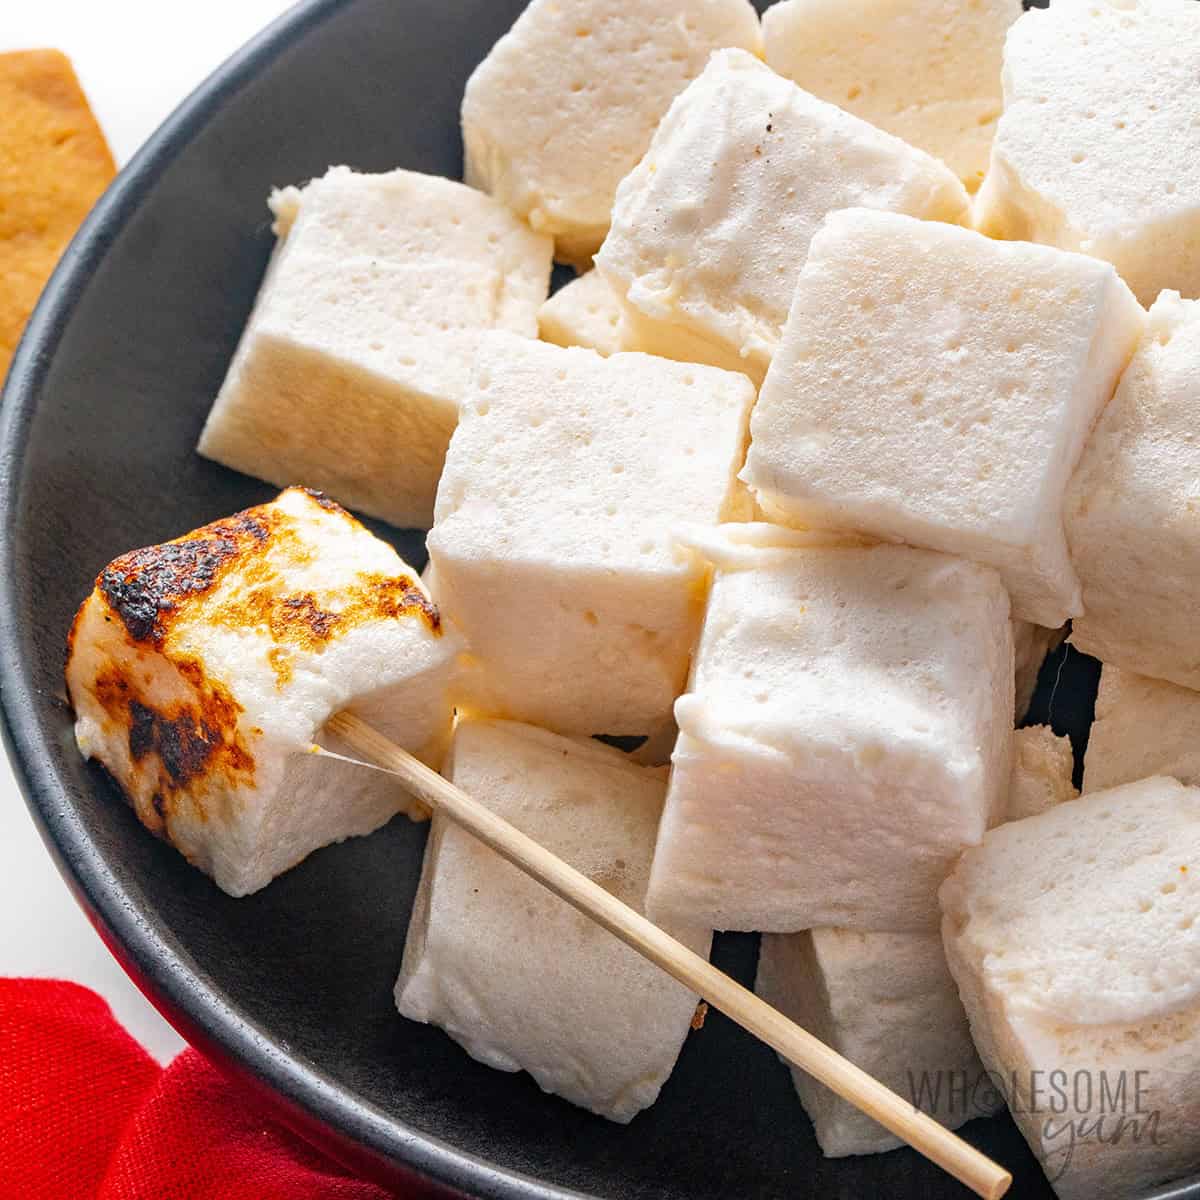
To say I love these sugar free marshmallows is an understatement! Even though I make them without corn syrup or sugar, the taste and texture is so similar to the sugar ones we all like. I even put these into little gift boxes with sugar free hot cocoa mix for my team one year.
Over the (many) years I’ve been making these healthy marshmallows, the only thing missing was the ability to roast them over a fire without melting away. This year, I set out to change that! After several (surprising) tests, here’s why they’re even better now:
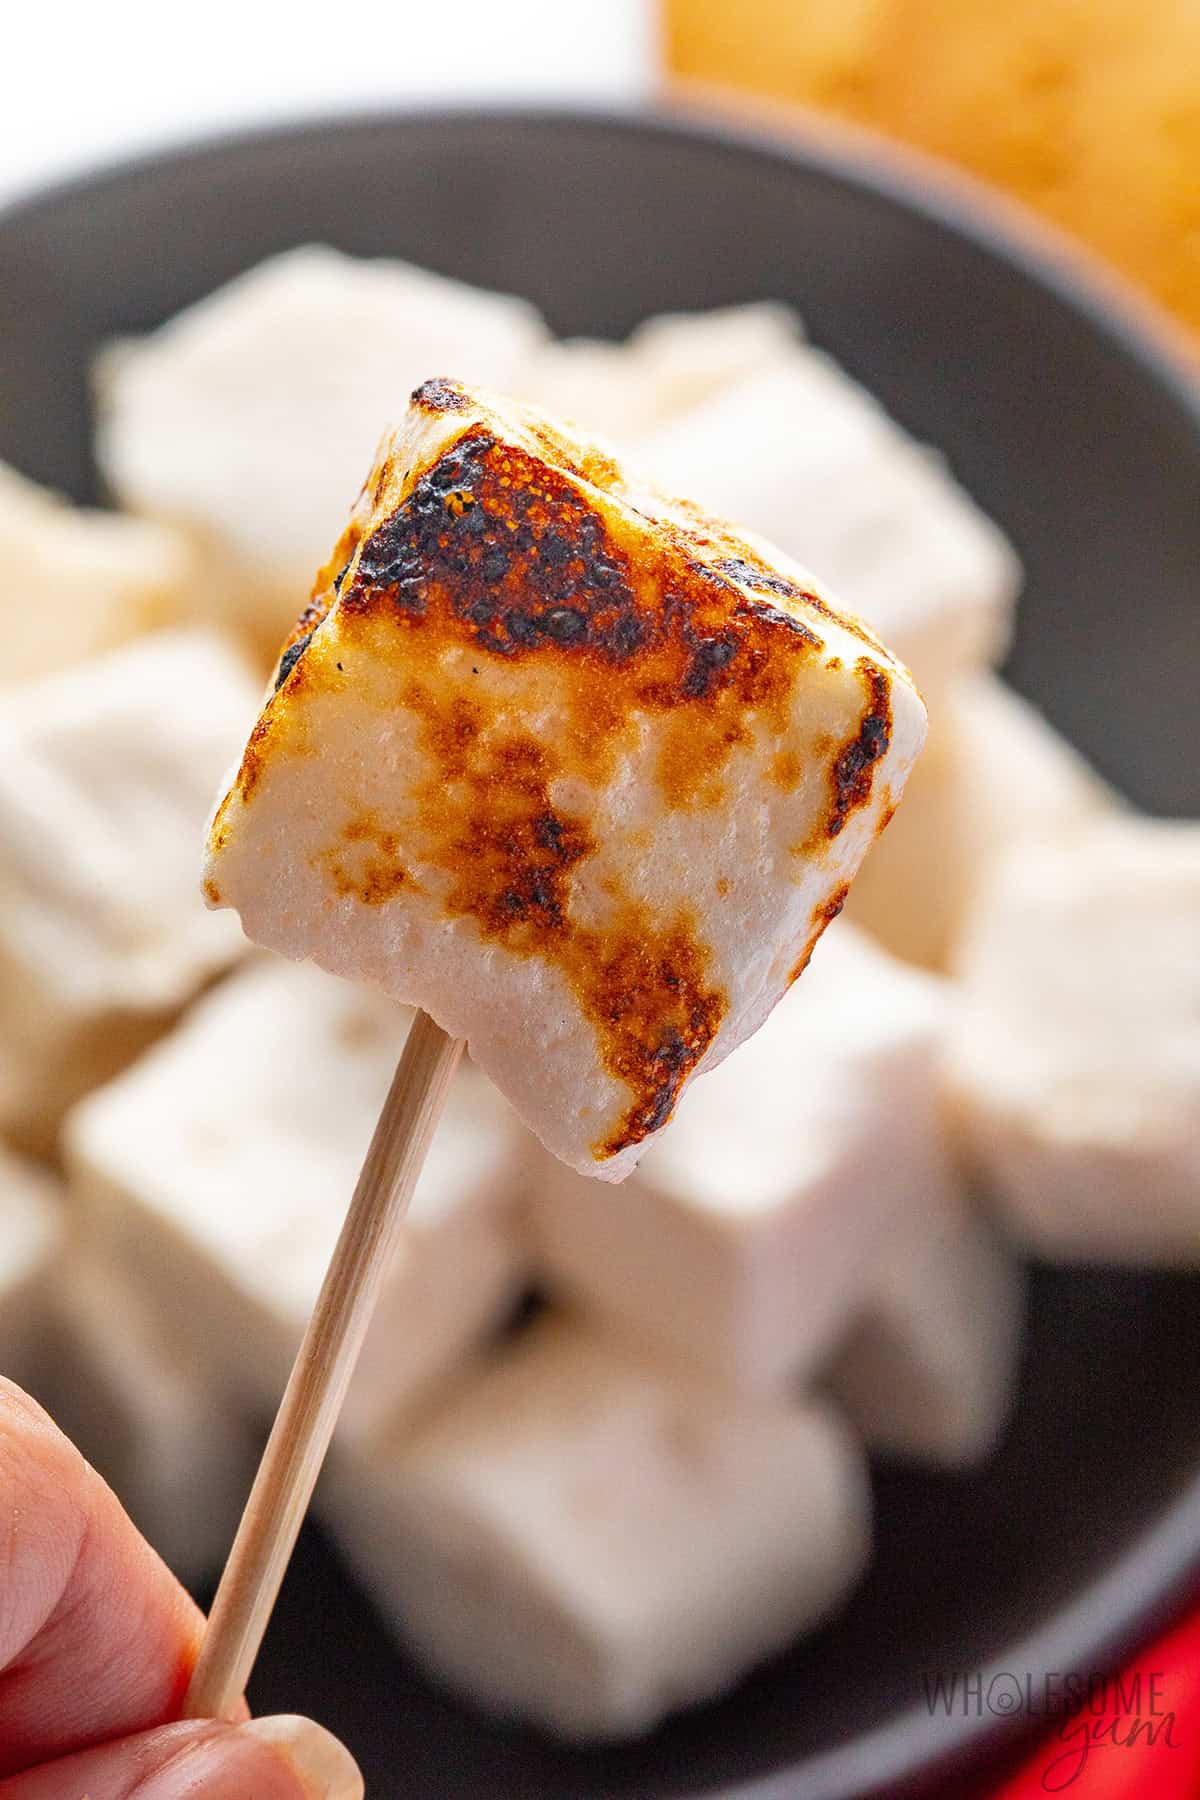
- They brown like regular marshmallows – Yes, these are actually roastable, and I’ve added a few new pictures to show you! Thanks to a couple extra secret ingredients, I’m thrilled with the beautiful char these can get now, and unlike my previous version, they no longer melt into a puddle the second they hit some heat.
- Soft, smooth, and fluffy – I’ve been making this recipe since 2017, but when I switched to powdered Besti sweetener, that majorly improved its texture. They’re more fluffy, with no gritty texture, and they last longer.
- Just 5 ingredients – Plus water and salt. And you can have a batch of these light, airy, sugar free marshmallows ready in about 20 minutes.
- All natural, no refined sugar – These are low carb, sugar free, gluten free, super low calorie, and made without artificial sweeteners. They’ve got almost zero net carbs per serving and even a boost of collagen (from the gelatin in them).
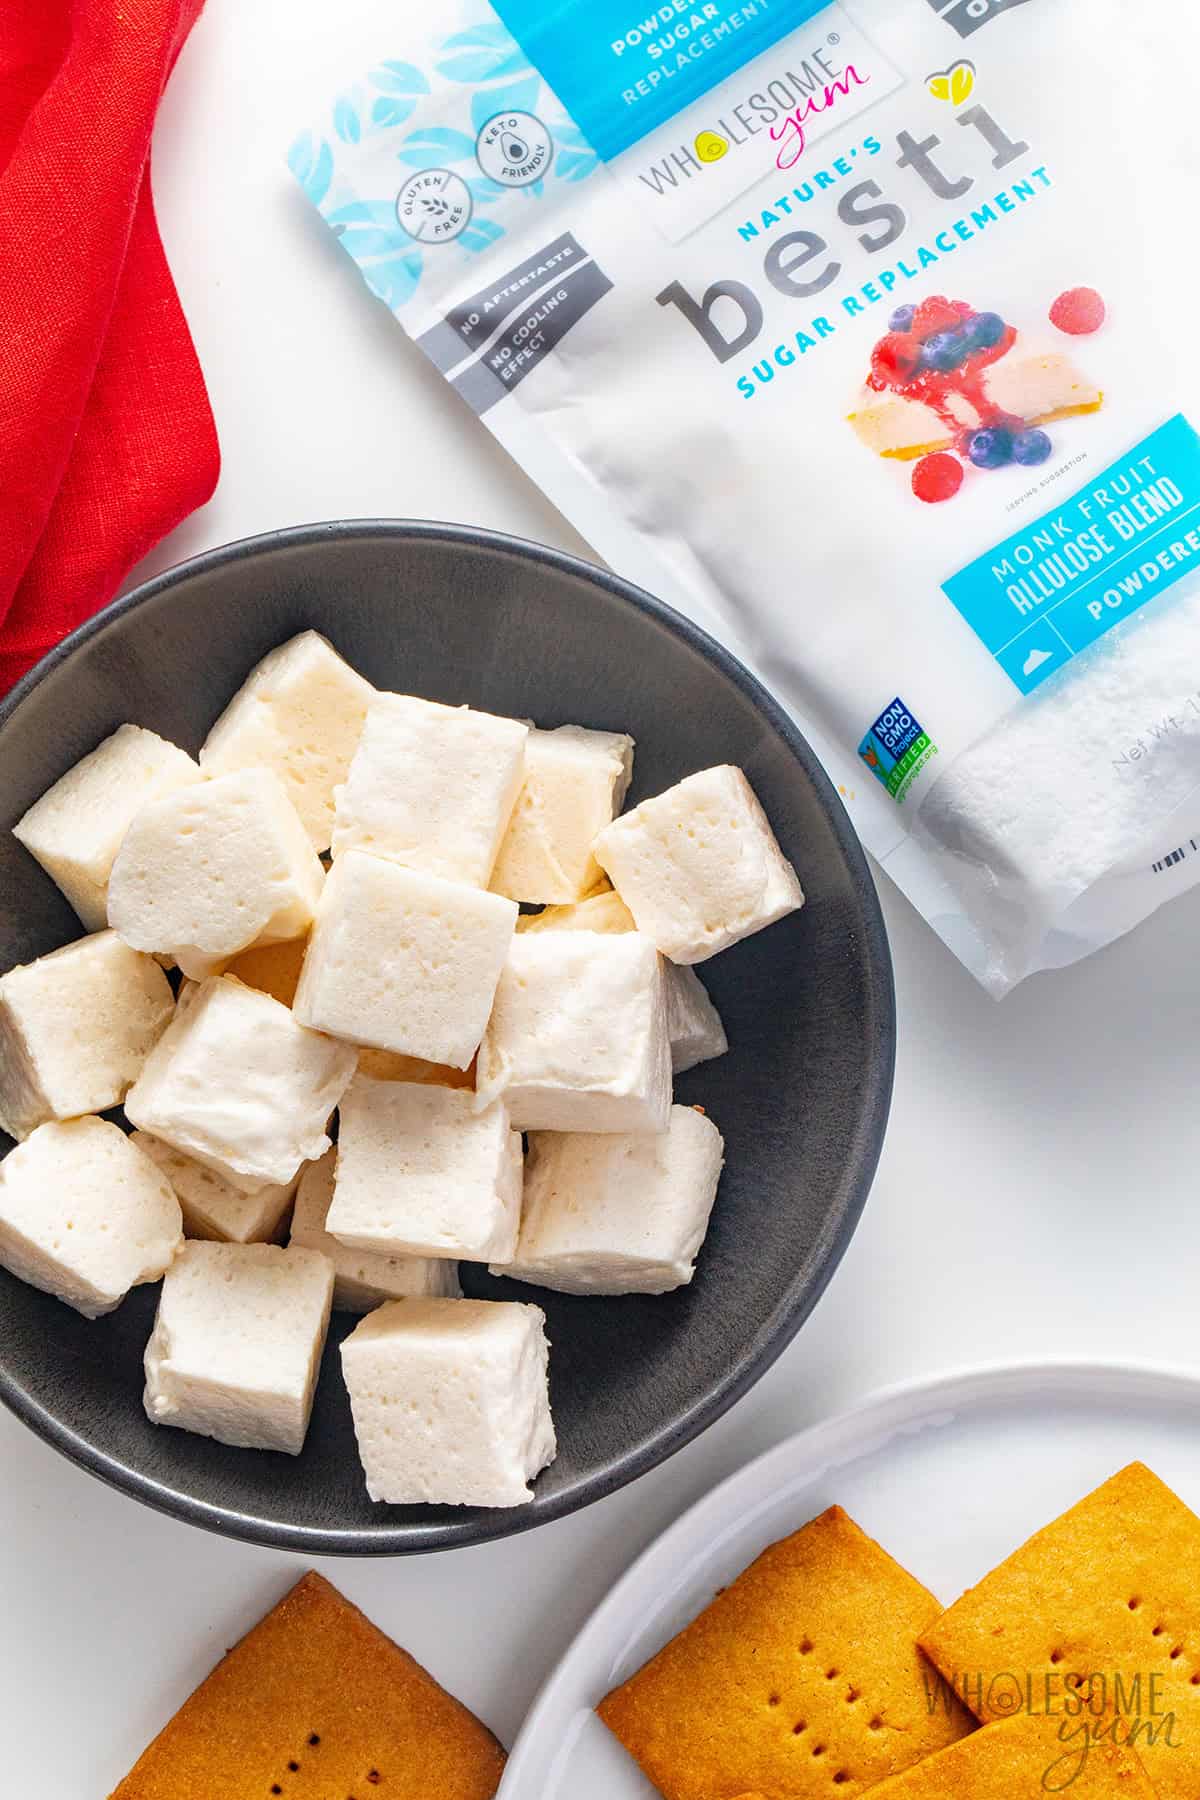
Now that you can roast healthy homemade marshmallows over the fire, there are so many ways to use them! Make s’mores with sugar free graham crackers, toss them in low carb hot chocolate, whip up a batch of healthy rice krispie treats, or even enjoy them plain (um, like my kids do). Make them with me and I promise they’ll be gone so fast!

“As most things I make, I made these for my husband. He wanted marshmallows in his hot cocoa. They came out the perfect, flavor, the texture is excellent. I’ll definitely be making these again.”
-Cheryl
Ingredients & Substitutions
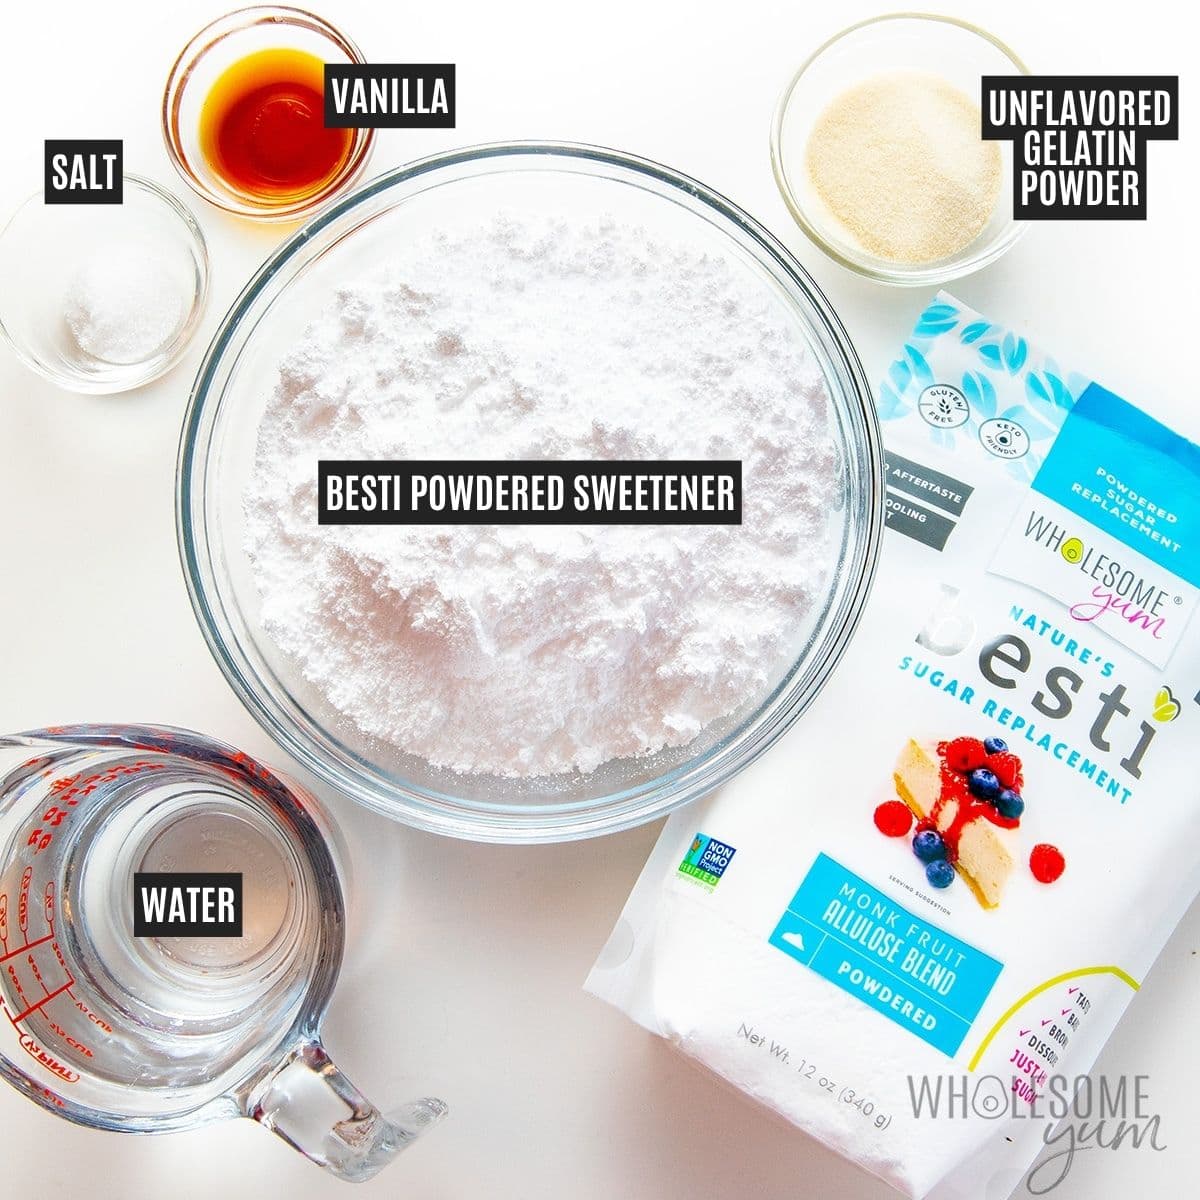
Here, I explain the best ingredients for my sugar free marshmallow recipe, what each one does, and substitution options. For measurements, see the recipe card.
- Gelatin Powder – The main ingredient (no substitutes, sorry!). Any unflavored gelatin should work, but their gelling power can vary, so it can affect the texture of your healthy marshmallows a bit. I always use and tested this recipe with this brand.
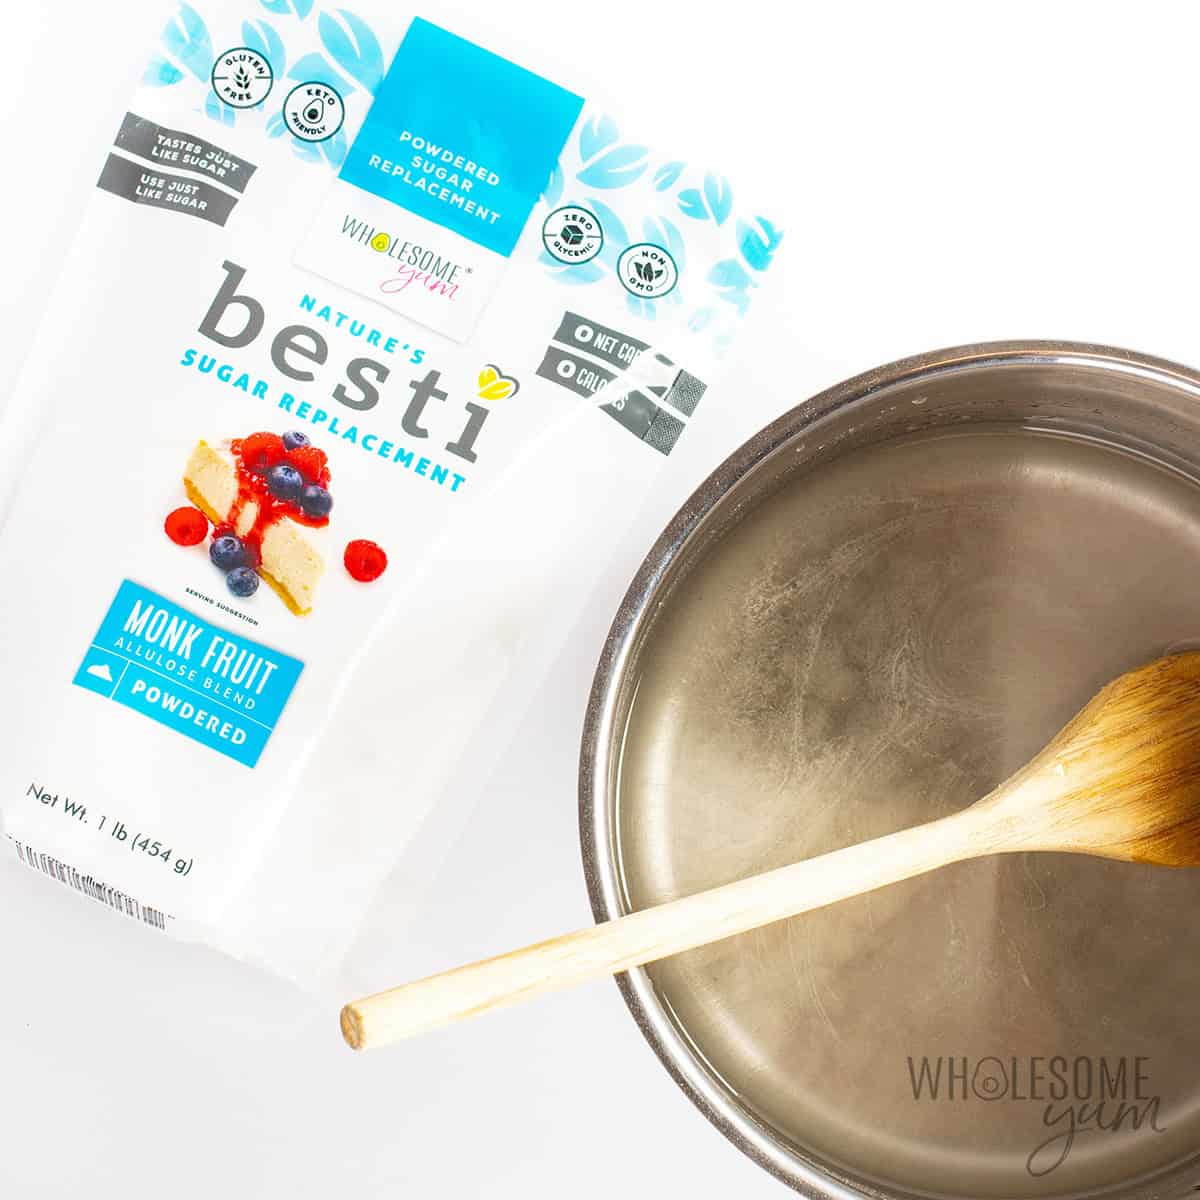
- Besti Powdered Monk Fruit Allulose Blend – When I first made these as keto marshmallows, I used a combination of powdered erythritol and vanilla stevia. Powdered erythritol is a finer consistency, so it worked okay, but they still crystallized and got gritty over time. After I re-tested these keto marshmallows with Besti, they turned out so much better — more fluffy and no gritty texture even days later! This is why I only recommend Powdered Besti for this recipe now. You can try different sweeteners, but this is the only sugar substitute I’ve found to get the same texture as regular marshmallows.
- Whey Protein Isolate & Baking Soda – My 2 new secret ingredients to slow down melting and support browning! I don’t recommend most other types of protein powder here, because they don’t make browning work the same way. If you need a dairy-free option, you can leave out the protein altogether, but the marshmallows just won’t brown well and will be better eaten at room temperature. (The baking soda alone is not enough, and adding more changes the taste.) Or you can use pea protein, but you might need to heat for longer to get it to dissolve.
- Warm Water – To bloom the gelatin.
- Vanilla Extract & Sea Salt – For flavor.
How To Make Sugar Free Marshmallows
I have step-by-step photos here to help you visualize the recipe. For full instructions with amounts and temperatures, see the recipe card.
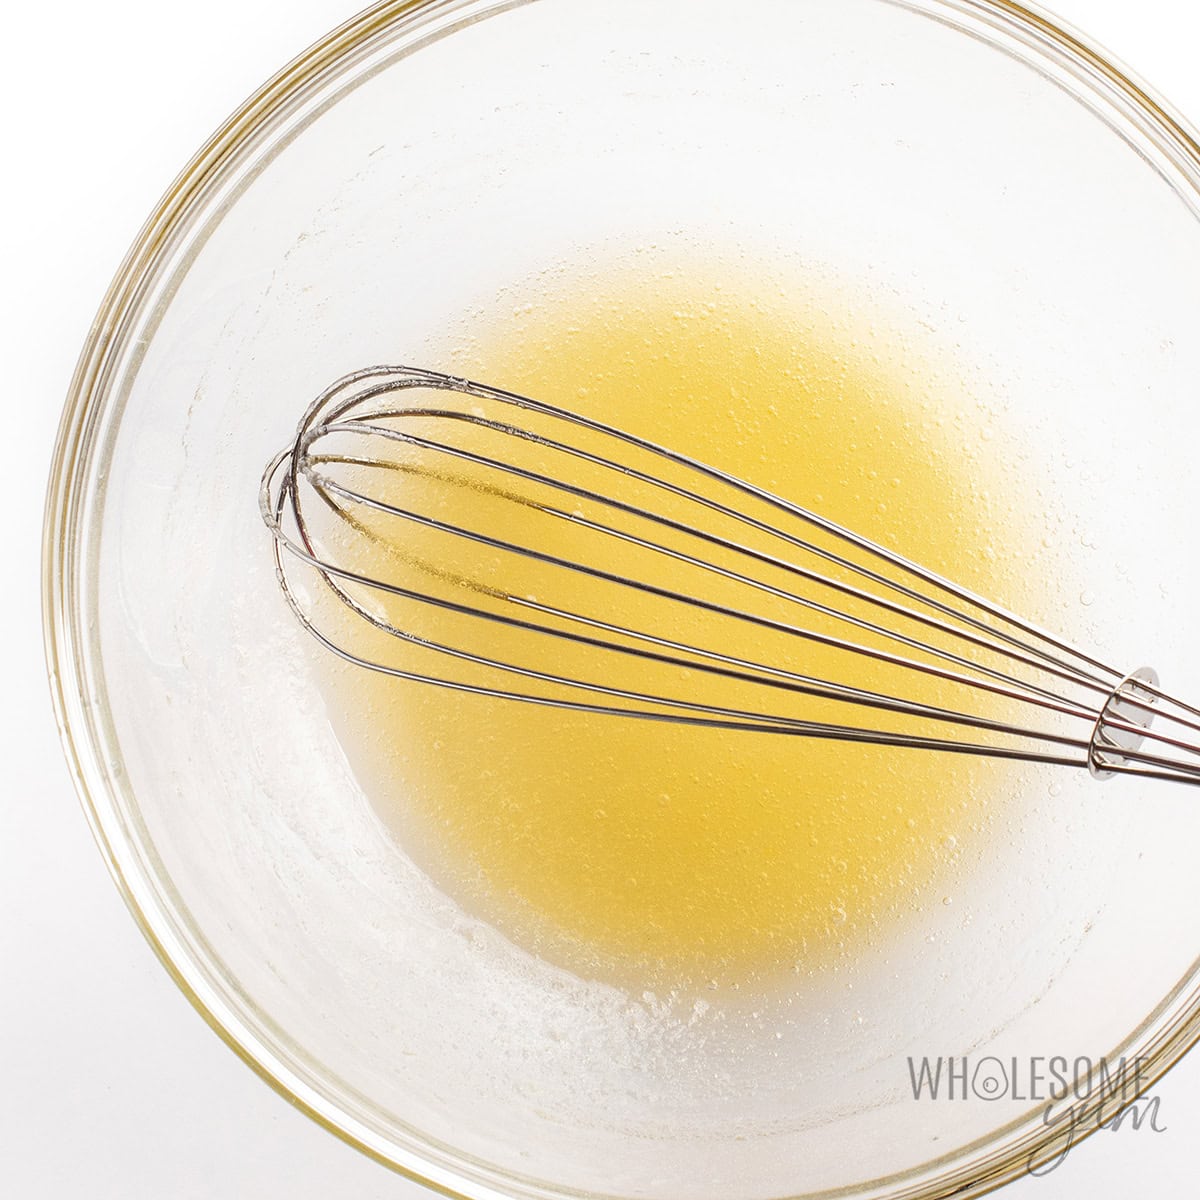
- Bloom the gelatin. Pour warm water into a large bowl, sprinkle the gelatin over it, and whisk immediately. Set aside to bloom.
- Dissolve Besti and add-ins in water. In a medium saucepan, whisk together Powdered Besti, whey protein powder, baking soda, and salt. Add water and mix again. Heat gently, stirring frequently, until the mixture is hot but not boiling and the sweetener has dissolved. (The color will change from opaque to slightly translucent. I remove it immediately once bubbles starting to form at the edges!) Remove from heat and stir in the vanilla.
- Combine. Pour the mixture from the saucepan into the bloomed gelatin while whisking constantly. The gelatin will thin out with the hot liquid.
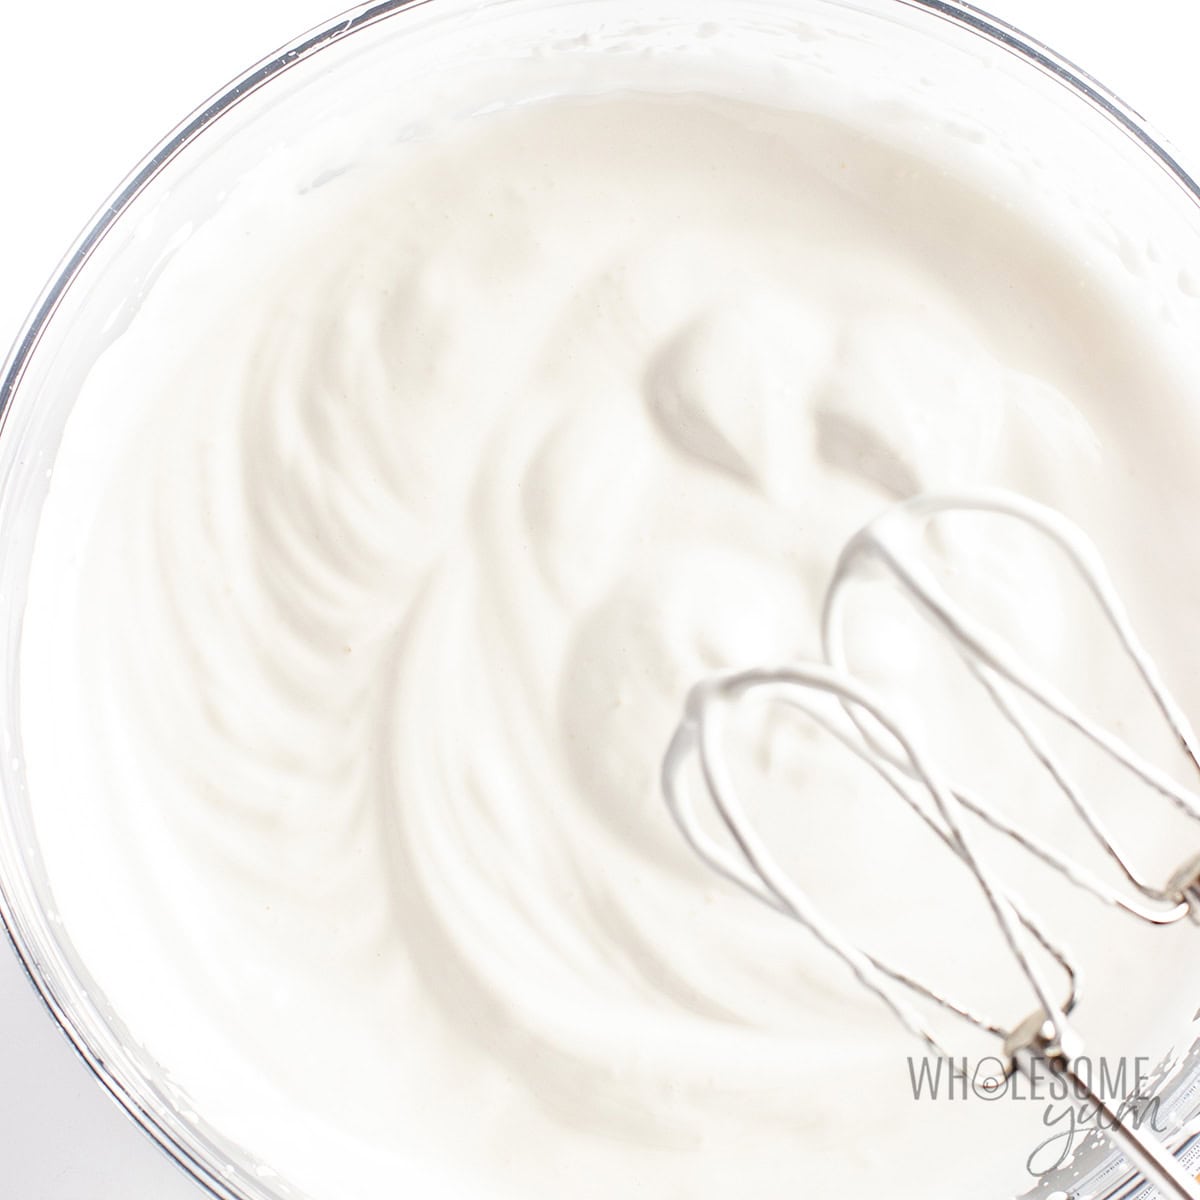
- Whip to stiff peaks. Using a hand mixer, beat the mixture until it doubles in volume, and becomes thick and airy. The sugar free marshmallow fluff should hold stiff peaks when ready.
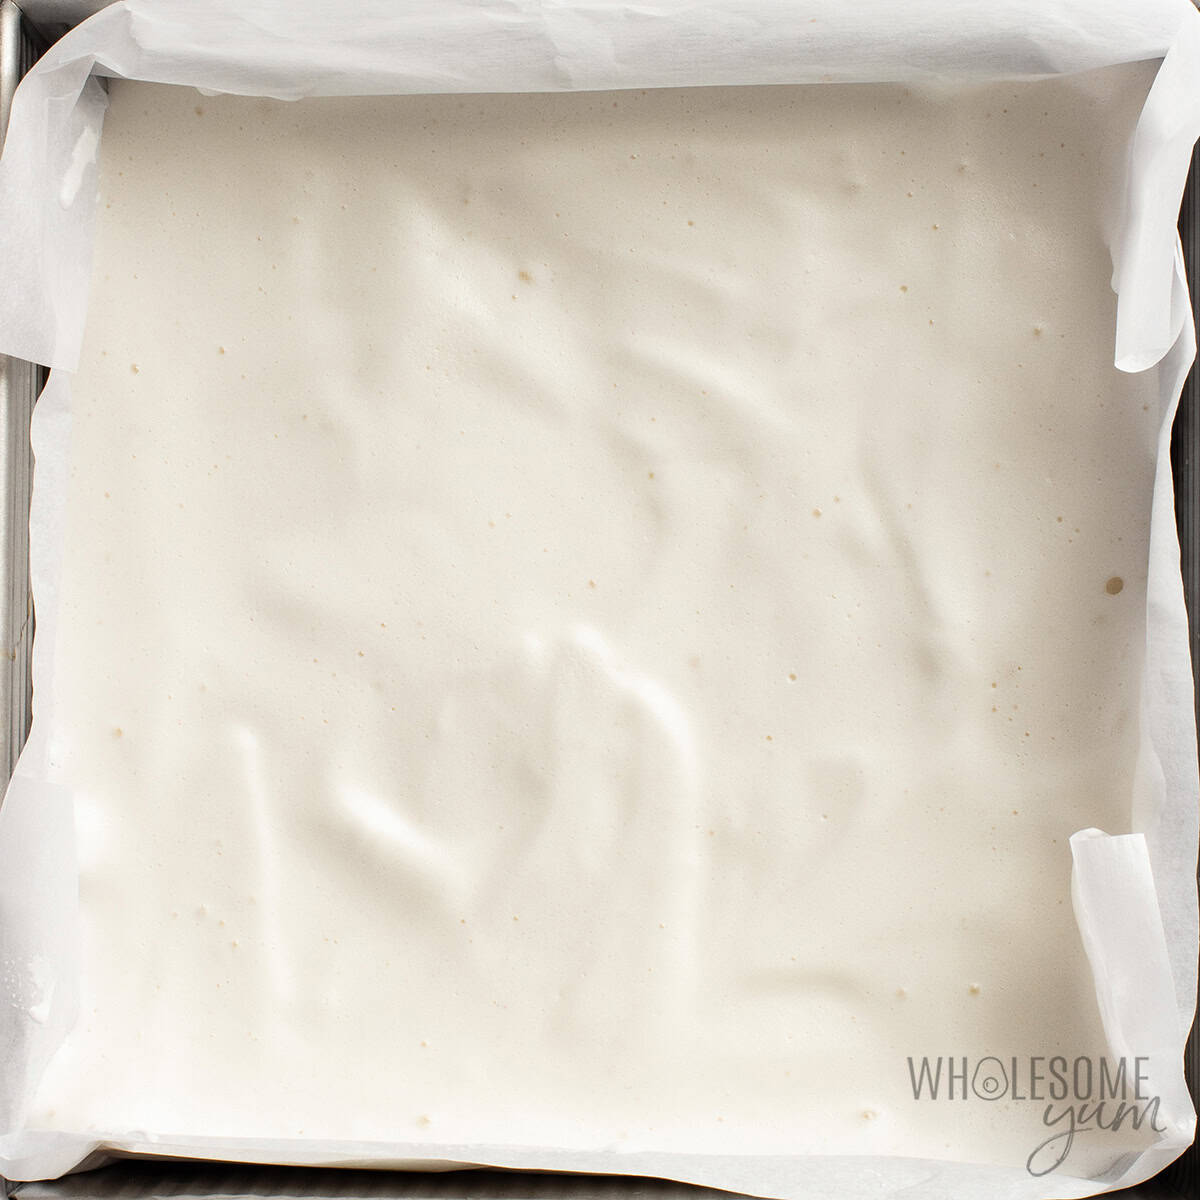
- Pipe or spread. I usually just spread the fluff into a parchment-lined square baking pan, as shown below. You can also transfer to a piping bag and pipe shapes onto a parchment-lined baking sheet.
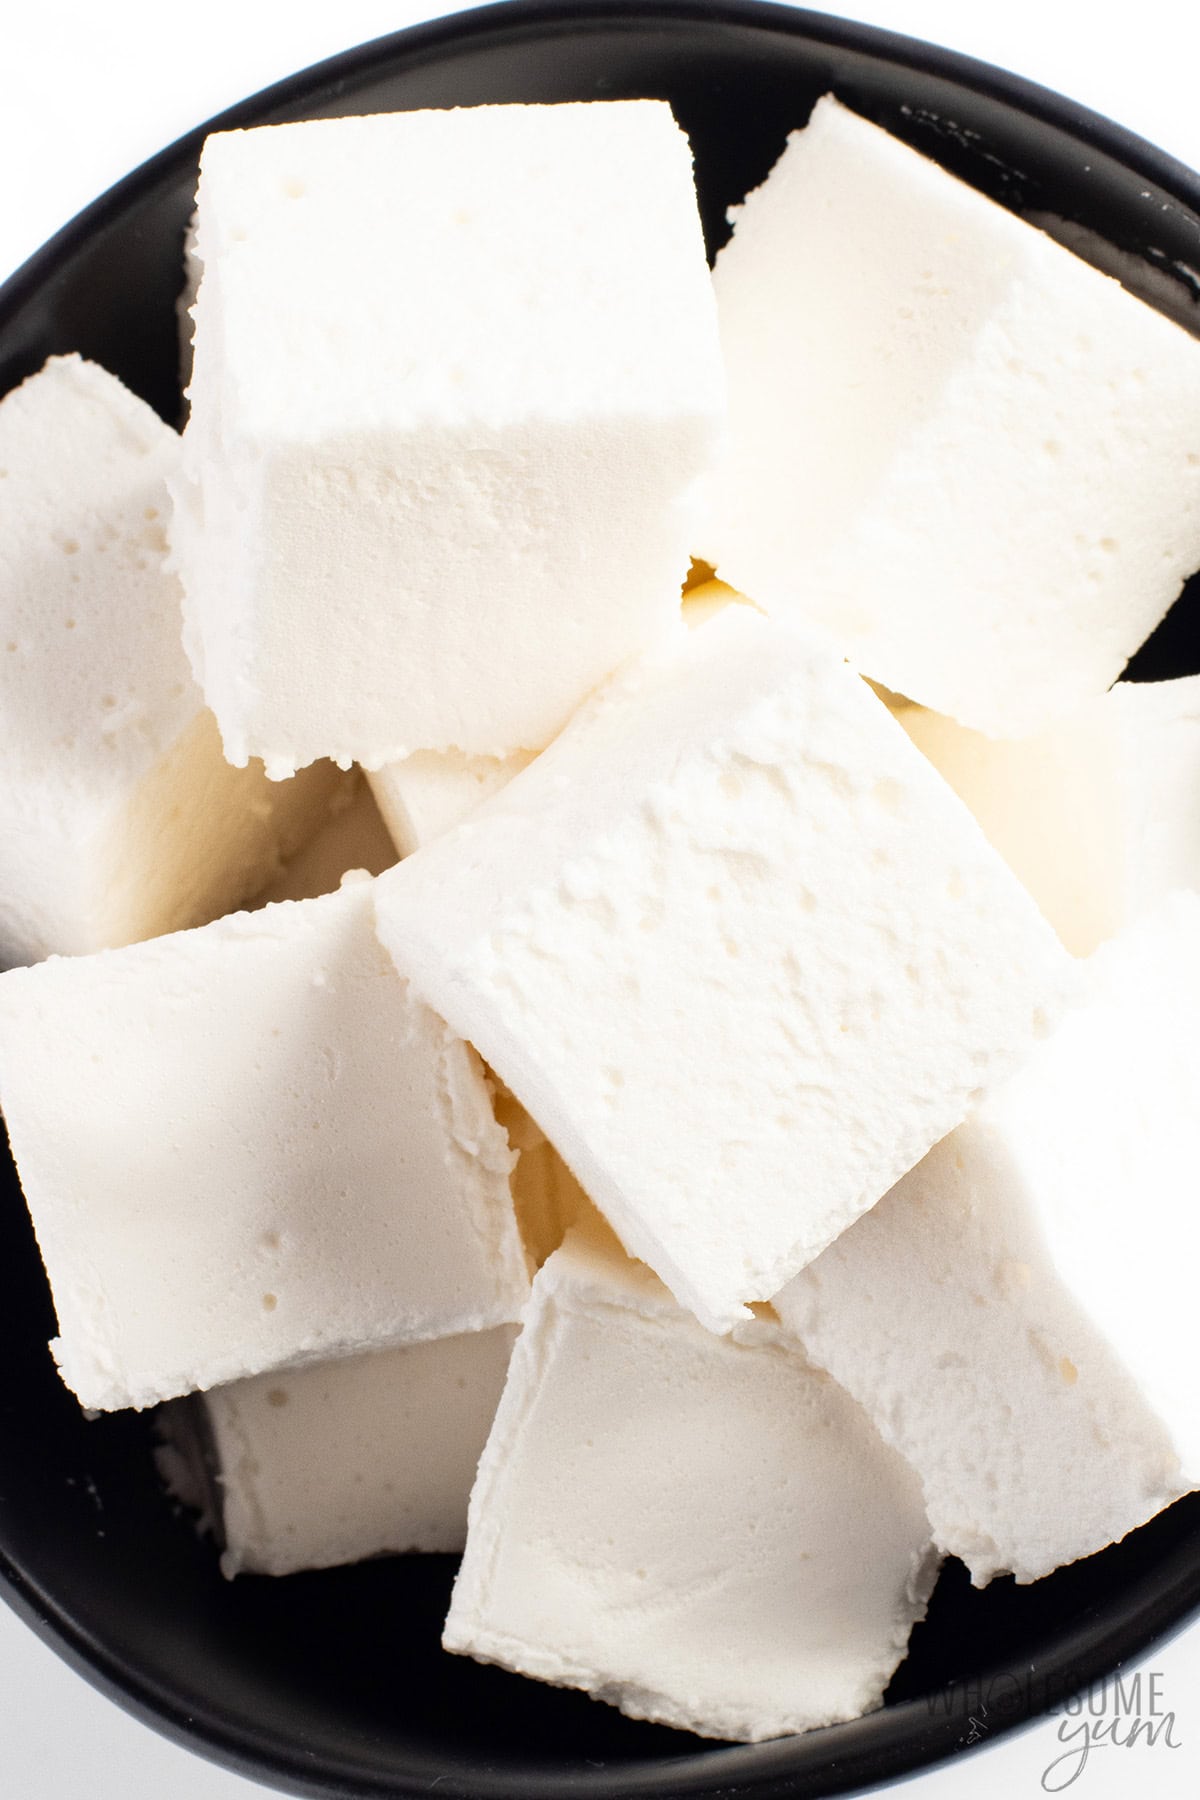
- Refrigerate until firm. If you used a baking dish like I did here, cut into cubes. For the best texture, let the sugar free marshmallows dry out uncovered on a rack over a baking sheet.
My Recipe Tips
- To avoid splattering, grab the deepest bowl you’ve got and start slow with the hand mixer. I prefer these stainless steel bowls these days (love how deep they are and don’t slide around my counter!), But I still have to start with the mixer on low and do a few minutes on medium-low before increasing the speed. I’ve gone high too soon before, and it’s a huge pain to clean the dried marshmallow fluff droplets off everything – they are sticky!
- Don’t let your mixer speed get too high. I usually keep it around medium. Very high speed can leave air bubbles in your homemade marshmallows.
- PSA: Whipping the healthy marshmallow fluff takes a really long time. It might seem like it’s not working, but keep going. It takes 12-15 minutes with my powerful hand mixer. If you have a stand mixer, this is a great time to use it, so you don’t get tired while using the hand mixer!
- You want to beat the marshmallows until stiff peaks form, but don’t overmix. Otherwise, it will be very difficult to spread the marshmallow creme into the pan, and the texture won’t turn out right.
- I added the drying step recently, and it helps with texture, so the marshmallows don’t feel as tacky on the outside. Browning is also nearly impossible without this. The drying time can vary depending on how humid your kitchen is — at least 24 hours, but it can take multiple days for the surface to no longer feel tacky.
- Even with these adjustments, these sugar free marshmallows are a little sticky on the outside and tend to stick together. If you want to avoid this, I recommend one extra step: toss the dried marshmallows in micellar casein (a type of milk protein powder). This not only helps keep the surface dry but also promotes browning. Otherwise, you can just keep them from touching each other while storing (I just put pieces of parchment paper between them).
- Avoid a see-saw motion when slicing. I recommend a gentle downward or rocking motion instead, to avoid frayed edges.
Sugar Free Marshmallows
Make my healthy, sugar free marshmallows with just 5 ingredients — you can actually roast them! They're soft, fluffy, and easy to make.
Instructions
Tap on the times in the instructions to start a kitchen timer.
-
Line an 8×8 in (20×20 cm) pan with parchment paper. Set aside.
-
Pour 1/2 cup (118 mL) warm water into a large bowl (it will barely cover the bottom of the bowl). Sprinkle gelatin over the water and whisk immediately. Set aside.
-
Meanwhile, in a large saucepan, whisk together the powdered Besti, whey protein isolate, baking soda, and sea salt. Add the remaining 1/2 cup (118 mL) of water and whisk to combine. Heat over low to medium heat for a few minutes, stirring frequently, until the mixture is hot but not boiling and the sweetener has dissolved. (The color will change from opaque to slightly translucent, and remove immediately as soon as you see bubbles starting to form at the edges.)
-
Remove from heat. Stir in vanilla extract. Pour the hot liquid into the large bowl with gelatin, while whisking constantly.
-
Using a hand mixer on high speed, beat the mixture for about 12-15 minutes, until the volume doubles and the mixture looks very fluffy, like stiff egg-white peaks. (The time could take longer depending on the size of your bowl and how powerful your mixer is.)
-
Transfer the marshmallow mixture into the prepared pan.
-
Refrigerate for at least 8 hours, or overnight, until firm. Use a sharp chef's knife to cut into 1-inch cubes.
-
Optional step for better texture: Arrange the sugar free marshmallows on a rack over a baking sheet. Leave uncovered at room temperature for at least 24 hours to dry out the surface.
LAST STEP: Leave a rating to help other readers, or tag me @wholesomeyum on Instagram. I’d love to hear from you!
Maya’s Recipe Notes
Serving size: 4 1-inch marshmallows each
- Tips: Check out my recipe tips above to help you get the perfect fluffy texture, prevent sticking, and make these sugar free marshmallows roast beautifully.
- Storage & meal prep: These healthy marshmallows store really well, so I often make them ahead. They’ll keep in an airtight container on the counter for a couple of days, or in the fridge for up to 1-2 weeks. They can stick, so I line parchment paper at the bottom as well as between layers.
- Freeze: Yes, you can freeze these. Spread them out on a parchment-lined baking sheet first and pop in the freezer until solid, then keep in a zip lock bag for up to 6 months. Thaw on the counter or in the fridge.
📖 Want more recipes like this? Find this one and many more in my Keto Ebook Bundle!
I provide nutrition facts as a courtesy. Have questions about calculations or why you got a different result? Please see my nutrition policy.
Add Your Notes Your Notes
Try More Of My Recipes


© Copyright Maya Krampf for Wholesome Yum. Please DO NOT SCREENSHOT OR COPY/PASTE recipes to social media or websites. We’d LOVE for you to share a link with photo instead.
Sugar Free Marshmallows
Common Q&A
- Can you roast these healthy marshmallows? Finally, yes! But only if you follow the recipe exactly as written, including the whey protein isolate, baking soda, and drying step. If you don’t do these things, you can still get a gooey texture by heating very briefly before they melt, but you won’t get that charred outside.
- Can you use them in recipes? Usually yes. You can absolutely use the sugar free marshmallow fluff in any recipes that call for fluff, use the finished marshmallows in recipes that don’t require heating, or even incorporate them into recipes that heat or char them for a short time. I don’t recommend them for recipes that require melting them completely (like my keto s’mores bars, which use a store-bought version I like), because they’ll melt to more of a liquid rather than a gooey texture.


202 Comments
Luna
0Your marshmallows look amazing! I don’t have a stand mixer so this is gonna be some serious work out for the hands and arms. Hahaha.
Maya | Wholesome Yum
0Hi Luna, this definitely would be quite the workout without the stand mixer. You should look into getting one, I use mine frequently and it’s totally worth it. This is the one I use: https://amzn.to/2ronelI
Tresa Lovejoy
0Have you tried trying to follow a traditional recipe, and swapping the corn syrup for FiberYum and the sugar for powdered sweetener?
Maya | Wholesome Yum
0Hi Tresa, This recipe already uses powdered sweetener. I haven’t tried it with fiber syrup, but let me know how it goes if you try!