
 Shop
 My
 Custom




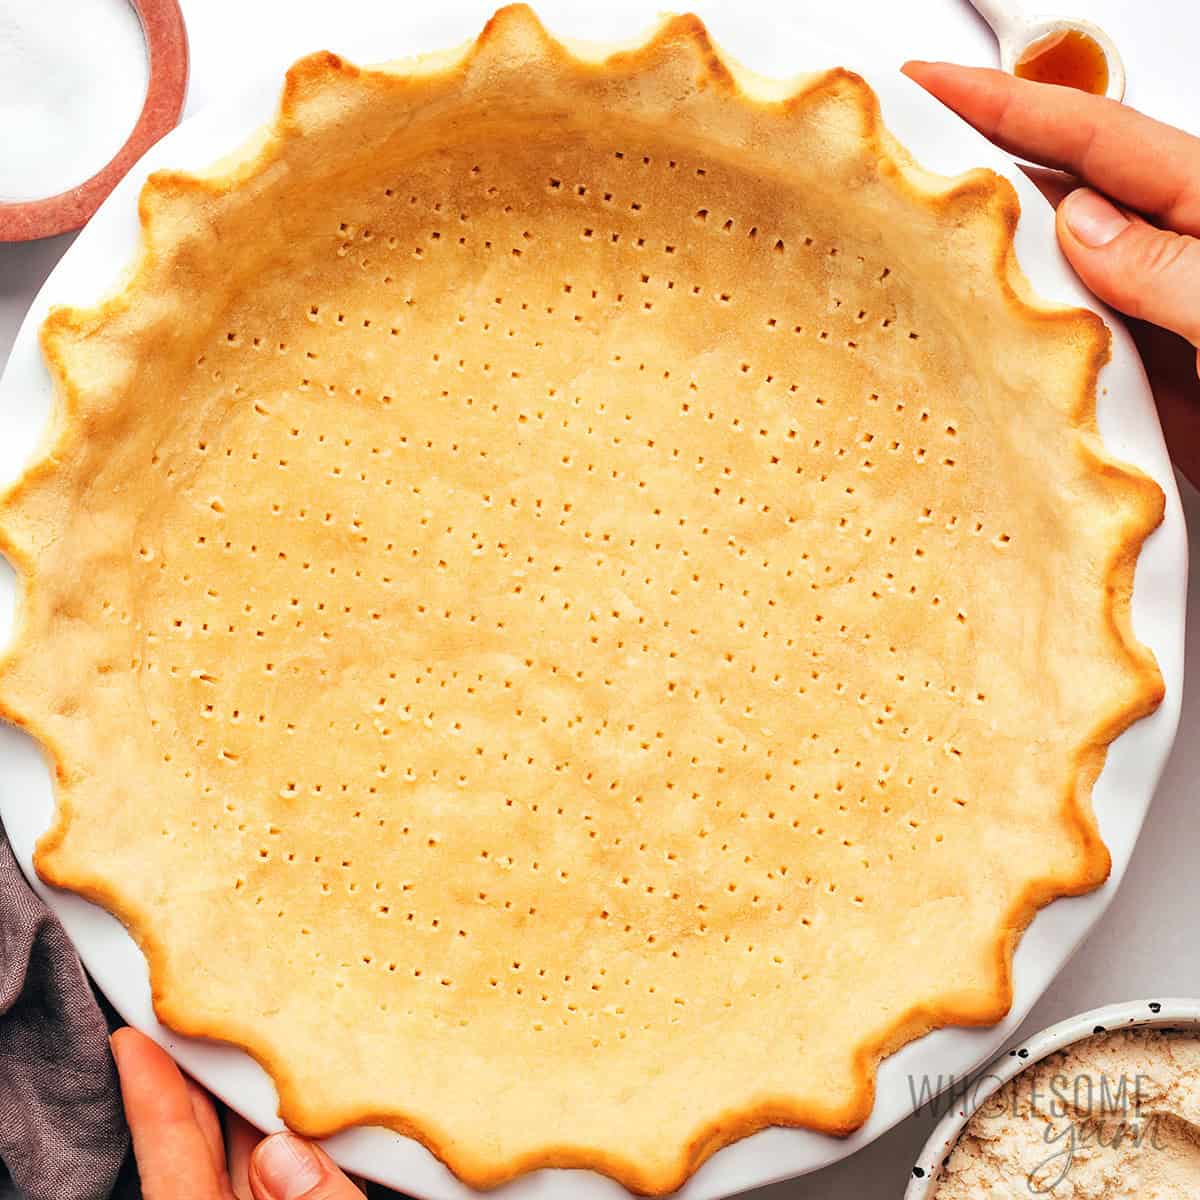
- My Easy, Buttery Coconut Flour Pie Crust Works For Sweet Or Savory Pies
- Ingredients & Substitutions
- How To Make A Pie Crust With Coconut Flour
- Maya’s Recipe Tips
- How To Use Coconut Flour Pie Crust For Different Types Of Fillings
- Coconut Flour Pie Crust (Low Carb & GF) Recipe card
- Make Ahead Options
- Pies To Make With Coconut Pie Crust
- Recipe Reviews
My Easy, Buttery Coconut Flour Pie Crust Works For Sweet Or Savory Pies

This coconut flour pie crust mainly came about because so many of you asked me if you can use coconut flour for my almond flour pie crust. The answer is no, you can’t, but you can make this pie crust with coconut flour instead!
This one also has a few other advantages over the almond version: It has a finer, more uniform crumb. It tastes lighter and milder. But it’s still buttery. Here’s why I think it’s just as good as my almond fave — and doesn’t have the problems that coconut flour recipes so often have:
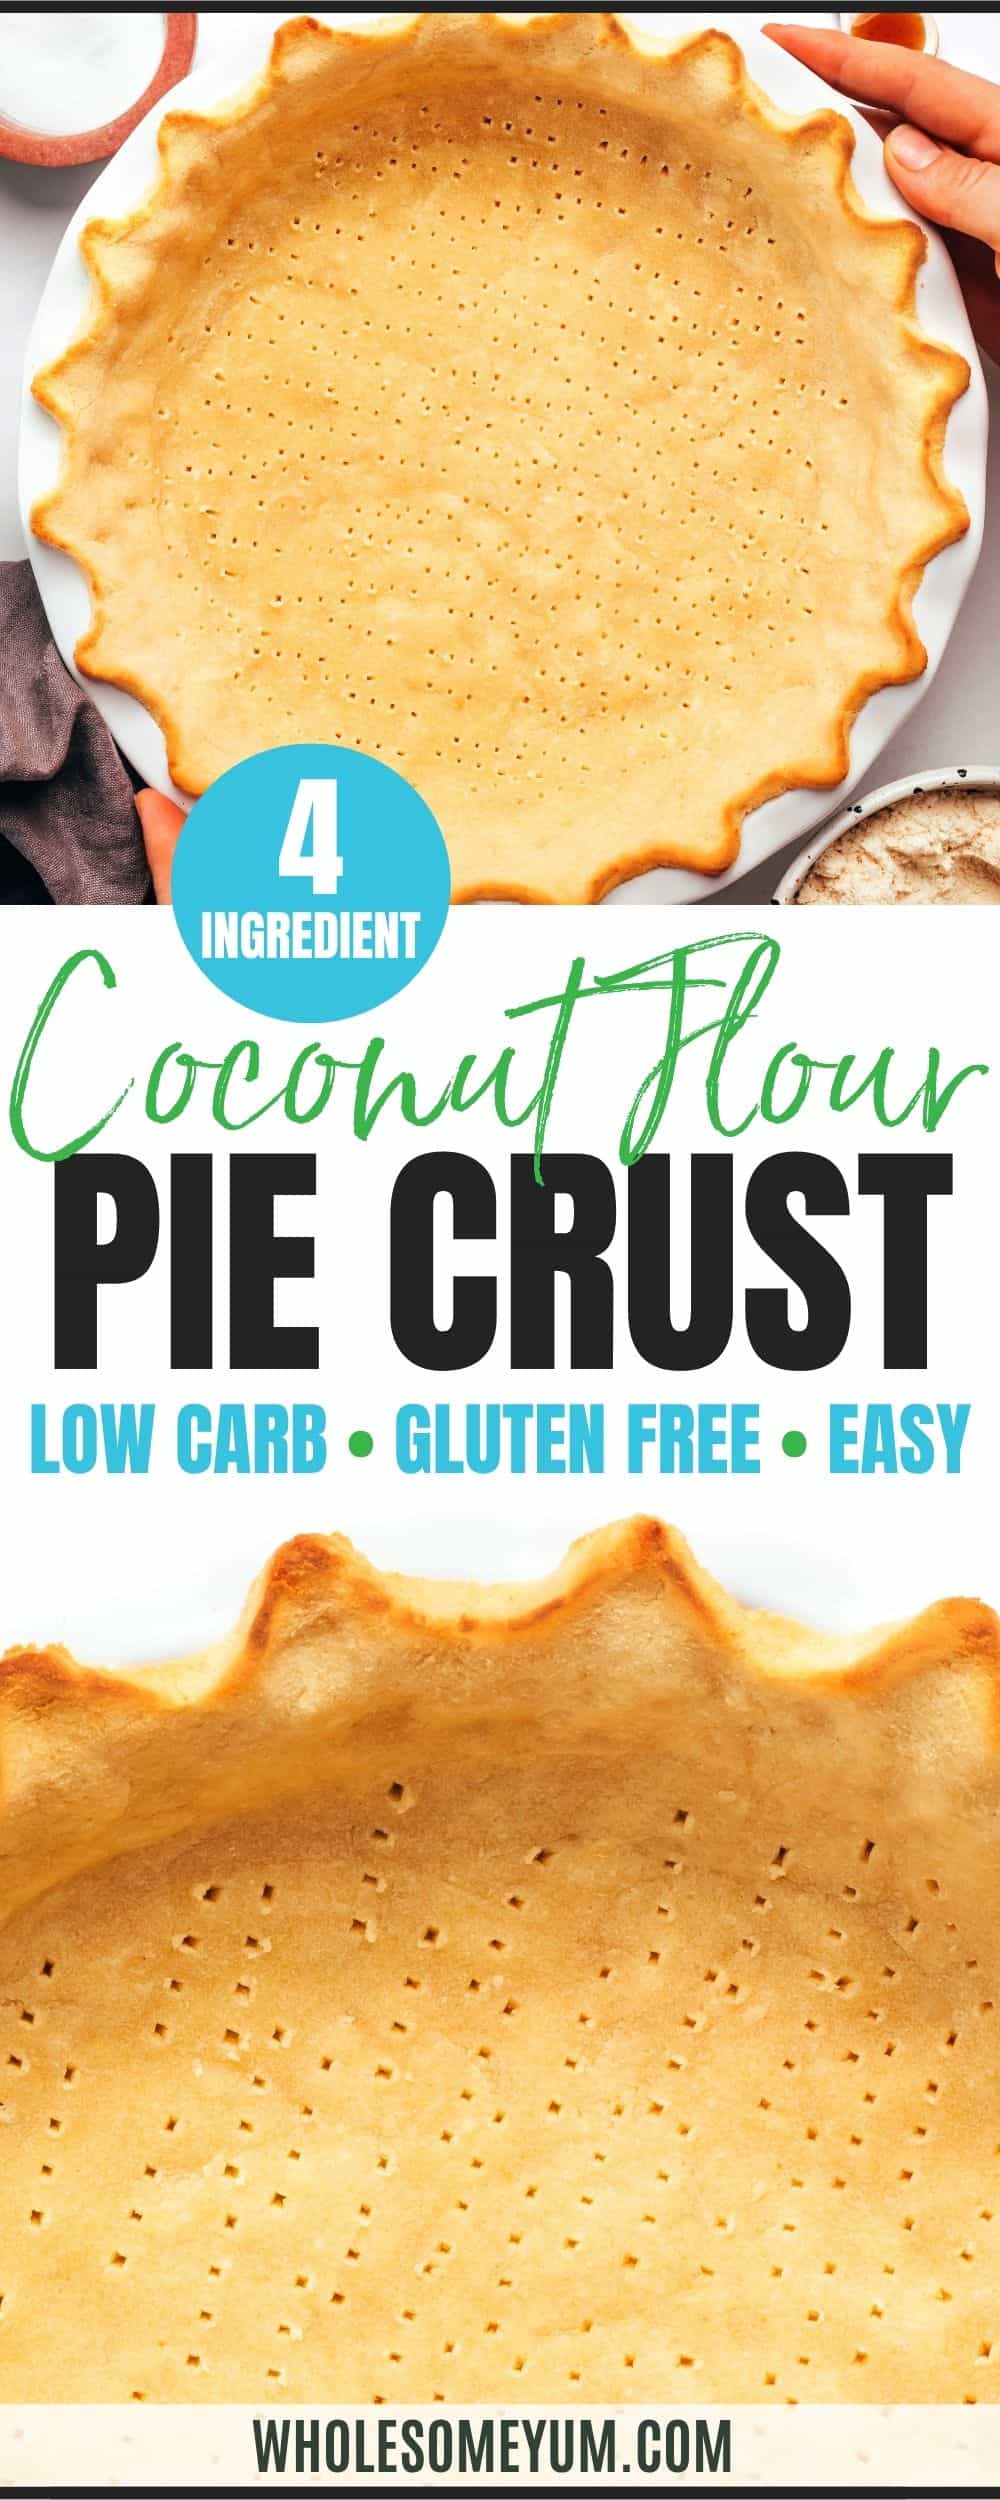
- Buttery and tender, not dry – Coconut flour is super absorbent, unlike any other flour, and that’s exactly what makes it dry out baked goods quickly. That’s why I used plenty of butter in this coconut crust to counteract that effect. It has a delicate bite that’s a little crumbly but oh-so-buttery (a lot like coconut flour shortbread!), plus lightly golden edges.
- Just 4 basic ingredients, no rolling required – I press the dough right into the pie plate. It’s less work, and this crust is too fragile to transfer after rolling anyway.
- Just 4 basic ingredients – Plus salt and optional vanilla. If you’re familiar with low carb or gluten-free baking, you probably have these staples on hand. Which brings me to my next point…
- Low carb and gluten free – Yes, my coconut flour pie crust recipe is keto friendly, grain free, and nut free. (Coconuts are drupes, not nuts!)
- Make it sweet or savory – I started with the sweet version first, but have also added a savory option so you can use it for quiche or spinach pie. Don’t worry, the coconut flavor is very subtle, so it’s still versatile!
Whether you’re planning a holiday pie or a savory brunch, my coconut flour pie crust is such an easy one to make. Grab your pie pan and make it with me!

“I made this recipe for my mom’s birthday (chocolate cream pie with whipped cream). Everyone raved over the pie and especially the crust. They were amazed it was gluten free!”
-Theresa
Ingredients & Substitutions
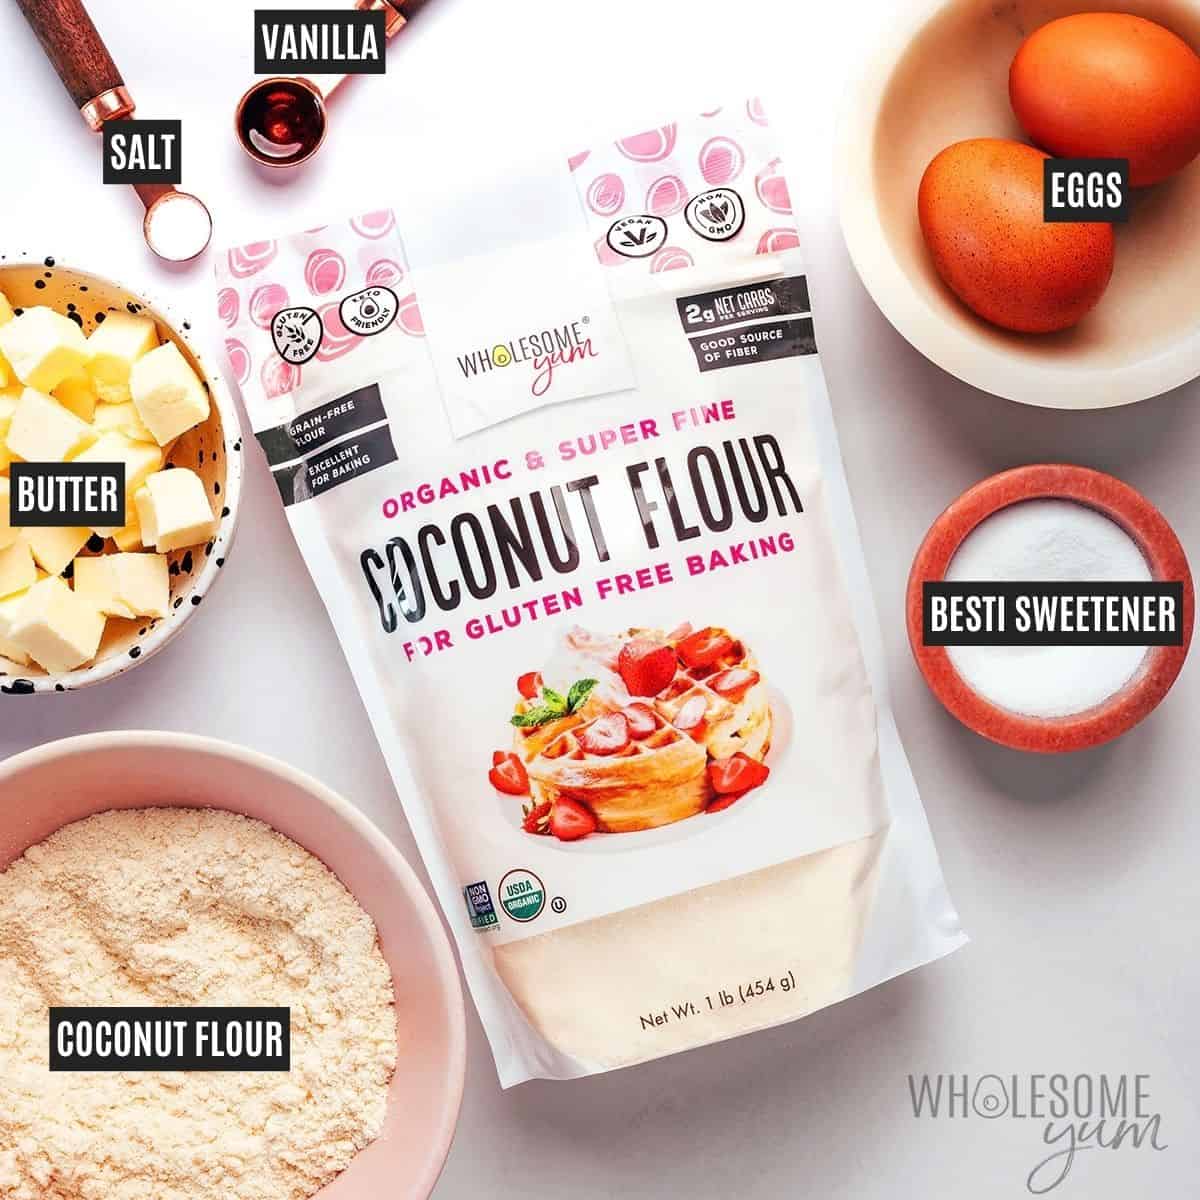
Here I explain the best ingredients for my coconut flour pie crust recipe, what each one does, and substitution options. For measurements, see the recipe card.
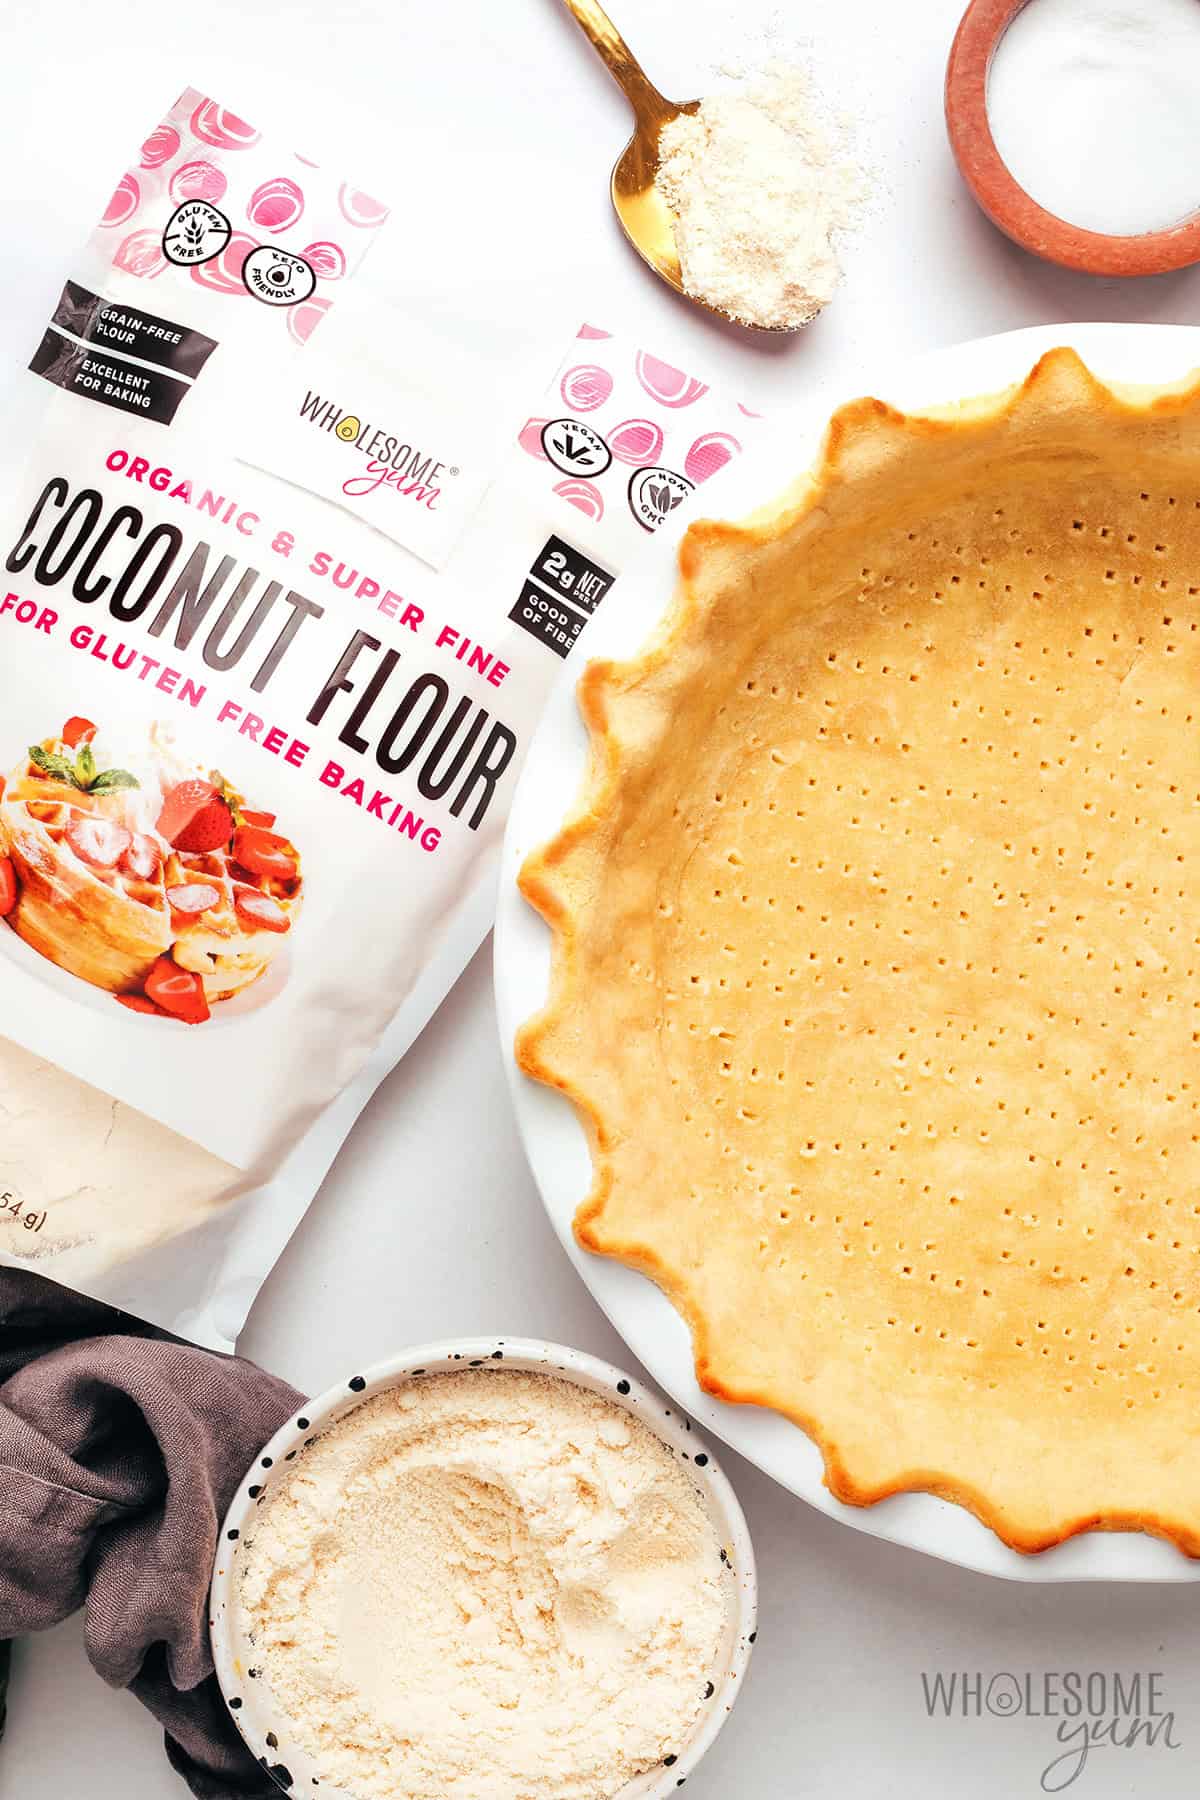
- Wholesome Yum Organic Coconut Flour – Different brands absorb moisture differently, so the ideal amount can vary if you use a different brand. How you measure matters a lot, too. Do not swap this with any other type of flour, because no other kind absorbs moisture like coconut does. If you want to use almond flour, make my almond flour pie crust or gluten-free pie crust instead.
- Unsalted Butter – I use cold butter, cut into pieces, to give the crust a rich, buttery flavor and counteract the drying coconut flour. I like this grass-fed unsalted butter for its creamy flavor, and prefer unsalted so I can control the salt separately. You can substitute this grass-fed ghee if you’re lactose-sensitive, or this butter-flavored coconut oil for a dairy-free option. The texture may be a little different, since both contain less water than regular butter. I still recommend using them chilled and solid, not melted.
- Eggs – To hold the coconut flour dough together, since it has no gluten.
- Besti Monk Fruit Allulose Blend – I’ve made this coconut flour pie crust with all kinds of sweeteners over the years, and this is by far my favorite. It locks in moisture, making the crust more tender and less dry, and has no refined sugar without any aftertaste. For savory pies, omit the sweetener altogether. Otherwise, here are my notes on other sweetener options:
- Wholesome Yum Granulated Allulose – The closest swap for Besti, as it has the same moisture benefits, but it’s less sweet. You may want to increase the amount to get the same sweetness.
- Other sweetener blends – Use my sweetener conversion chart, but most will give you a drier result.
- Liquid sweeteners – I don’t recommend these here because they’ll make the dough too wet.
- Granulated sugar – This works fine from a recipe standpoint if it fits your needs. I prefer to avoid refined sugar.
- Sea Salt – For balance. You’ll need some regardless, but the savory version needs more.
- Vanilla Extract – Optional, but I like the little bit for a dessert pie.
FREE 5-Ingredient Recipe EBook
How To Make A Pie Crust With Coconut Flour
I have step-by-step photos here to help you visualize the recipe. For full instructions with amounts and temperatures, see the recipe card.
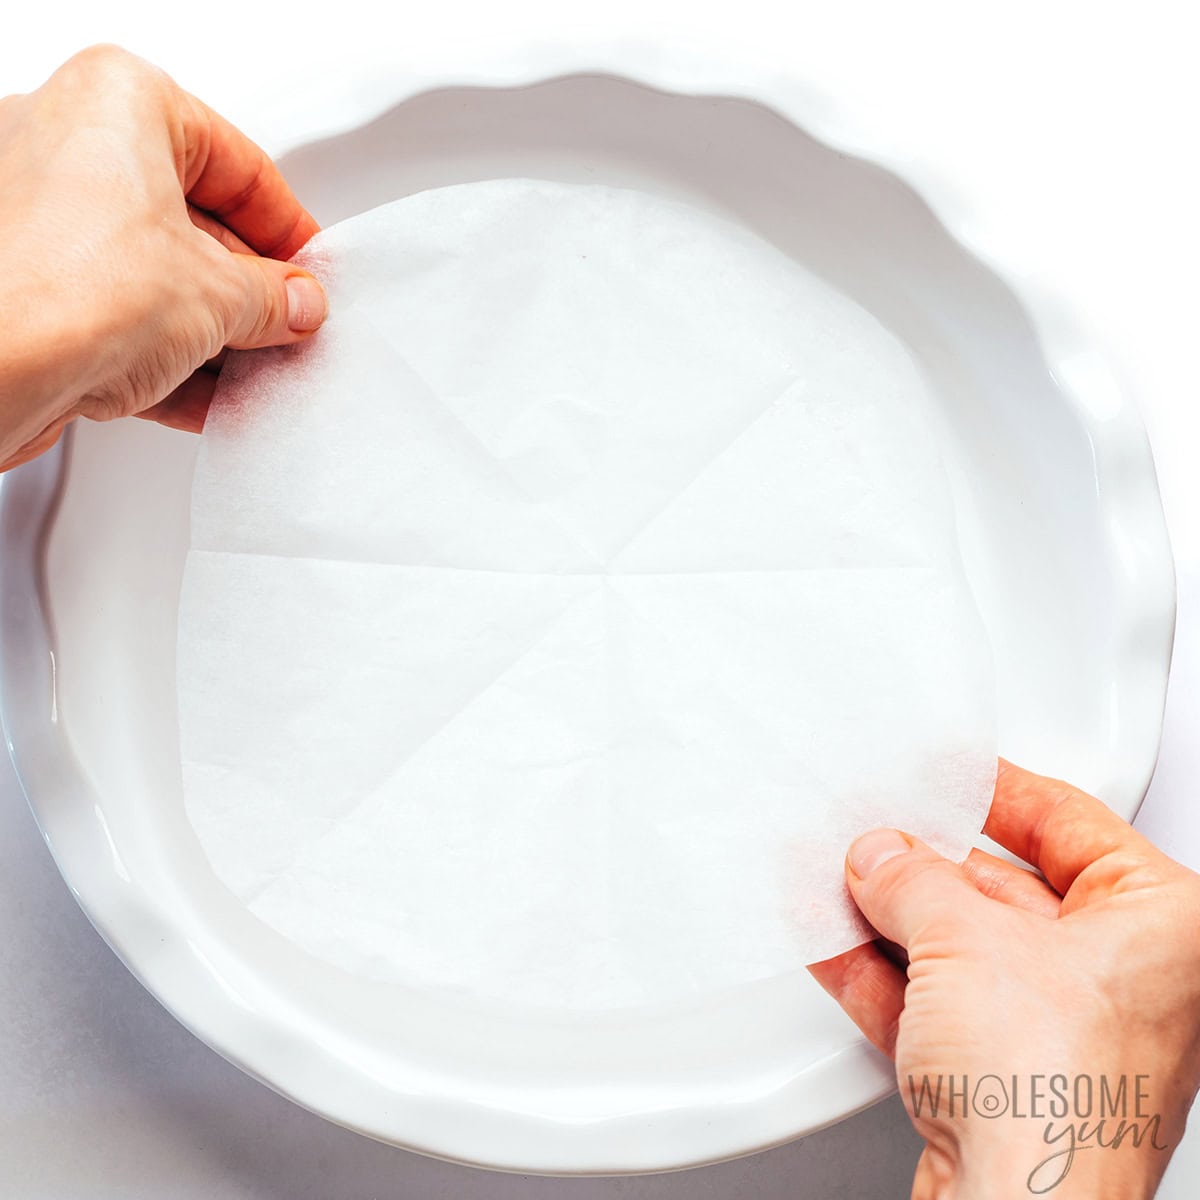
- Prepare the pie pan. Line the bottom of a 9-inch pie pan with parchment paper or grease it very well. You can technically skip the paper, but I prefer to add it for easy release. In my picture below, I used the fold-and-cut method: Fold a square piece of parchment paper in half, then in half again. Flip the pan over and place the corner of the parchment square into the center of the bottom, then cut in a quarter-circle along the edge. Unfold it and you have a perfect circle that will fit into the bottom of your pie pan! For an even easier option, grab these parchment paper rounds that come precut and will lay flat in your pan.
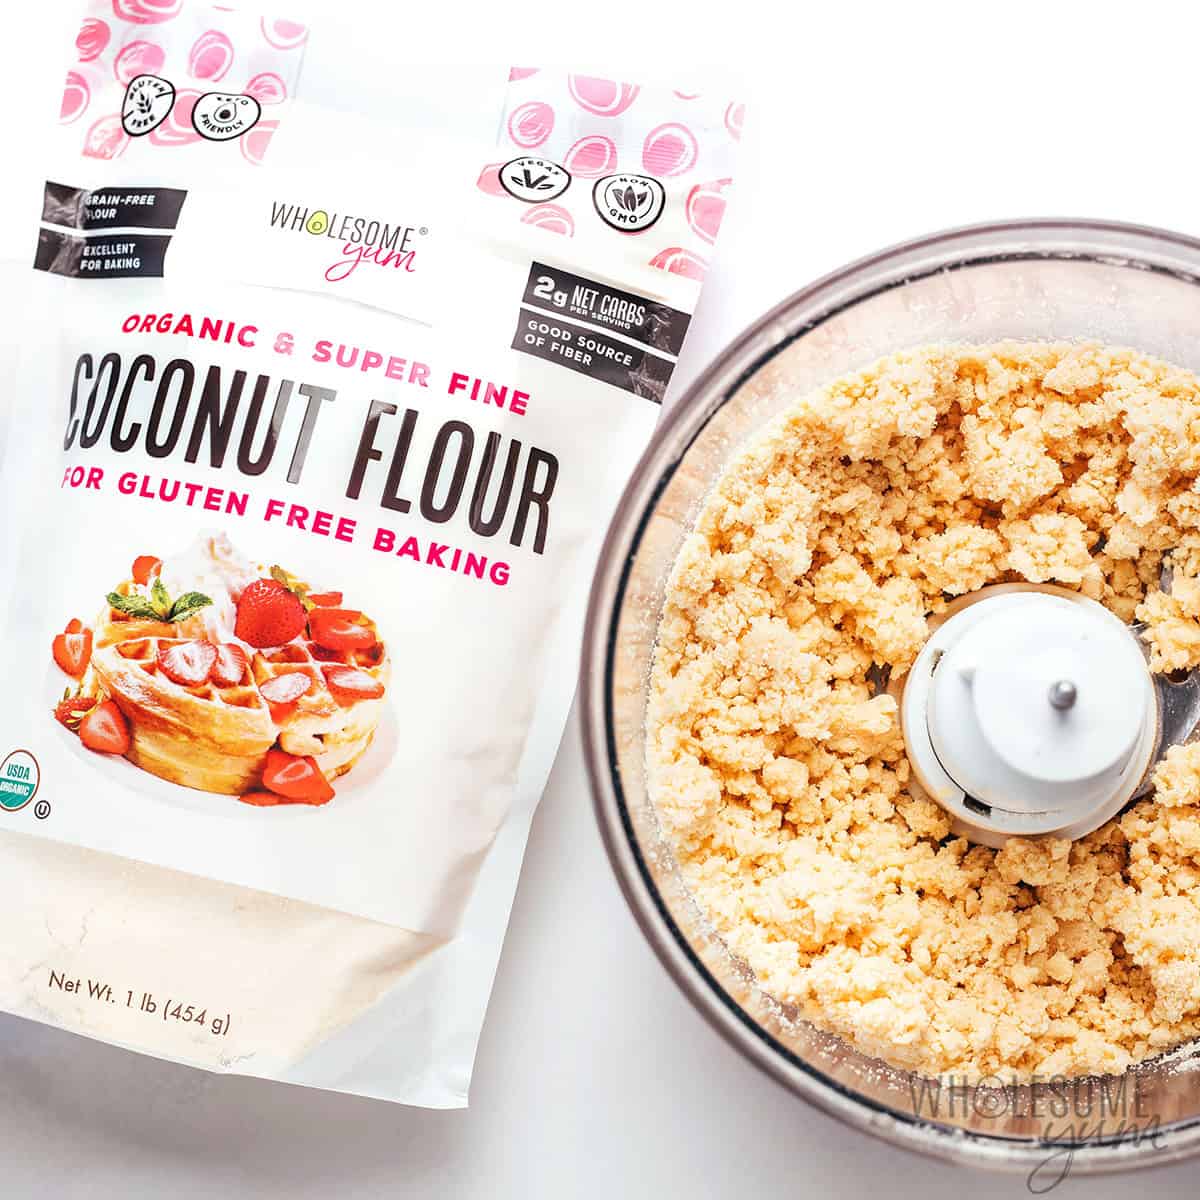
- Pulse the flour and butter. In a large food processor, combine the coconut flour, cold butter, Besti, and sea salt. Pulse until everything is mixed and looks like coarse, buttery crumbs.
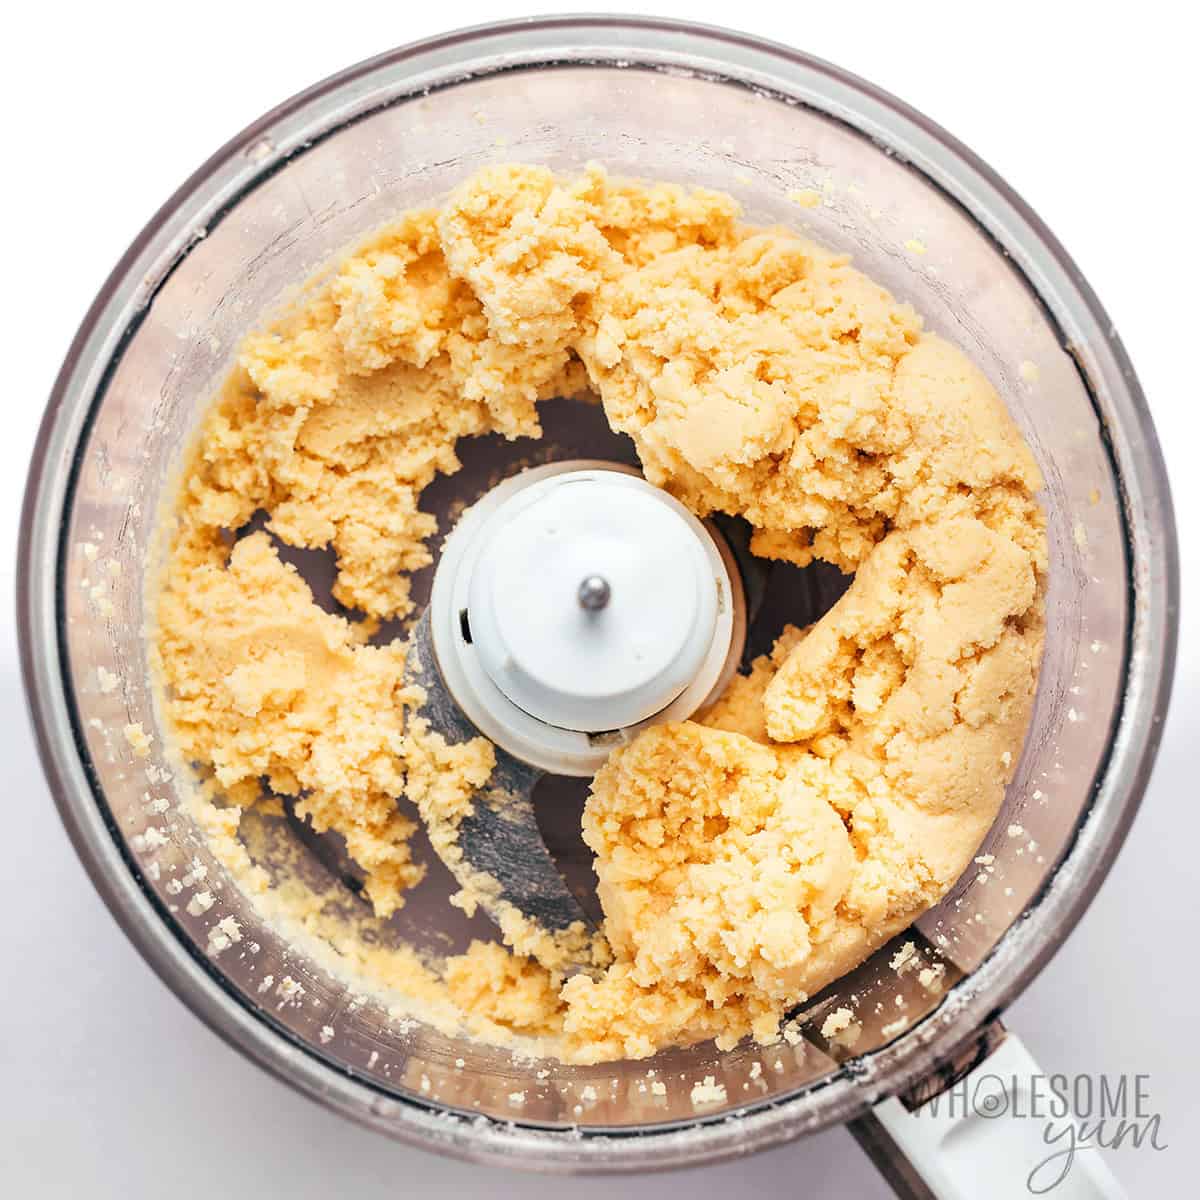
- Finish the dough. Add the eggs and vanilla, if using, and process until the dough comes together. It may look dense or a little crumbly, but should hold together when you press some between your fingers.
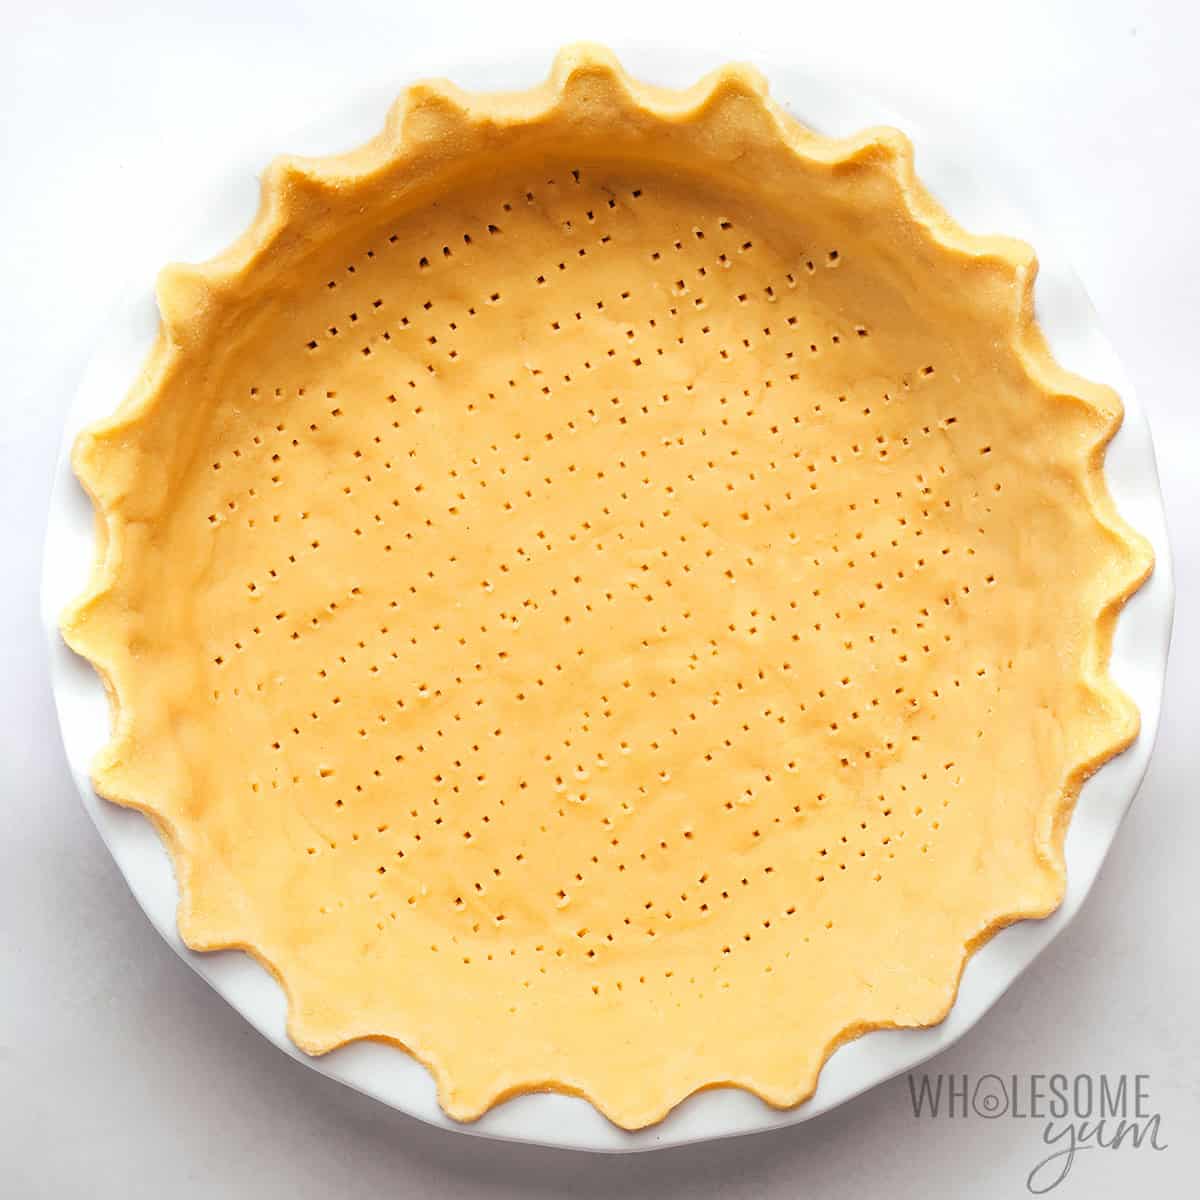
- Press into the pan. Press the coconut flour pie crust dough evenly across the bottom and up the sides. Flute the edges if you like. Prick the bottom with a fork or toothpick, to prevent bubbling as it bakes.
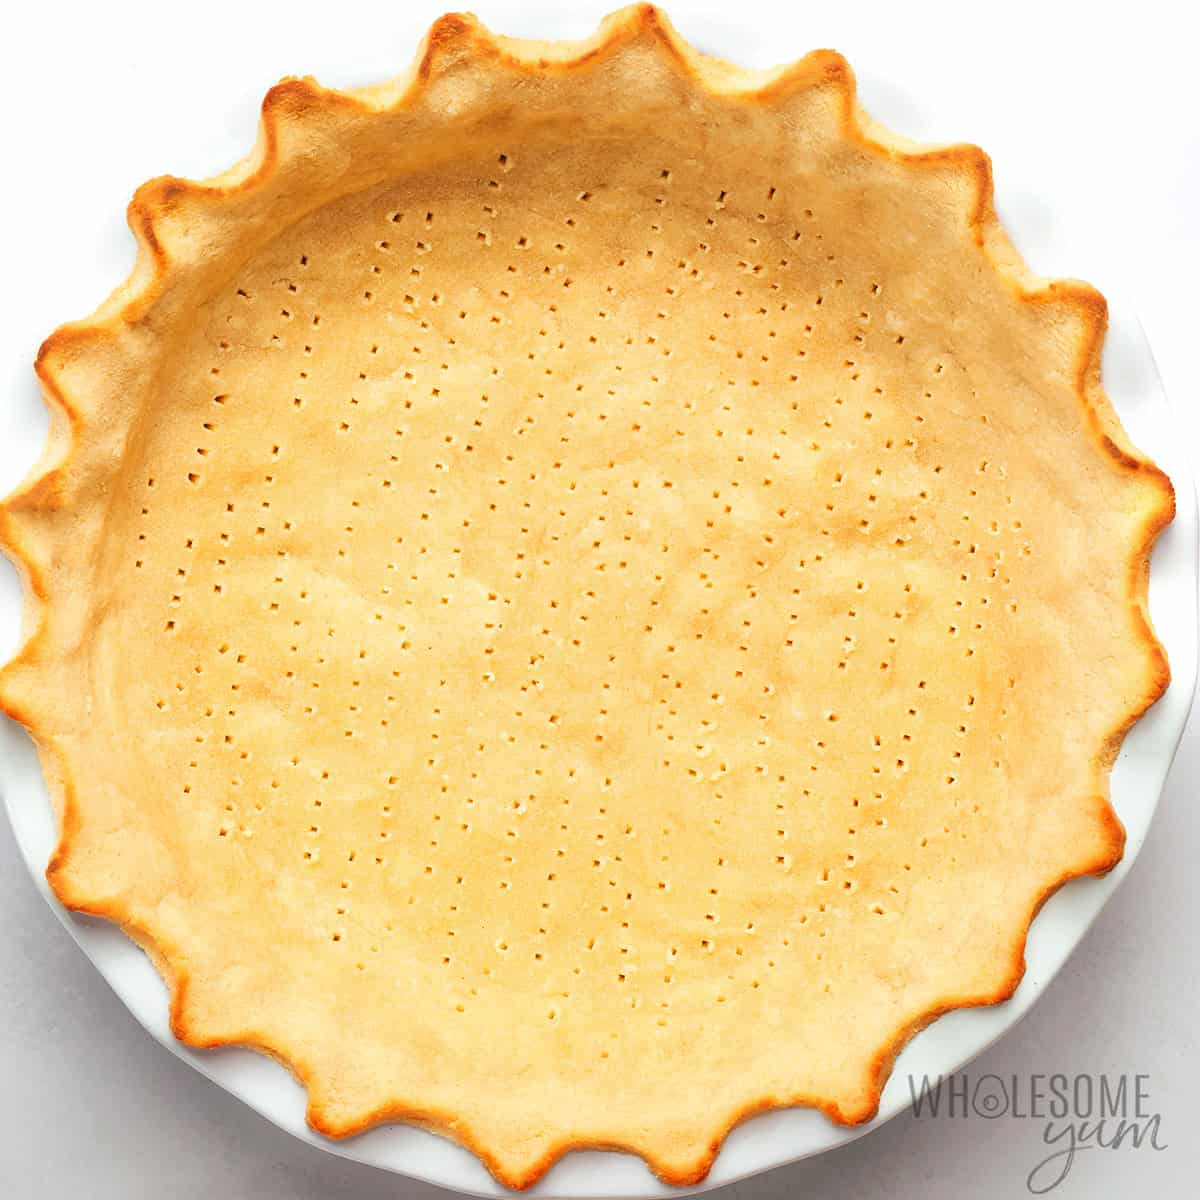
- Pre-bake the crust. Bake until the bottom is firm and the edges are just barely golden. Let it rest before adding filling. Depending on the type of filling you have, see my notes on using the crust below.

Maya’s Recipe Tips
- Measure the coconut flour lightly. I recommend spooning it into the measuring cup and leveling it off, rather than scooping and packing it down. Too much coconut flour is one of the easiest ways to end up with a dry crust.
- Adjust the sweetness to your liking. The 1/4 cup in this recipe is pretty sweet, though not extremely sweet. If you like your crust just barely sweet and let the sweet filling cover the sweetness, I recommend reducing the amount of Besti to 2 tablespoons.
- This is not a stretchy dough, so don’t expect one. This doesn’t have gluten like wheat pastry does, so it behaves differently. If it cracks as you press it up the sides, just patch the cracks with extra dough and smooth them with your fingertips.
- Consider the size and depth of your pie pan. I’ve made this coconut flour pie crust in this glass pie pan as well as this ceramic pie pan. Both work, but the glass one is shallower, so I let the dough go up over the top edge, whereas for the deeper ceramic pan, less goes up over the edge. If your pan is 10 inches in diameter, I recommend scaling the recipe up by about 1/3 — just enter “16” in the number of servings on the recipe card below. (You may have a tiny bit of extra dough this way, but scaling by 1.25X which is more ideal will give you awkward ingredient amounts.)
- Do you have to use a food processor? No, but the cold butter is easiest to distribute with my food processor. A pastry cutter or mixer can work if you’re careful to combine everything thoroughly, but it’s more work to get the cold butter to incorporate.
- Why not just use melted butter? It’s all about texture. Cold butter stays in tiny pieces that melt as the crust bakes, giving it a more tender, delicate crumb. Melted butter blends in evenly, which sounds like a good thing, but it can actually make the crust denser and less pastry-like. I tested both and much prefer this coconut crust using the cold butter option!
- If you’ll be baking the pie after adding filling, make a thicker crust edge. This helps slow down browning on the edges and reduces the chance of burning. I made it relatively thin in my pictures here.
How To Use Coconut Flour Pie Crust For Different Types Of Fillings
I recommend prebaking this coconut flour crust before adding any filling. Baking the empty shell first helps it hold together and prevents it from getting soggy once filled.
- For no-bake pies – Bake the shell according to the recipe card, then let it cool completely before adding chilled fillings. Cooling first allows the crust to set before a wet filling goes in.
- For baked pies – Prebake the crust, let it rest for at least 10 minutes, then add your filling and bake again according to that recipe. To avoid burning the edges in the second bake, I recommend protecting the edges with foil or a reusable pie shield. If it’s a longer bake, I also reduce the initial bake for this coconut crust from 10-12 minutes to about 7-8 minutes, so the edges don’t get a chance to start browning yet.
- For top-crust pies – Sorry, this dough won’t work for a top crust. It’s too fragile and falls apart if you try to transfer it after rolling. For a top crust, use my gluten-free pie crust recipe.
- For cheesecake – Many of you have asked me about using this as a crust for my keto cheesecake, and you can! For a 9-inch springform pan, I recommend using about 3/4 of the dough for a bottom-only crust, since you won’t need to cover the sides. Prebake as directed before adding the cheesecake filling. It works just as well for my high protein cheesecake, too.
- For mini tart shells – For 4-inch removable-bottom tart pans, one batch makes about 4 small crusts. I recommend checking at around 7-8 minutes of baking.
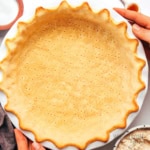
Coconut Flour Pie Crust (Low Carb & GF)
 By
My easy, buttery coconut flour pie crust works for sweet or savory pies. Keto friendly, gluten free, only 4 ingredients, and no rolling!


Instructions
[ See step photos See my tips ]Tap on the times in the instructions to start a kitchen timer.
-
Preheat the oven to 350 degrees F (177 degrees C). Line the bottom of a 9-inch (23 cm) round pie pan with parchment paper, or grease well.
-
Combine the coconut flour, butter, Besti, and sea salt in a food processor. Pulse until well combined.
-
Add the eggs and vanilla extract. Process again until dough forms.
-
Press the coconut flour pie crust dough into the pie pan. Poke holes in the bottom with a fork or toothpick.
-
Bake for 10-12 minutes, until firm and just barely golden on the edges. Rest on the counter for at least 10 minutes before adding filling, then you can bake again as needed for the filling. If the edges start to brown too much before the filling is done, you can cover them with foil. Cool completely before cutting.
Did you make it? Leave a review or tag me @wholesomeyum on Instagram!
Maya’s Recipe Notes
Serving size: 1 slice, or 1/12 of entire recipe
📖 Want more recipes like this? Find this one and many more in my Keto Freezer Meal System!
I provide nutrition facts as a courtesy. Have questions about calculations or why you got a different result? Please see my nutrition policy.
Add Your Notes Your Notes
Try More Of My Recipes


© Copyright Maya Krampf for Wholesome Yum. Please DO NOT SCREENSHOT OR COPY/PASTE recipes to social media or websites. We’d LOVE for you to share a link with photo instead.
Coconut Flour Pie Crust Recipe
Make Ahead Options
This is one of those pie components I prefer to make ahead whenever I can. There are a few ways to do it:
- Make the dough ahead – Wrap the unbaked coconut flour dough tightly in plastic wrap and refrigerate it for up to 3-5 days. I let it soften on the counter for about 30 minutes, so it doesn’t crack when pressing into the pan. I’ve also pressed the crust into the pan in advance, but it does dry out over time even if you cover it, so I only recommend keeping it this way up to 1 day ahead.
- Bake the crust ahead – This is my preferred option. You can keep the baked, unfilled coconut flour pie crust covered on the counter for up to 1 day or in the refrigerator for a few days. I recommend waiting to add a creamy or wet filling until you need it.
- Freeze the dough – Similar to the make ahead option above, wrap it in plastic wrap, then pop into a freezer bag for up to 3 months. Let it thaw in the fridge overnight.
- Freeze the baked shell – Let it cool, then wrap it well and freeze it for up to 3 months. Thaw it before adding the filling. Filled pies can sometimes be frozen, too, but that depends more on the filling than the crust.
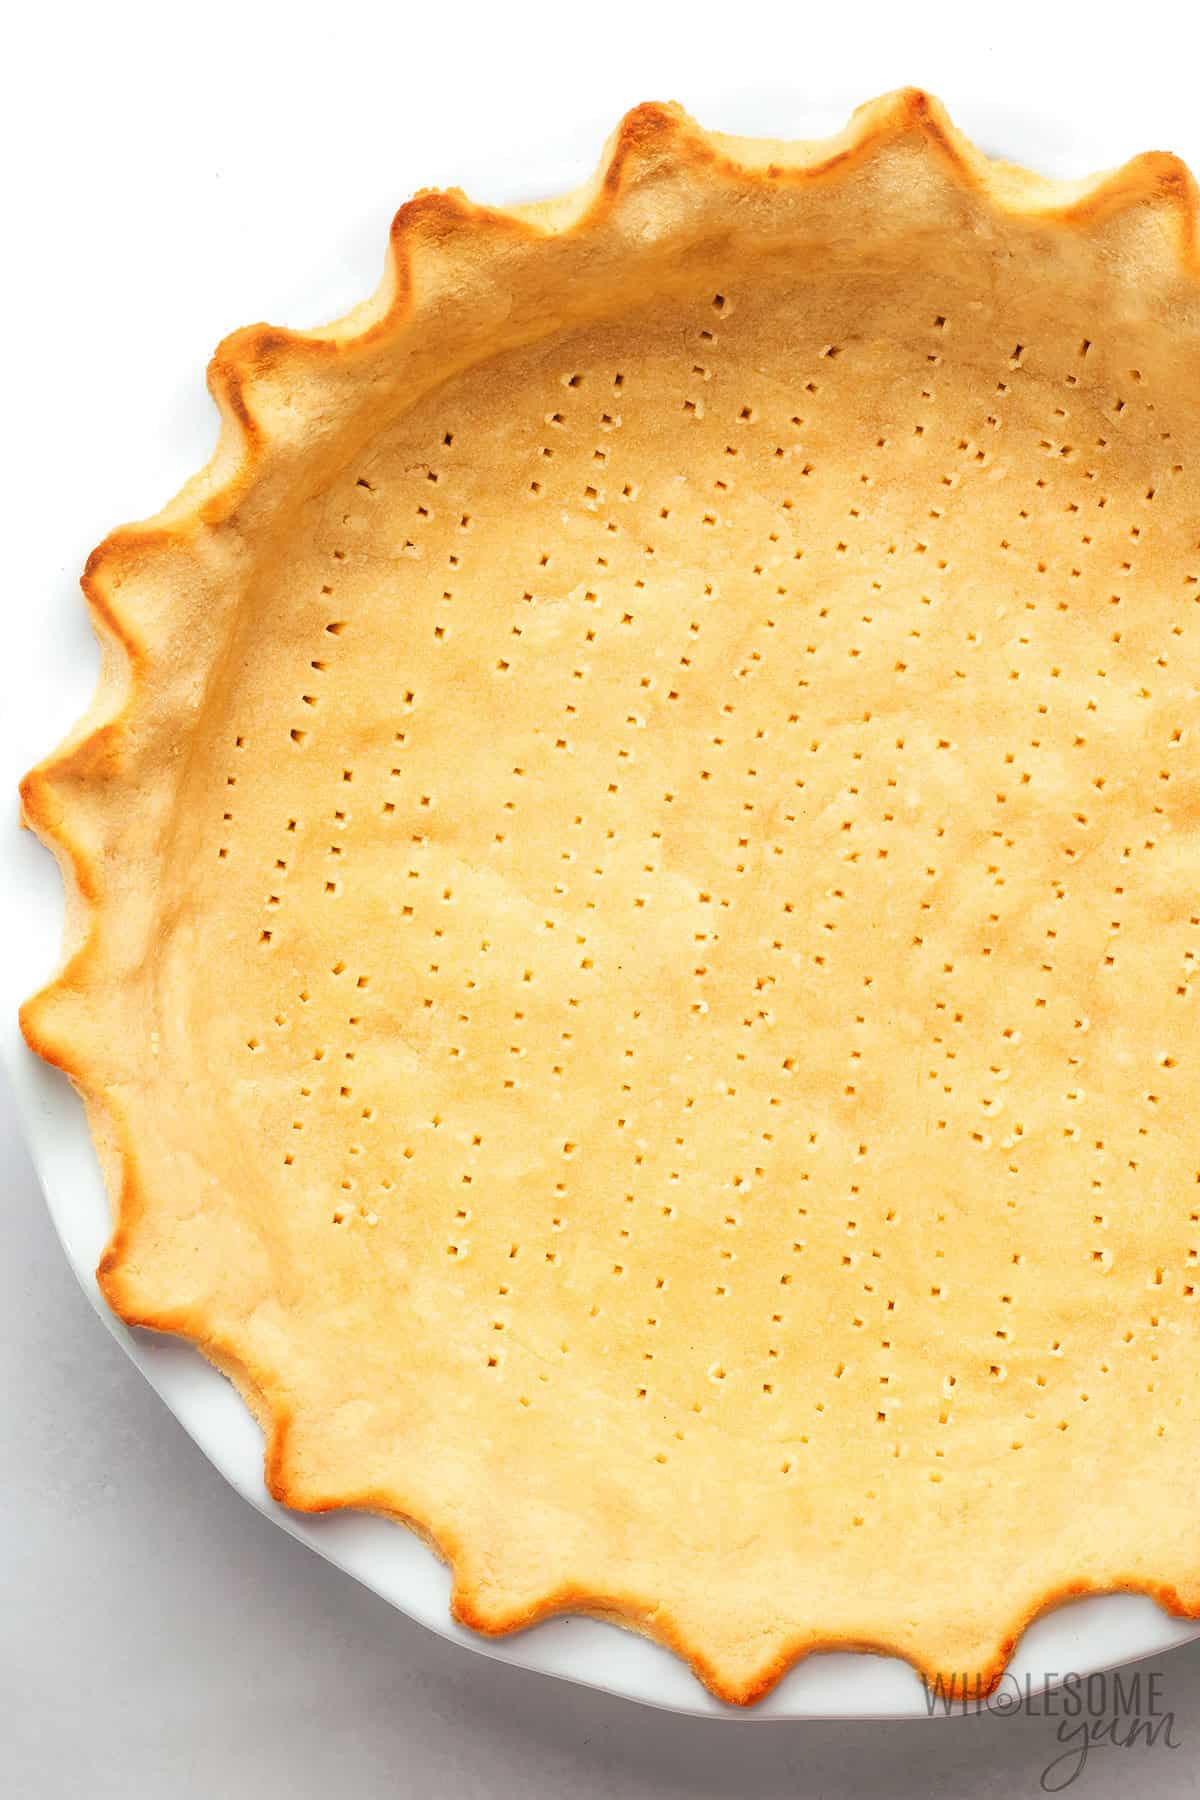
Pies To Make With Coconut Pie Crust
You can use this crust in all kinds of pies! I especially like the way the buttery, lightly coconut-flavored base works with creamy desserts, but the flavor isn’t strong, so it’s just as handy for savory fillings when you skip the sweetener.
- Creamy, chilled pies – Try my coconut cream pie or key lime pie! The light coconut flavor really complements these.
- Baked dessert pies – This makes a good base for my keto pumpkin pie or sugar-free pecan pie. Just cover the rim when baking with the filling. It could also work for gluten-free apple pie but only if you’re okay with not having a top crust, since this coconut pie crust won’t work on top.
- Savory pies and quiche – Use the savory version to make low carb quiche or my Greek spinach pie. If you’re worried about the coconut flavor, you can add some garlic powder and Italian seasoning to cover it up, but it’s not strong anyway!











100 Comments
Lesley
0Perfect recipe for cream cheese cake
Oliver Sage
0This was absolutely excellent. The ingredients listed made a perfect 9 inch tart base. I filled it with home preserved quince and syrup (erythritol sweetened) from the jar that I thickened with tapioca flour. Layered home made Mascarpone over the top.
Now even my Keto diet wife can have a smallish slice for desert tonight and our guests I think will love it.
I look forward to being able to buy your Allulose sweetener when it is available for shipping to Aus. Unfortunately there are no suppliers of allulose in Aus at the moment although there is an Asian company trying to get the required certification to sell in the market. I can and have imported some but even that is severely restricted with the available options of companies shipping it.
And extremely costly. Therefore I only use it for very special occasions when nothing else will do. So I was glad this pie crust was made with Erythritol.
Mercedes Brietzke
0Went great. Until I filled it with labor intensive honey sweetened fresh pumpkin pie filling. put it in the oven, at 425° for 65 mins like my filling recipe suggested. I went to check it at 25 mins to cover the crust with foil and it was black as night! I was making two different pies at once and My almond crust one was fine.
I strongly recommend covering the crust with tin foil from the beginning.
Maya | Wholesome Yum
0Hi Mercedes, Sorry to hear that you burned your crust. I stated in both the post and the recipe card that I recommend covering the edges. They would definitely burn after 25 minutes uncovered.
Zoe
0Question: can I substitute a different sweetener for the erythritol in this recipe (I can’t stand the “cooling effect” in my mouth)? Would the monk fruit and allulose one work just as well? Or plain allulose? Would love to try making this without erythritol!
Wholesome Yum D
0Hi Zoe, Yes, you can use Besti in this recipe, but make sure to use my Keto Sweetener Guide because the two sweeteners do not measure the same.
Bava Cohen
0Can this be frozen before or after baking the crust?
Maya | Wholesome Yum
0Hi Bava, Yes, you could do either way.
Meredith
0I made a chicken pot pie tonight that called for a fat head dough to top it. It was okay but I would really prefer something flakier more like a ‘real’ pie crust. This recipe sounds just like what I want. I’m sure it would be fine for a bottom crust but I would really like a top crust, too. I noticed you said this might not work for that. Do you think it might work to bake the bottom crust and filling, then bake the top crust on parchment and carefully slide it off the parchment and onto the already baked chicken filling?
Wholesome Yum D
0Hi Meredith, I have a chicken pot pie recipe that might be more of what you are looking for.
Chris
0What if you do not have a food processor?
Wholesome Yum D
0Hi Chris, You may be able to achieve this using a hand mixer or stand mixer too, but doing it by hand would be challenging.
L
0I am so happy that I found this recipe!!! My husband can’t have almond flour. I used this twice today, for pumpkin pie and pecan pie bars. This was a hit for sure! I had to bake a little longer than 15 mins but it tasted great! I am thinking of making cookies and a savory crust for a pot pie next time. Thank you for sharing!
Marina
0Can I put coconut in this pie crust as well?
Wholesome Yum D
0Hi Marina, I have never tried that, but if you do please let me know the results.
Ana
0“The metric system is commonly referred to as the International System of Units, as it is used by virtually all countries in the world. Interestingly, three countries in the world do not use the metric system, despite its simplicity and universal use. These are Myanmar, the United States, and Liberia.”
So basically you went through all the trouble of writing this for just the people of Myanmar, the United States, and Liberia. Such a waste! I’ll go look for this recipe in grams.
Shannon Morris
0If her audience is primarily the US, what’s the problem? She wasted her ingredients in trial & error to give a free recipe. The least you can do is convert it if you want to try it. Just say thank you & move on
Wholesome Yum D
0Hi Ana, I live in the US and don’t use the metric system, however, on the recipe card you can switch from US customary to metric on all recipes.
Audrey
0I live in Canada and I don’t use the metric system for baking!
Reneer
0How would you make the top crust?
Wholesome Yum D
0Hi Reneer, Is there a specific recipe you need a top crust for? In general, this recipe does not work that well for a top crust.
Vicki
0Can I use this for Louisiana meat pies? Looking for a healthier gluten-free option, for us but without my husband knowing. He isn’t 100% on board for healthier options. Lol
Thanks in advance
Wholesome Yum M
0Hi Vicki, I haven’t personally made these hand pies, but I think this fathead pizza dough recipe would hold together best for your recipe. Best wishes!
Johanne
0I have made it few times and it is delicious and come out crispy. I have made it for pie and for savory salmon pie which I am making tonight.
Graycatness
0Made sugar free rhubarb and custard pie this afternoon and this crust turned out wonderful. After 15 minutes in the oven I covered the edges with foil and baked for an additional 5 minutes. And kept the edges covered with the filling as well. I rolled out the dough on the parchment paper covered with foil. And popped it into the fridge for a few minutes to firm up a bit then shaped the edges…its easier when the crust is cold. Even my husband loved it..he always rolls his eye when I make my low carb grain free alternatives 🙂 thank you so much for the recipe! Hail rhubarb season!
Shelley
0I made this a day before I was making a sausage quiche for brunch.
I used garlic sea salt & no sweetener. I did butter the pie plate. I had no problem removing the finished quiche from the pie plate-
Lysanne
0Hi, I’m looking to make mini tarts (like butter tarts), how would I go splitting this up and cooking time? Can I use aluminum tart plates? (Keep in mind, beginner Baker here, lol)
Patricia
0Looking forward to making this for my butter tarts this Christmas! My question is, can I use regular sugar – I don’t do well with sweeteners? Thank you.
Wholesome Yum D
0Hi Patricia, You could use real sugar but then it would no longer be low carb. I suggest you use my Sweetener Conversion Chart because not all sweeteners and sugar measure the same way.
Wholesome Yum M
0Hi Lysanne, Yes you absolutely can make small tarts with this crust! If you have the 4″ removable bottom tart pans, then you should be able to make about 4 tarts with 1 recipe. The recipe will still need to be baked before you can add a filling, but the time can be reduced to about 7-10 minutes. If your edges start to get too brown during the final bake with the filling, feel free to cover them with aluminum foil to prevent burning.
Flavia
0Delicious pie!!!! I made a lemon pie (topped with meringue), and the coconut and lemon flavors were fantastic together. Thank you for sharing your recipe.
Kim
0Can I add my quiche filling before baking the crust?
Wholesome Yum M
0Hi Kim, The crust needs to be parbaked before adding the filling. Parbaking sets the crust in place so it doesn’t break apart, into the pie filling. Bake for 10-15 minutes and let rest for 10 minutes before adding your quiche filling.
Ruth Anne Martinez
0Can I also use butter flavored coconut oil for this crust recipe?
Wholesome Yum M
0Hi Ruth, Yes!
Lil
0Wow! Super easy! I’ve been baking all my life but I’ve never actually made a pie crust from scratch.. I’ve always felt intimidated .. this was so easy to do, simple recipe, and easy steps … Thank you!
Karyn Smith
0The flavor is ok, but this crust was incredibly dry.
Melissa
0Hi Karyn, I’m sorry this recipe didn’t turn out as expected. I do have a recipe for an Almond Flour Pie Crust, which may be more suitable to your tastes.