
 Shop
 My
 Custom





My Cauliflower Baked Ziti Is Light, Cheesy Comfort Food At Its Best

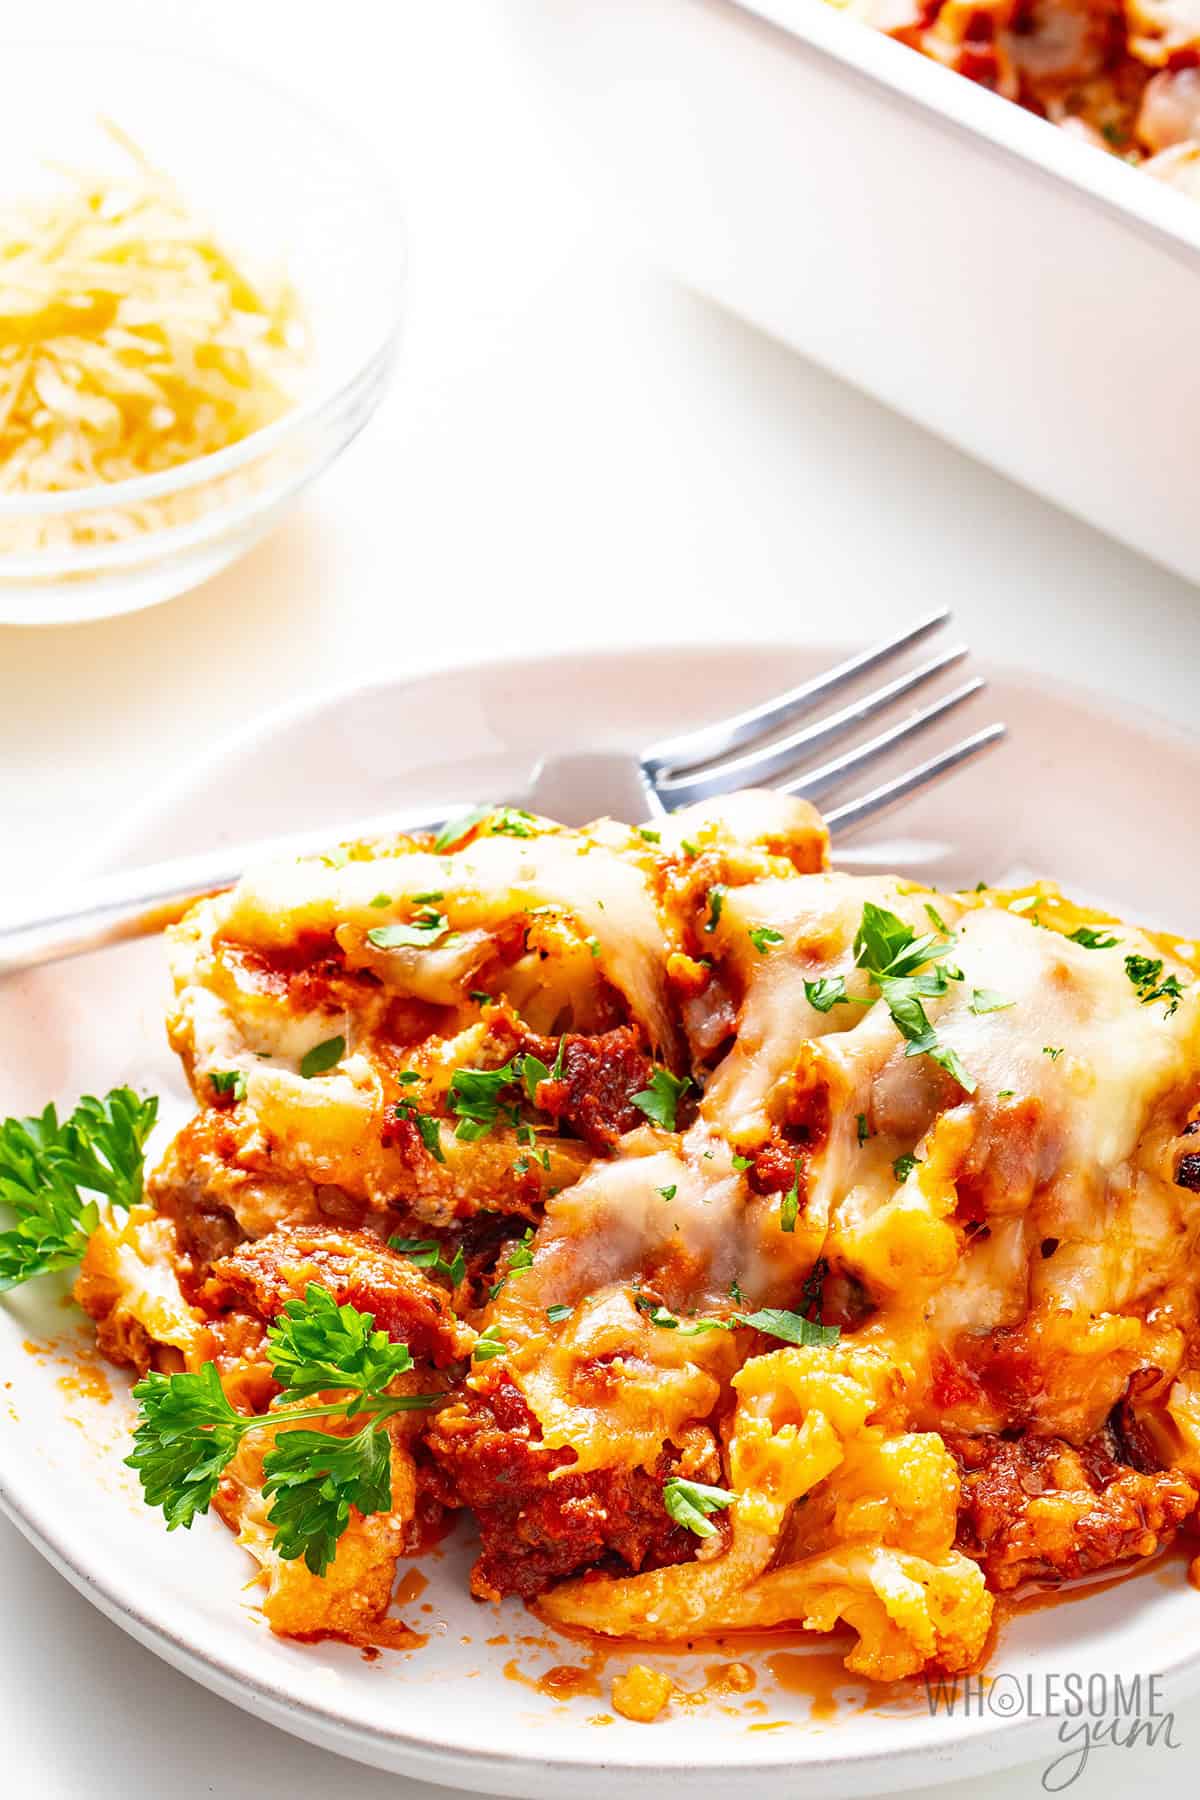
This cauliflower baked ziti has all the things I love about traditional baked ziti, just with roasted cauliflower instead of pasta. I’ve been making it for years, and it even made it into my low carb cookbook for carb lovers. Here’s why:
- All the flavor and comfort food factor of the pasta dish – This dish is layered like my cauliflower lasagna, but with the classic ziti combo of sausage, marinara, creamy ricotta, and melty cheese. It’ll leave you just as satisfied as the pasta version.
- Lighter than pasta – Using cauliflower makes this dish naturally low carb, gluten-free, and packed with veggies, but it still has plenty of protein, too. It leaves me feeling great instead of that heavy pasta feeling.
- Perfect for make-ahead meals – You can prep the components in advance, or assemble the whole cauliflower baked ziti and bake it later. It reheats beautifully.
If you’re craving something cozy, cheesy, and light for dinner, grab a baking dish and make this cauliflower baked ziti with me!

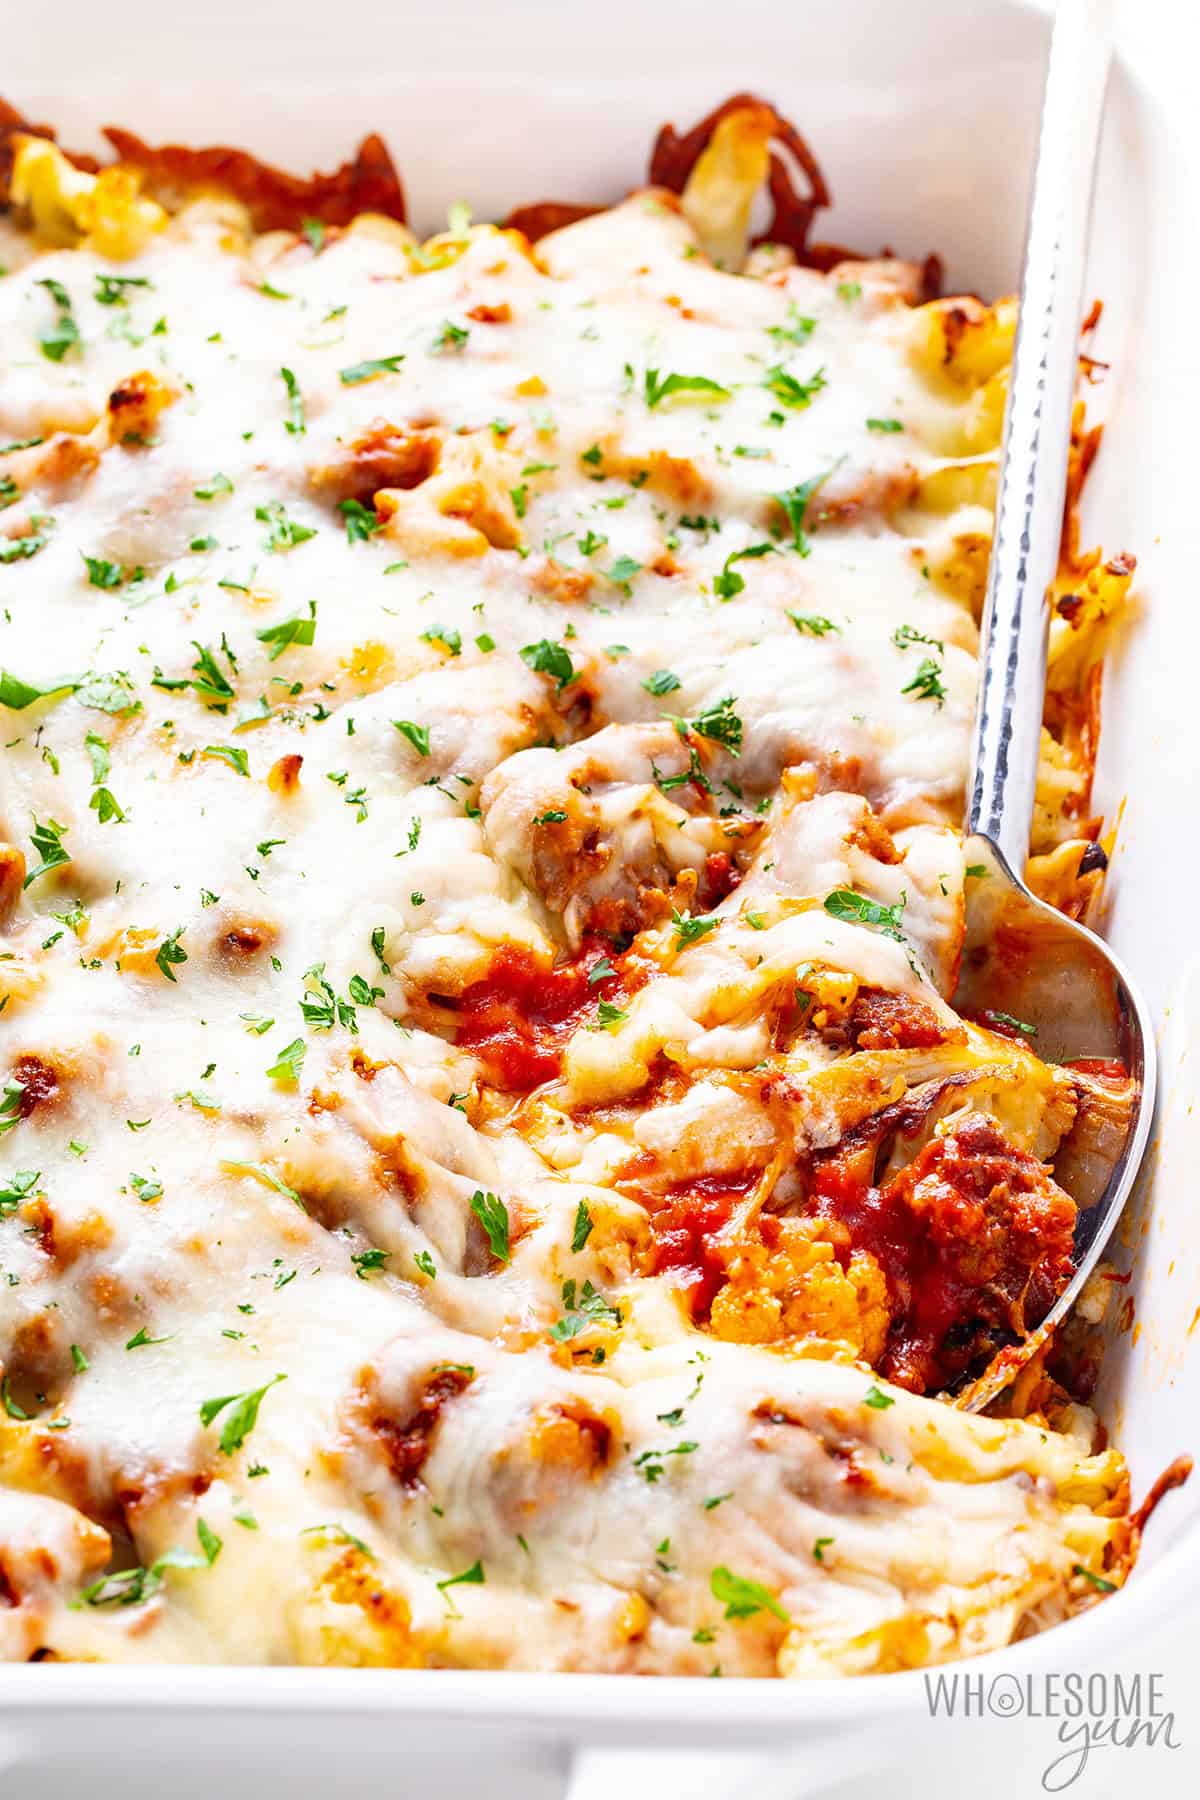
“This recipe is amazing! My husband and I both love it (and we are not cauliflower fans). This will be one of my go-to recipes when I need some comfort food.”
-Jennifer
Ingredients & Substitutions
Here I explain the best ingredients for my cauliflower baked ziti recipe, what each one does, and substitution options. For measurements, see the recipe card.
- Cauliflower – I use 2 heads to get the right amount for the base of this cauliflower ziti. You can also use pre-cut florets, which yield about 8 cups.
- Italian Sausage – I usually use mild Italian sausage for a classic flavor, but spicy works great if you want a little kick. You can also swap in ground beef or turkey, and just add a bit of Italian seasoning to get that same flavor.
- Garlic – I use fresh minced garlic, but 2 teaspoons of jarred garlic works, too.
- Marinara Sauce – You can use my homemade marinara or your favorite store-bought version (I love this brand). If you’re using plain tomato sauce, I recommend adding extra garlic and a few Italian herbs to build more flavor.
- Cheese – A mix of whole-milk ricotta, shredded parmesan, and mozzarella for that creamy, melty, classic baked ziti feel.
- Spices – I keep it simple with Italian seasoning in the sausage marinara, plus sea salt and black pepper for roasting the cauliflower.
- Olive Oil – For roasting the cauliflower. Avocado oil works just as well.

FREE 5-Ingredient Recipe EBook
GET IT NOW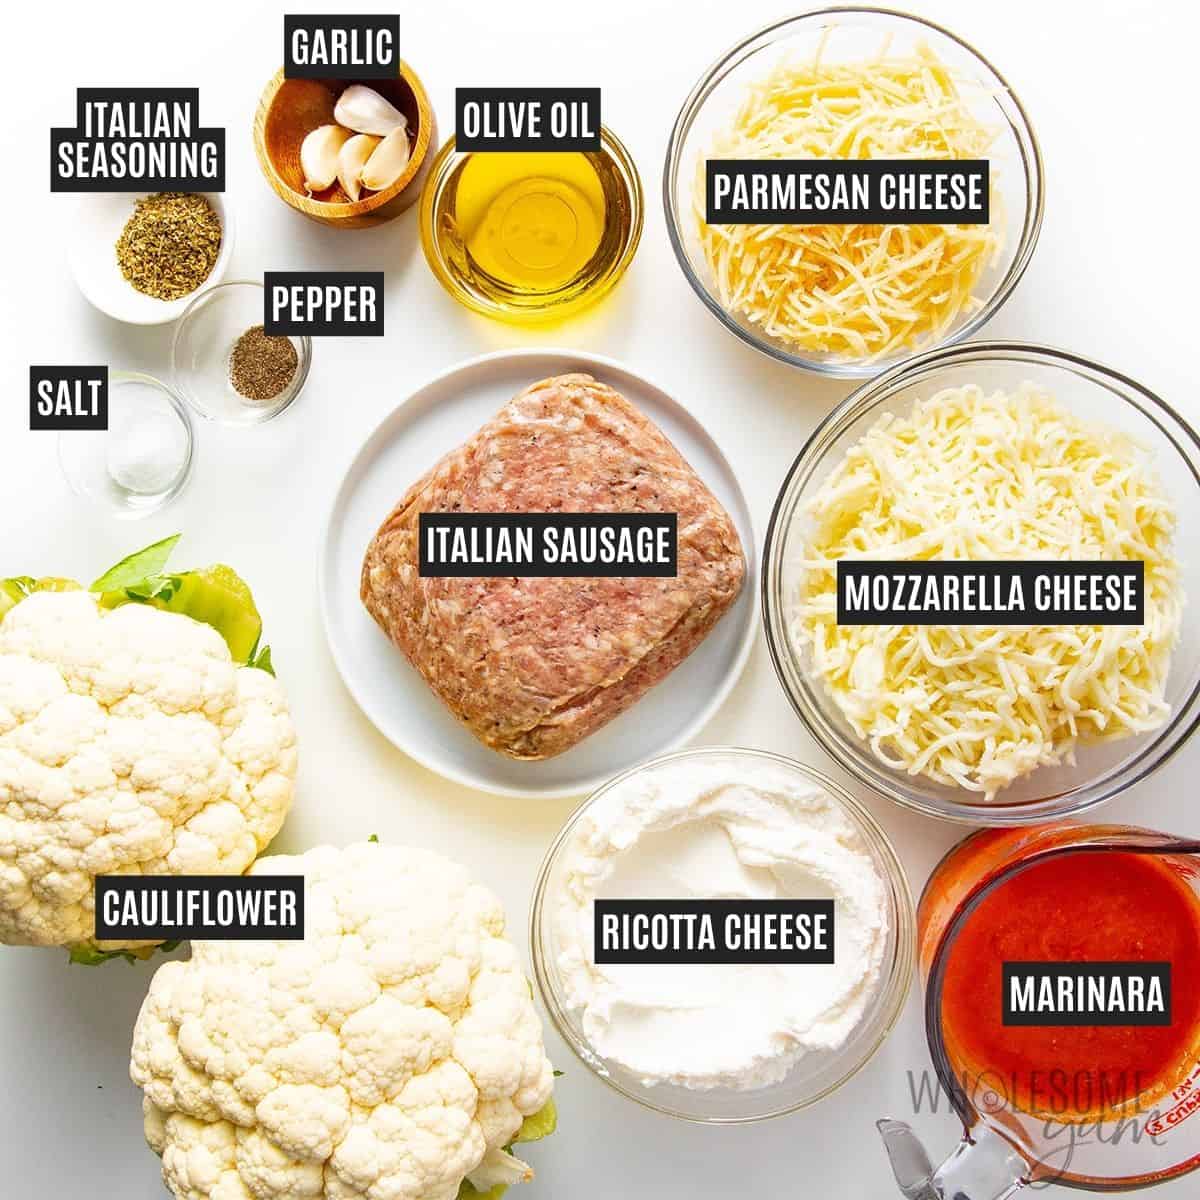
How To Make Cauliflower Baked Ziti
I have step-by-step photos here to help you visualize the recipe. For full instructions with amounts and temperatures, see the recipe card.
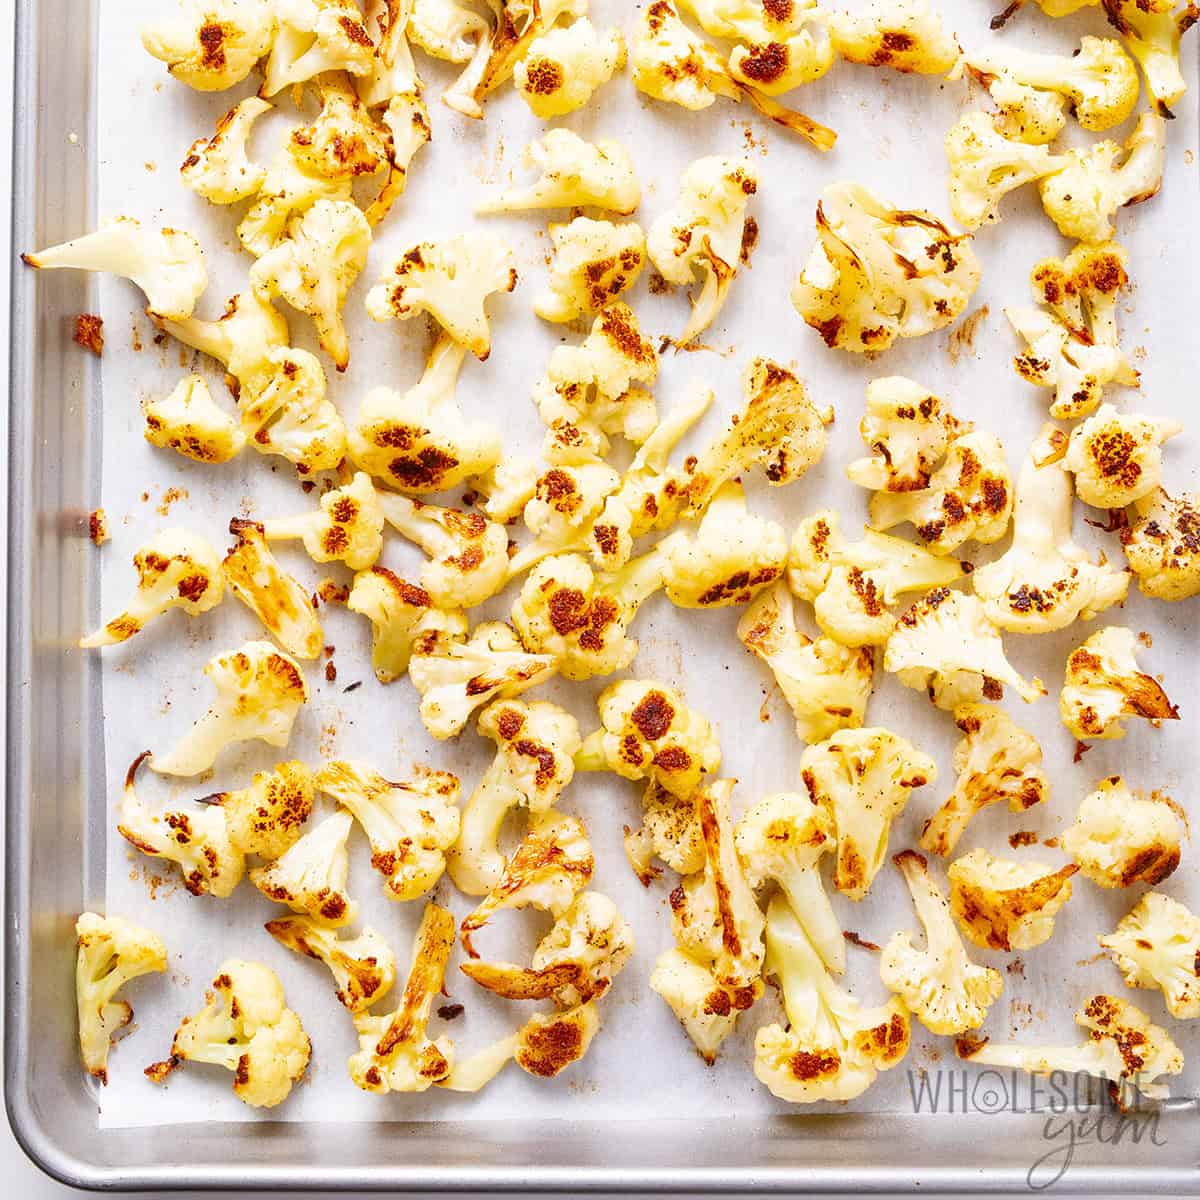
- Roast the cauliflower. Toss the cauliflower with olive oil, salt, and pepper. Spread the florets in a single layer on 2 baking sheets and roast until golden and tender.
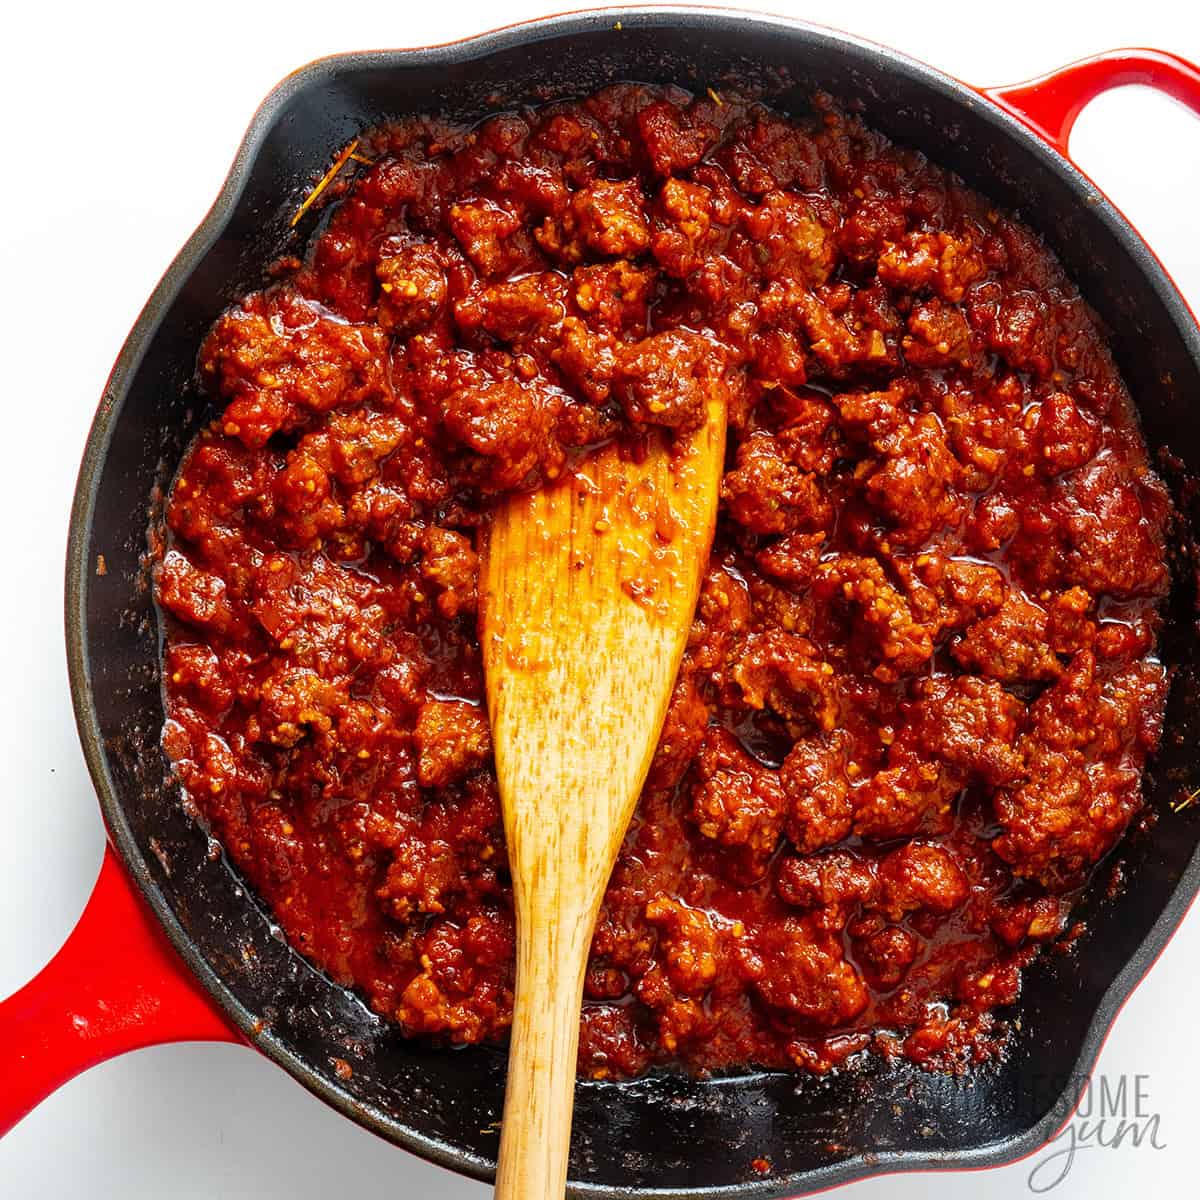
- Make the sausage marinara. Heat some olive oil in a large skillet, and cook the sausage until browned, breaking it apart. Add the garlic and cook until fragrant. Finally, stir in the marinara and Italian seasoning, and simmer until thick and bubbly.
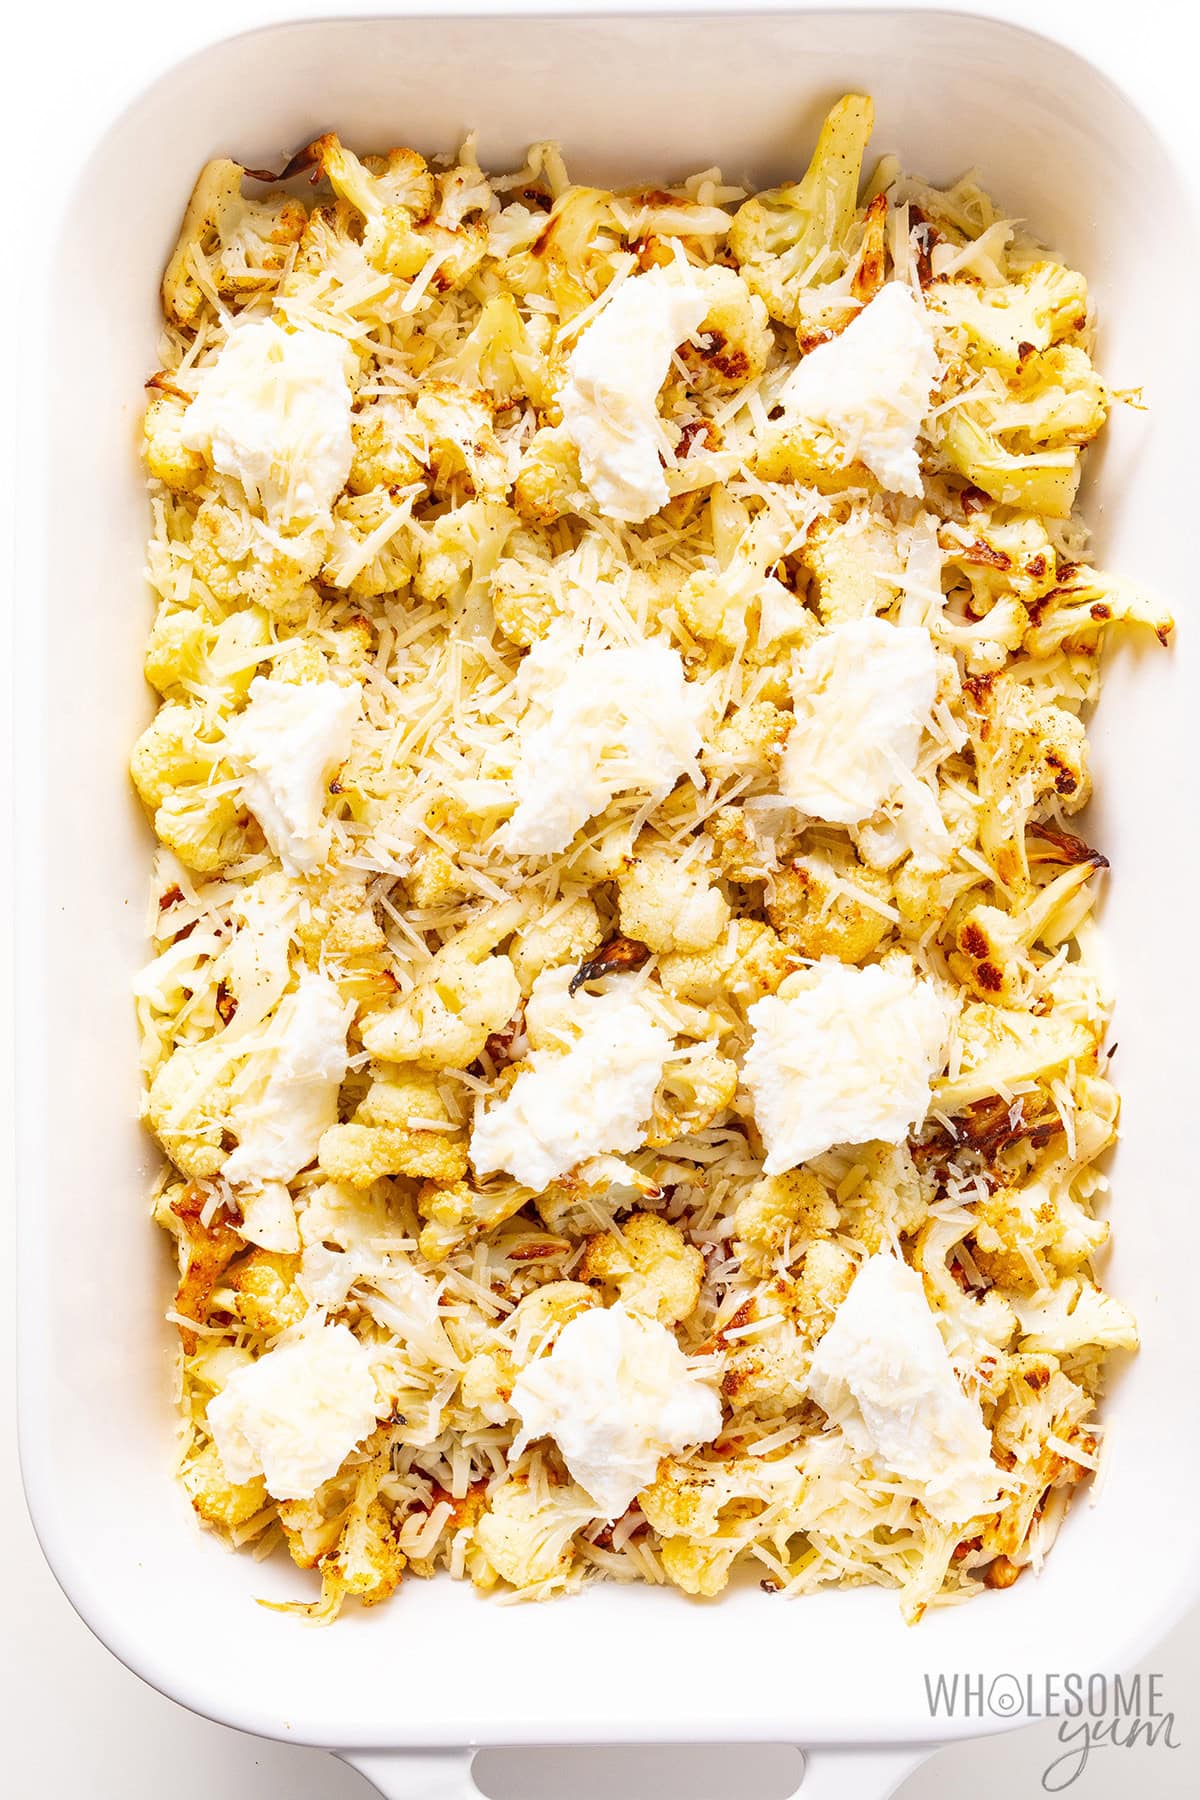
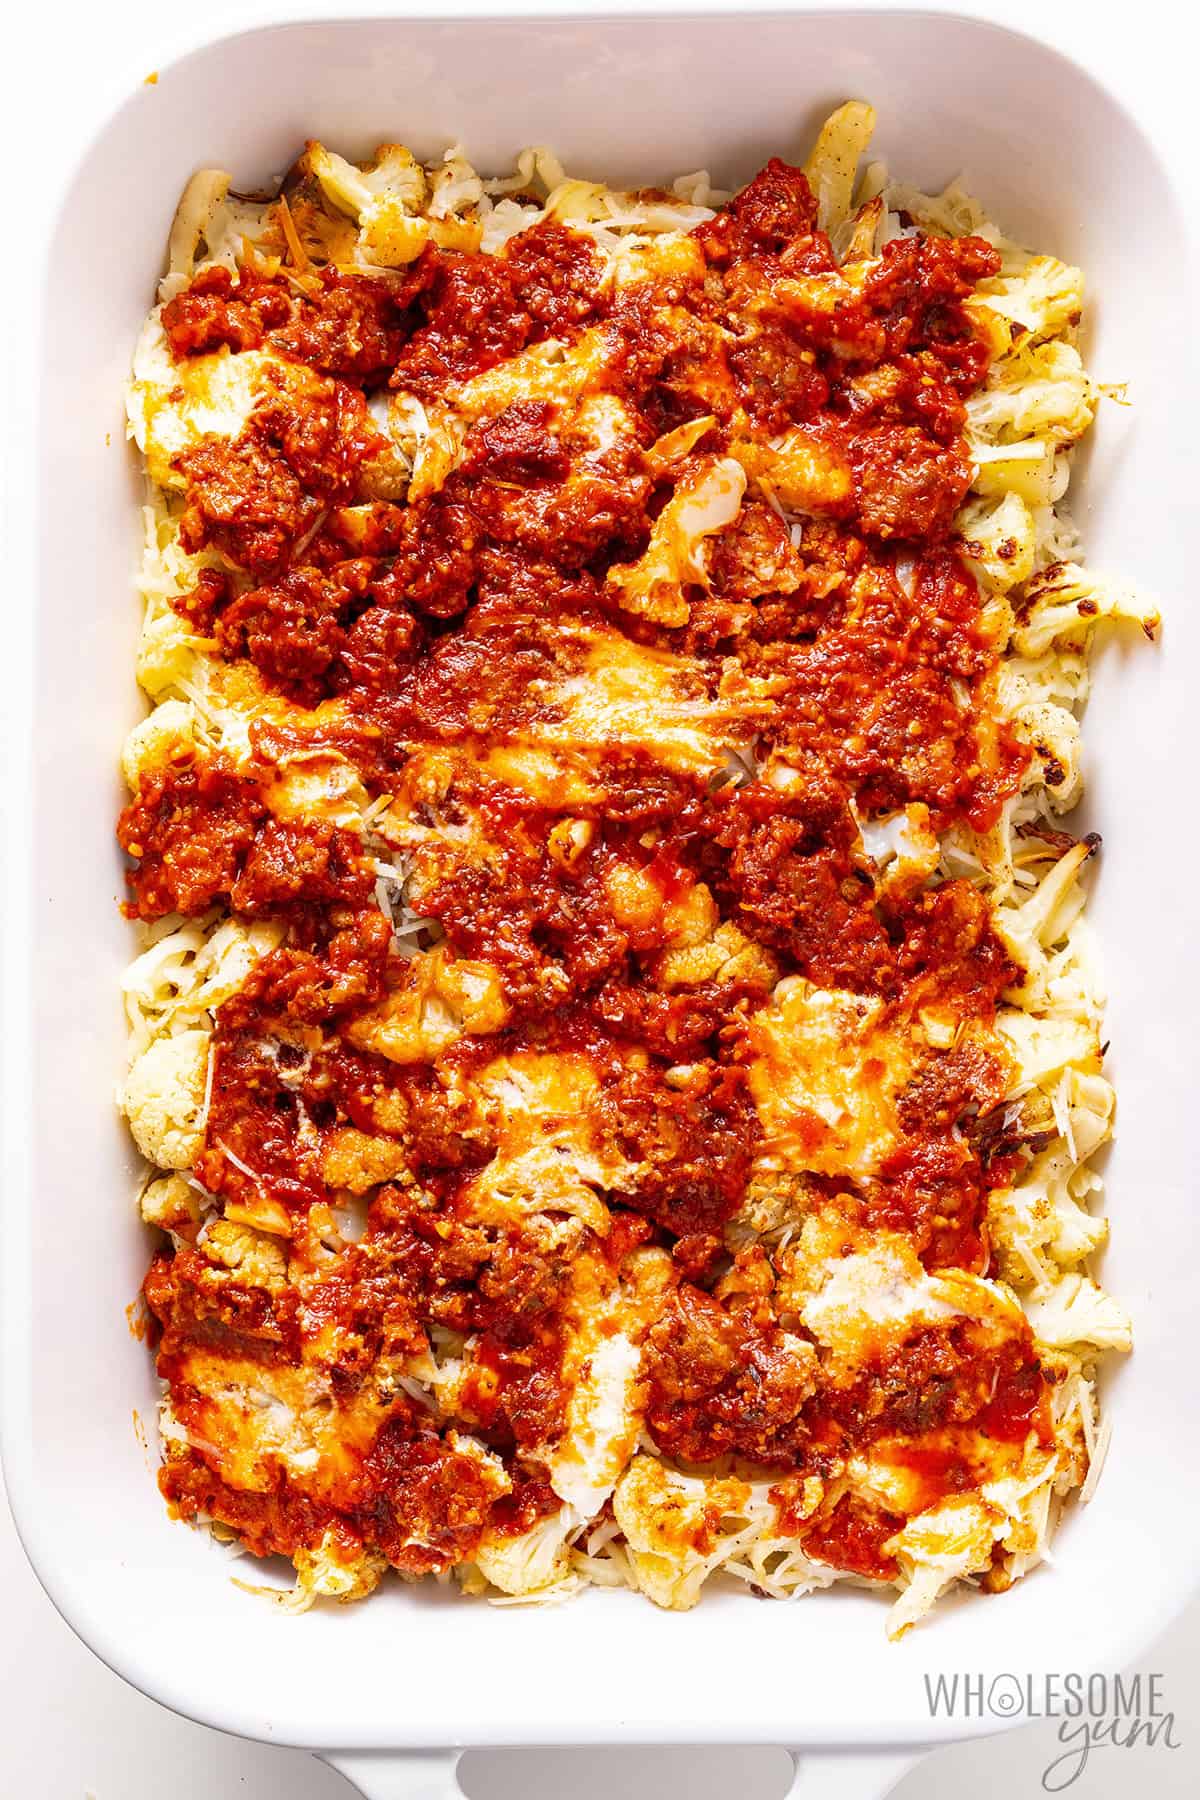
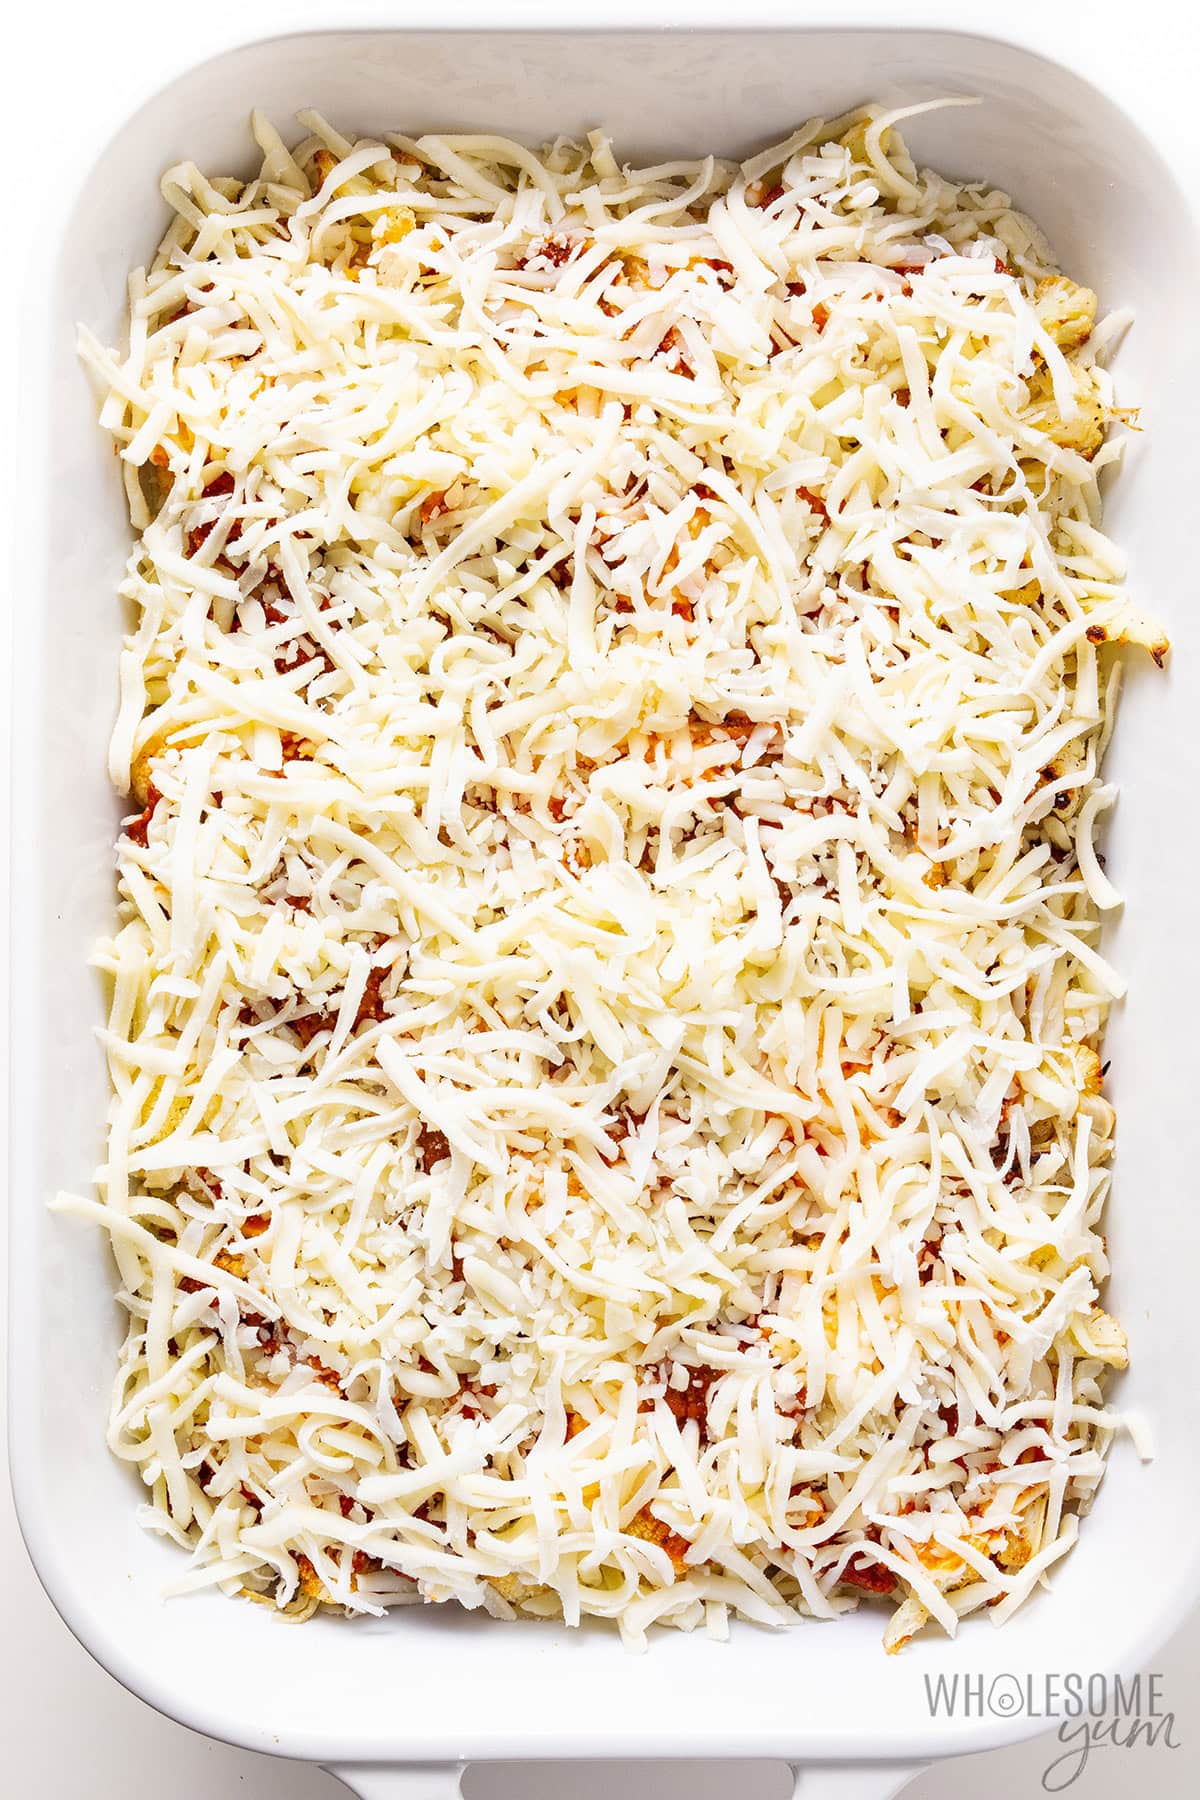
- Layer, layer, layer. Arrange half of the cauliflower in a baking dish. Dollop ricotta over it, and sprinkle with parmesan. Spread the sausage marinara on top, then sprinkle on the mozzarella. Repeat the layers again.
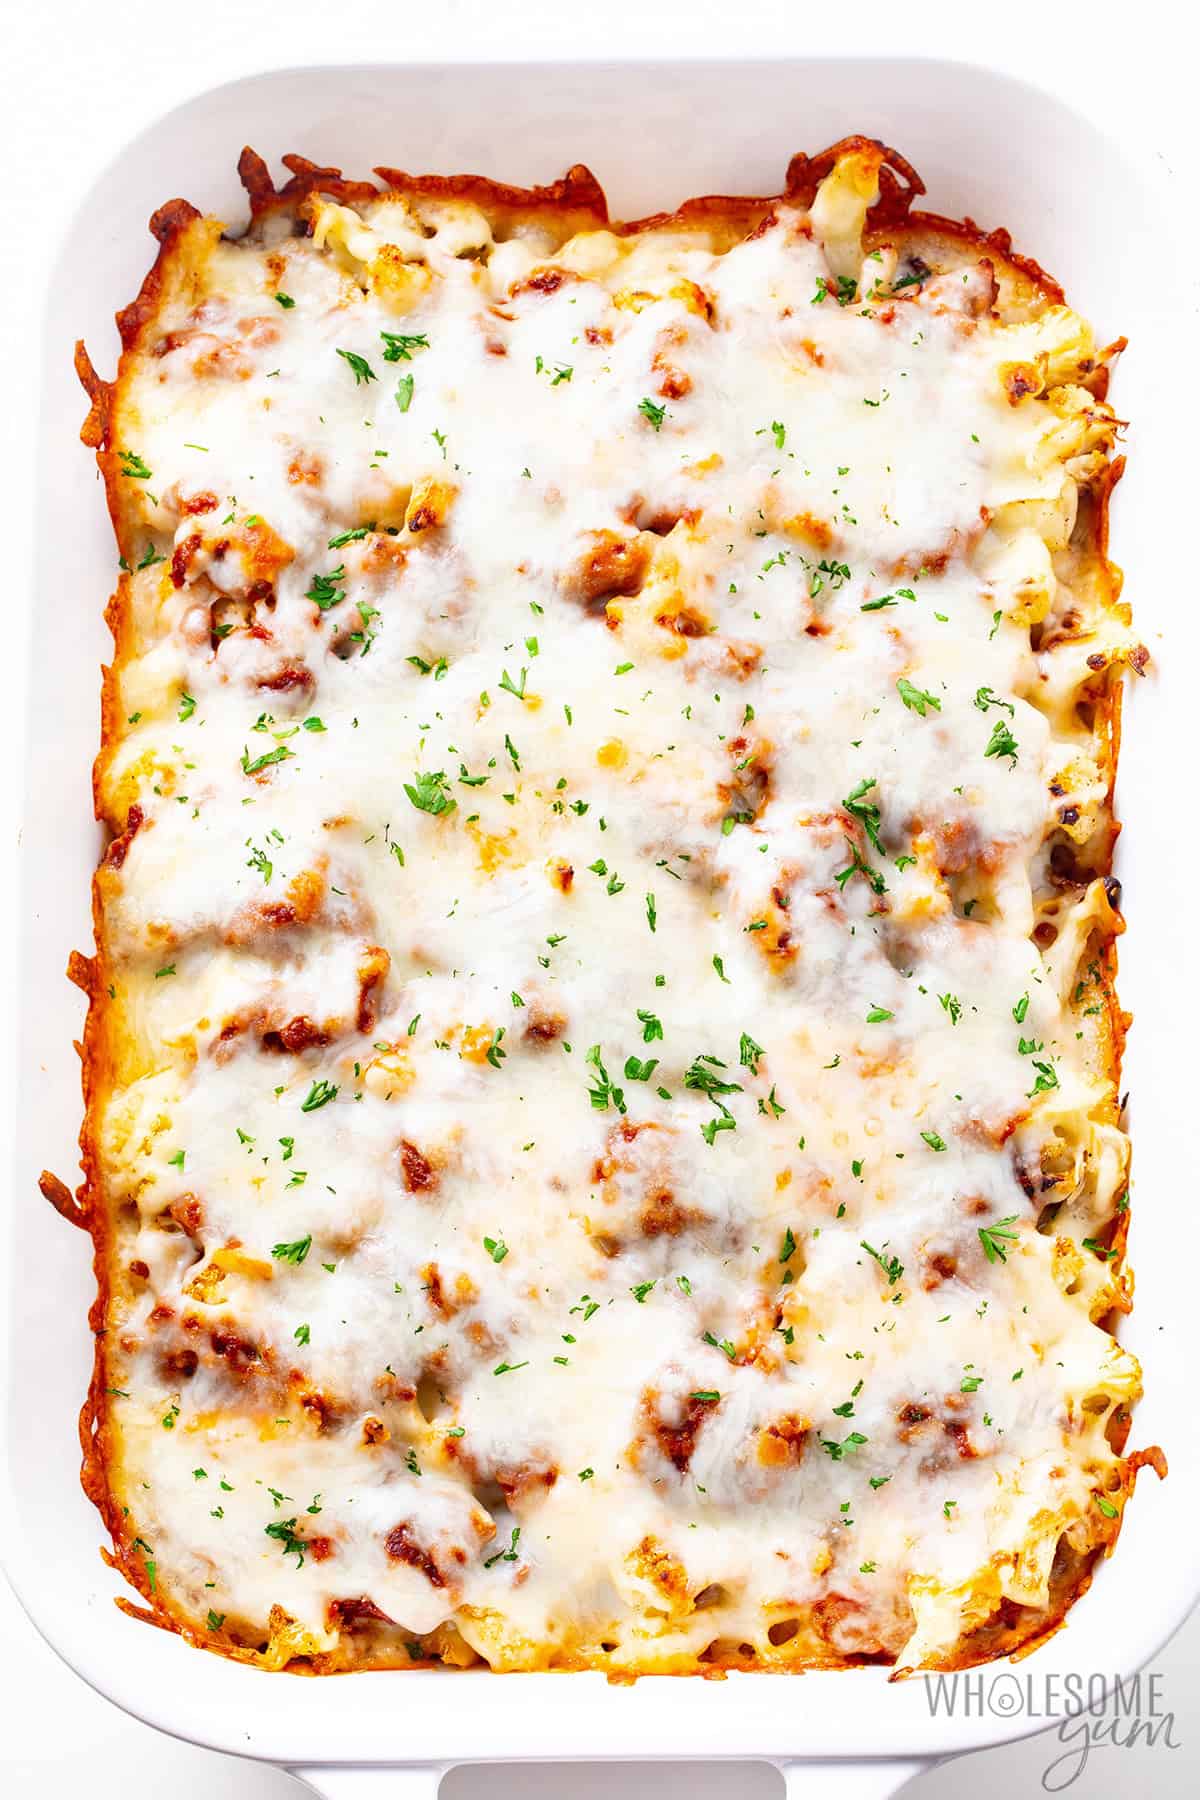
- Bake until melty. Pop the cauliflower baked ziti in the oven, until the cheese is melted, bubbly, and lightly golden on top.

My Recipe Tips
- Cut the cauliflower into uniform, bite-sized pieces. I usually make the florets 1 to 1 1/2 inches, so they cook evenly and quickly, but still hold their shape.
- Swap the pans if needed. My baking sheets (that I love) fit side by side in my oven. If yours don’t, you can place them on separate racks and swap them halfway through. I also usually rotate them for even roasting.
- Get the cauliflower nice and brown. That caramelization adds so much flavor. The key is plenty of space on the baking sheets (that’s why I use two), and roasting for long enough for the florets to brown.
- How to avoid a watery dish: You’ll need to simmer the sausage marinara to get it thick, and roast the cauliflower for long enough to get tender. Otherwise, either of these can make the cauliflower baked ziti watery during the final bake.
- Add the ricotta and meat sauce in dollops, then spread gently. I find that if you dump them in one spot, they are harder to spread and start to mix with the other layers.
- Broil at the end if you want more color. If you want this cauliflower baked ziti extra golden and bubbly, pop it under the broiler for a minute or two.

Cauliflower Baked Ziti
 By
My cauliflower baked ziti layers roasted cauliflower, sausage marinara, and melty cheeses into a hearty, low-carb comfort dinner everyone will love.


Instructions
[ See step photos See my tips ]Tap on the times in the instructions to start a kitchen timer.
Roasted cauliflower:
-
Preheat the oven to 425 degrees F (218 degrees C). Line 2 baking sheets with foil or parchment paper.
-
In a large bowl, toss together the cauliflower, 1/4 cup olive oil, salt and pepper.
-
Arrange the cauliflower in a single layer on the baking sheets. Roast in the oven for about 25 minutes, until browned.
-
Ideally the baking sheets would fit side by side, but if not, rotate them halfway through.
Sausage marinara:
-
Meanwhile, heat the remaining tablespoon of olive oil in a cast-iron skillet over medium-high heat. Add the sausage.
-
Cook, breaking apart with a spatula, for 8-10 minutes, until cooked and browned.
-
Make a well in the center and add the minced garlic. Saute for about 1 minute, until fragrant, then stir into the sausage.
-
Add the marinara and Italian seasoning. Simmer for 2-3 minutes, until the sauce is thick and bubbly. If needed, adjust salt and pepper to taste.
Assembly:
-
When the cauliflower is done, reduce oven temperature to 400 degrees (204 degrees C).
-
Arrange half of the cauliflower in a single layer in the bottom of a 9×13 baking dish. Dollop half of the ricotta over it, then sprinkle half of the shredded parmesan over it. Top with half of the sausage marinara (dollop it on, then spread), and finally sprinkle with half of the shredded mozzarella. Repeat the layers with the remaining cauliflower, ricotta, parmesan, sausage marinara, and mozzarella.
-
Bake cauliflower ziti in the oven for 10-15 minutes, until the cheese is melted and golden.
Did you make it? Leave a review or tag me @wholesomeyum on Instagram!
Maya’s Recipe Notes
Serving size: 1 cup, or 1/12 of the entire casserole
- Tips: Check out my recipe tips above to help you get perfect results every time.
- Storage: Keep leftovers in the fridge for up to 3-5 days.
- Meal prep: You can assemble 1-2 days in advance and bake later, or prep the components (roasted cauliflower and sausage marinara) ahead and store separately.
- Reheat: Warm in a 350 degree F oven or microwave.
- Freeze: This dish freezes well for up to 3 months. I’ve done it with the entire dish, or individual portions for quick lunches I can reheat right from frozen. If you freeze the whole dish, I recommend thawing in the fridge overnight before baking, otherwise it takes too long.
📖 Want more recipes like this? Find this one and many more in my Easy Keto Carboholics’ Cookbook here!
I provide nutrition facts as a courtesy. Have questions about calculations or why you got a different result? Please see my nutrition policy.
Add Your Notes Your Notes
Try More Of My Recipes


© Copyright Maya Krampf for Wholesome Yum. Please DO NOT SCREENSHOT OR COPY/PASTE recipes to social media or websites. We’d LOVE for you to share a link with photo instead.
Cauliflower Baked Ziti
Serving Ideas
This cauliflower baked ziti is hearty enough to be a full meal on its own. For a little something extra, try my low carb garlic bread or cauliflower breadsticks to scoop up the extra sauce, plus something fresh, like my Mediterranean salad or avocado Caprese salad.
















56 Comments
Tara
1This is delicious! The only thing I did different was cooked the cauliflower in my smoker instead of the oven.
islandgirl
0Delicious 🙂 I realized I was missing ricotta but substituted Nancy’s whole milk cottage cheese and it still turned out great! Even the guys in my house loved it!
Wholesome Yum D
0That sounds perfect! So glad even the guys gave it the thumbs up!
Diane
0Can you freeze this dish for a couple of days before you bake it?
Maya | Wholesome Yum
0Hi Diane, Yes, you can assemble it and freeze it before baking. I’d recommend letting it thaw in the fridge before baking. If you’ll be baking it just a couple days later, I would just keep it in the refrigerator until ready to bake and not freeze it.
Anna
0It was fabulous! Will be making it again!
Amy
0My husband and I love this recipe. I am making it for the second time. It’s rich and flavorful, a real treat! I plan to double it next time to make an extra to freeze for a night I don’t feel like cooking.
Cheryl Hicks
0I have been so hungry for pasta dishes but they raise my glucose levels to much so I have been avoiding them. My granddaughter shared this with me and it absolutely is a great replacement for pasta. I used fresh cauliflower and froze the extra in single portions to pull when the craving strikes again. It warmed up great. This has become one of my favorite recipes.
Amy
0I have made this recipe so many times and my family loves it. It looks more labor intensive than it is–it comes together quickly.
Terri
0I’ve been doing low carb for a while. This recipe absolutely sates my Italian food craving. So easy. So good!
Nicole
0This was amazing!!! This is my 2nd time making..
Amy
0At first I thought this recipe was going to be a little too fussy for a weeknight, but it really wasn’t. My family loved it and I’m getting ready to make it for a second time.
Susan Anderson-Best
0I haven’t made this yet , but I bought the ingredients. I plan on roasting cauliflower with onion and zucchini and bell pepper. I’m using ground turkey with Italian sausage seasonings and doing a middle layer of steamed spinach. Lol, love my veggies! Wish me luck, I will report back! I’m pretty sure I’ll leave a five star rating, but thought I would wait till I made it to be fair and honest.
Ashley
0My 2 year old went back for seconds! Thanks for the awesome recipe!
Melinda
0Um, delicious doesn’t cut it. I balked at someone saying they didn’t miss the pasta, and then I made it and was like… “Oh my goodness… I don’t even miss the pasta!” Haha! Great recipe and will highly recommend this to others!
Lori
0Delicious ? Definitely going to make this again
Shannon
0Just took it out of the oven and tasted it. It’s FIRE! I will definitely save and make again.
Bill Dossett
0I spooned more than 3 cups of liquid off this before and during the baking phase and it was still watery when we ate it – luckily I only made half a batch as most of it went into the garbage. The cauliflower took much longer than 25 minutes before it was brown. I’m not being rude, this is simply the truth…
Maya | Wholesome Yum
0Hi Bill, Sorry to hear you had issues with this cauliflower baked ziti. There are a couple reasons it could have turned out watery, mainly not cooking one of the other steps sufficiently before assembling and baking. It could be that the roasted cauliflower needed to roast for longer (so the cauliflower released too much water) OR you needed to simmer the meat sauce for longer (so the sauce was too thin). Hope this helps for next time!
Anna
0Super yummy! This satisfied my baked ziti cravings. I had some cooked chicken, and used that instead of sausage. I also didn’t have any sauce so I made some with 28 oz canned chopped tomatoes and tomato paste.
Barbara
0This recipe was good, but next time I make it I would scramble an egg then add the ricotta cheese to it. This “loosens” the cheese and makes it creamier and easily spread. I also ate leftovers for breakfast and heated it up in a fry pan, then pushhed it to the side and scrambled an egg and mixed this all together before eating. Delish!
Emily
0Can I use frozen instead of fresh? And if yes do I still need to roast it first?
Maya | Wholesome Yum
0Hi Emily, Yes, you can, and you’d still need to roast it first.
Carolyn Ware
0I just want you to know that I have been living and loving the keto lifestyle for over 2 years. Your website is my “go to” whenever I am looking for recipe ideas. Thank you!